🌊 Waveflow in Canary7
What is a Waveflow?
A Waveflow is Canary7’s flexible post-wave processing engine. Once a wave is triggered from the Shipment Planner, Waveflow takes over — applying a customisable sequence of steps to each shipment in that wave. These steps shape what happens next: how inventory is allocated, how and whether shipments are split, when picking jobs are created, how carrier logic is applied, and whether shipments are auto-consigned — all before anyone lifts a scanner. 📦🧠
🔄 How Waveflow Works
Each Waveflow profile consists of sequenced steps. These are executed in order, and each step transforms the shipment or adds metadata to support downstream processes (like picking, packing, or dispatch). You can fully tailor this to your warehouse’s priorities — whether that’s speed, precision, carrier compliance, or zone-based optimisation.
🚀 Why Use Waveflow?
Waveflow helps you:
✅ Streamline outbound operations
📉 Reduce manual workload
📦 Optimise how shipments are grouped, consigned, and picked
🧠 Automate logic like rejecting unfulfillable shipments, assigning carriers, or creating job instructions
Rather than relying on users to complete each action manually, Waveflow ensures it happens automatically in the correct sequence.
🔍 Accessing Waveflow
To access Waveflow:
Go to the Navigation menu and search for "Waveflow".
Or navigate to:
Configuration > Shipment Profile Setup > Waveflow
➕ Creating a New Waveflow
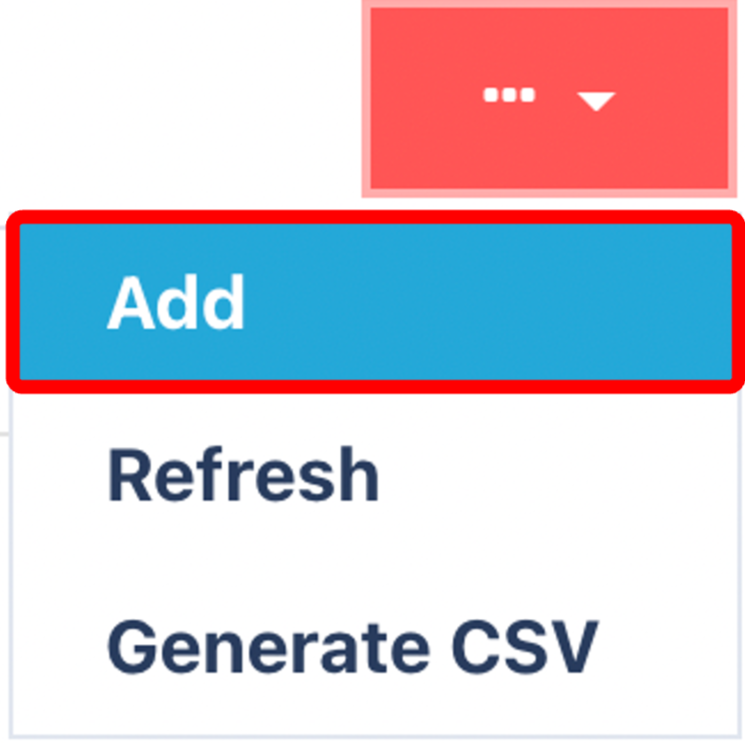
Click on the Red Action Button , this will bring up a drop-down menu, and select "Add"
To add a new Waveflow:
Click on the Add button.
Enter a Name for the Waveflow (e.g.,
Standard B2C Flow).Optionally, add a Description for further context.
Save the header, then move to the Details tab to begin adding steps.
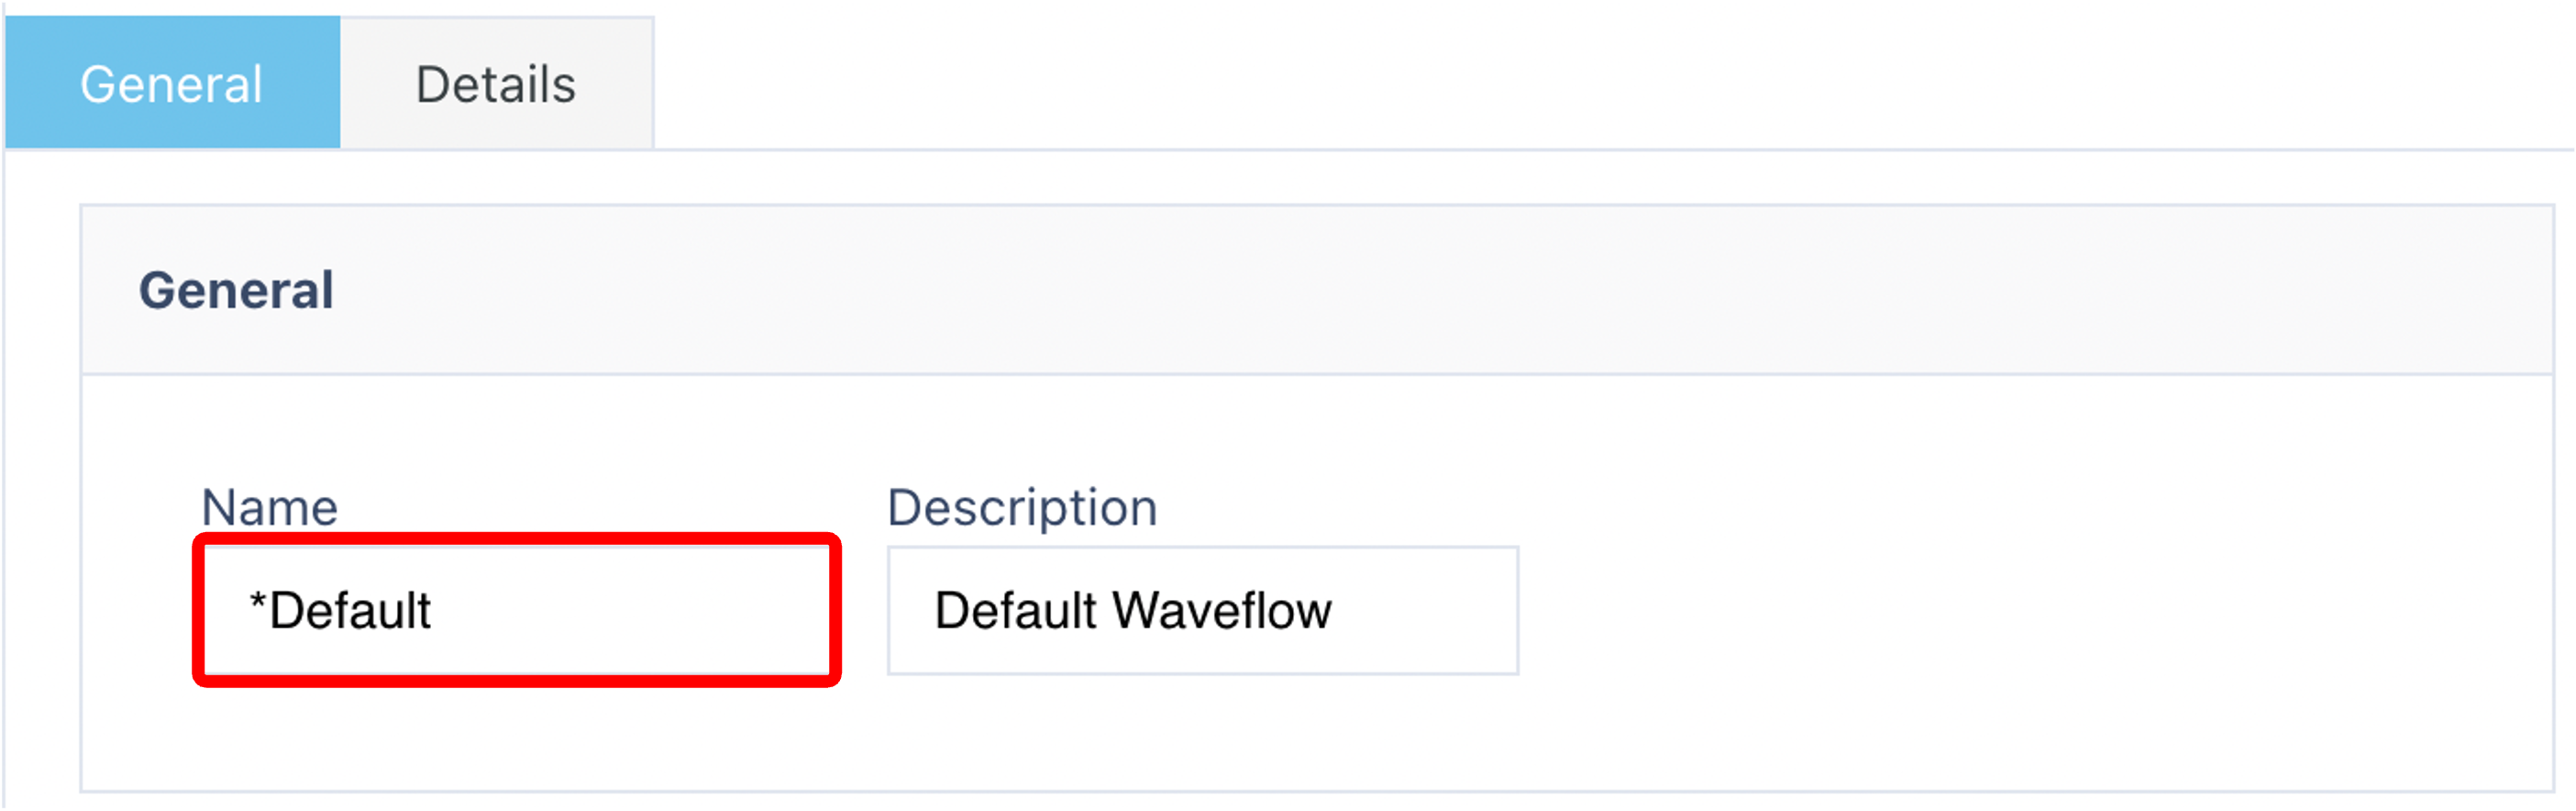
Description is an optional field
Add to the Wave Detail list
Within the details tab, click on the red action button and click on "add".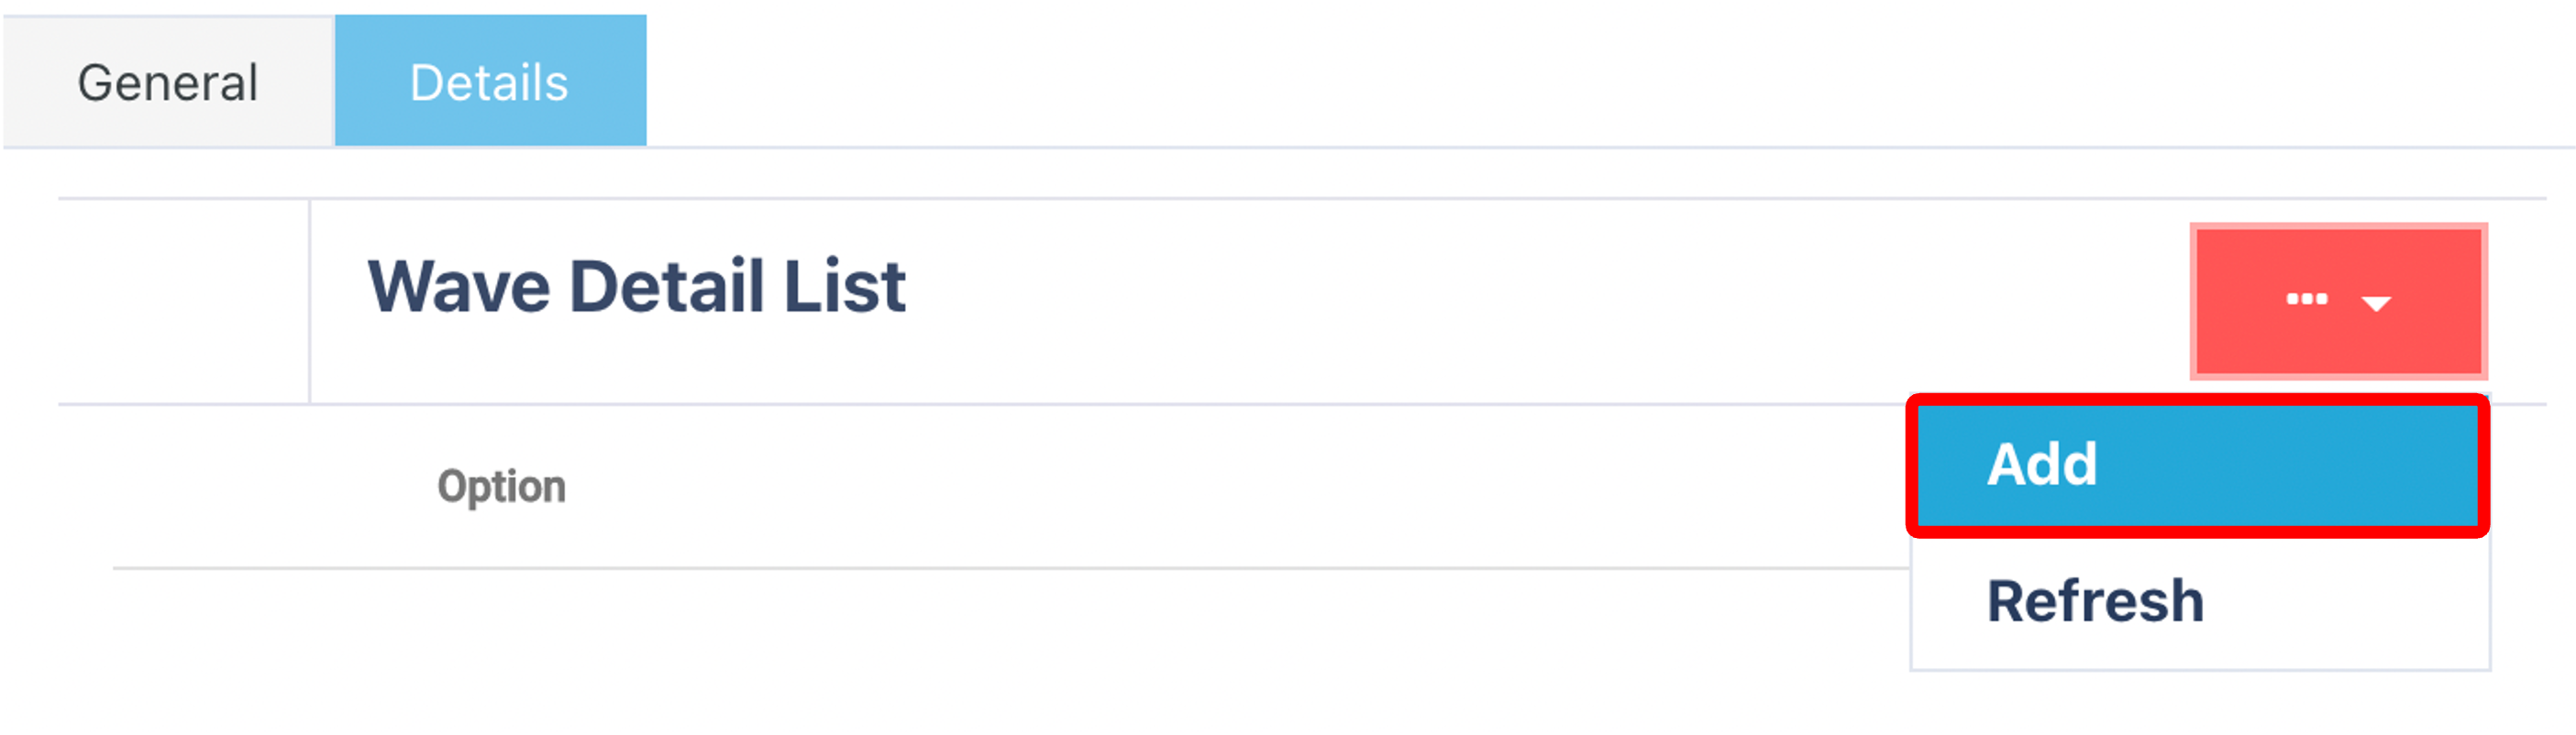
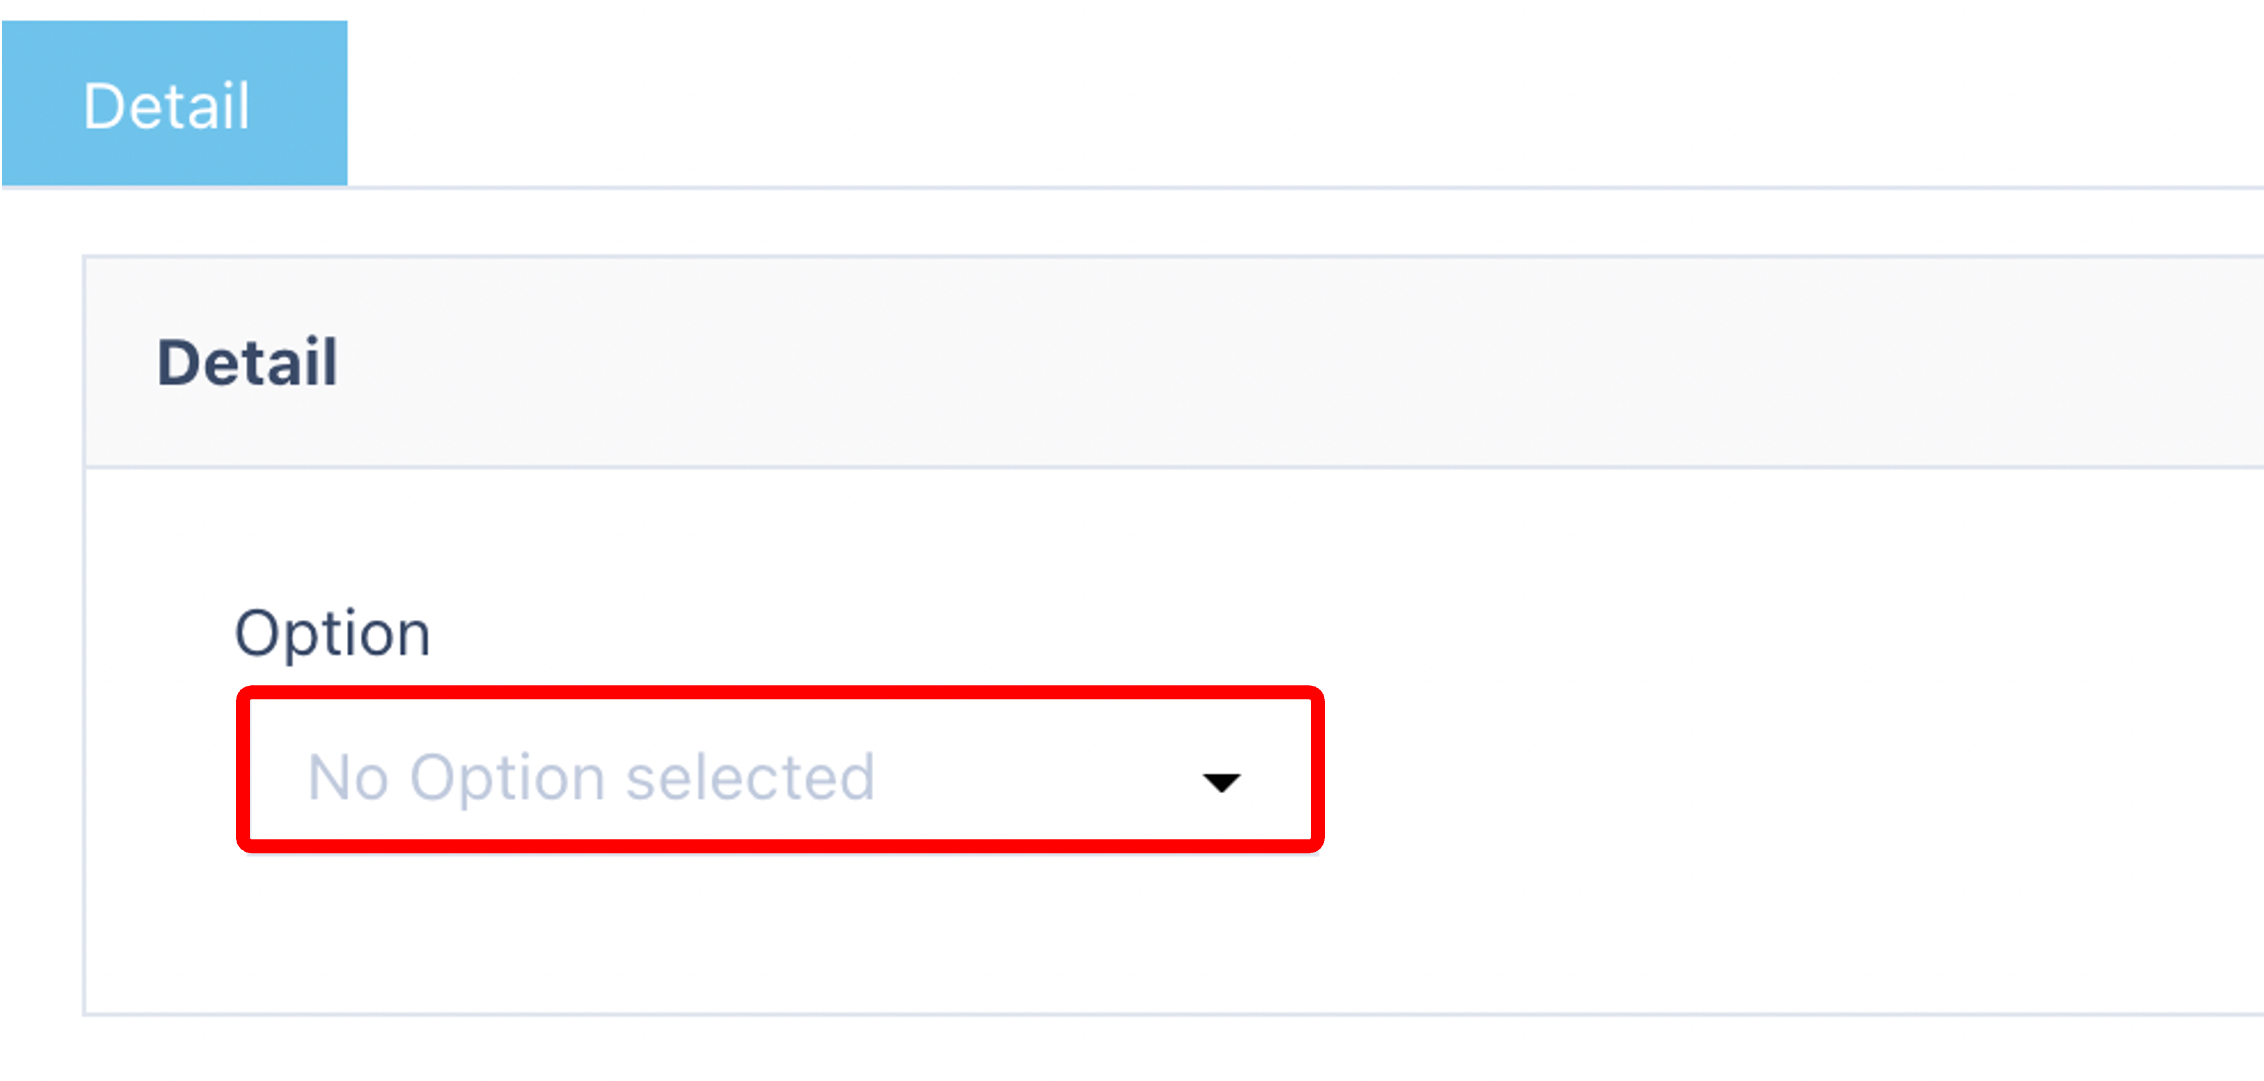
Select the Detail Option
🚀 Waveflow Detail Options Explained
| Step | What It Does | Example / Notes |
|---|---|---|
| Allocation * | Allocates inventory to shipments using the Allocation Rules set on each shipment. | Required to move shipments from planned to allocated. |
| Carrier Firewall | Checks if the carrier is valid for the shipment (e.g. based on weight, postcode, etc). | Helps avoid downstream consignment errors. |
| Split Detail Children | Splits consolidated shipment details into individual lines. | Useful when items were combined during planning but need to be picked separately. |
| Add Consignment Pieces | Marks allocated items as pieces for consignment, especially for bulky items. | Triggers piece-level labelling. |
| Add Batch Number | Assigns batch numbers to allocated inventory. | Supports traceability for regulated or perishable items. |
| Create Job Instruction Groups | Groups picking instructions across shipments to reduce picker walking and consolidate jobs. | Must also be enabled on the Shipment Picking Profile. |
| Split Shipment | Breaks a shipment into separate sub-shipments based on job zones or allocation logic. | Especially useful in multi-zone warehouses. |
| Shipment Picking Job Creation * | Creates picking jobs using the assigned Shipment Picking Job Creation profile. | Essential for generating picking tasks. |
| Load Assignment * | Automatically assigns the shipment to a load. Options include: | - Assign to Oldest Load - Assign to Oldest Load of the Same Day - Assign a Load Per Shipment |
| Reject Part Allocation | Returns partially allocated shipments to the pool. | E.g. Shipment needs 10 units, only 8 available → rejected. |
| Reject Shipments Not Suitable for Consigning | Removes shipments from the wave that don’t meet consignment criteria. | E.g. Weight too low or invalid postcode. |
| Consign to Carrier | Automatically consigns the shipment using Carrier Assignment Master. | Great for single-unit shipments that can be labelled during picking. |
| Print Consignment Paperwork | Prints labels, packing slips, and other documents after consigning. | Occurs after the Consign to Carrier step. |
| Consolidate Detail Child | Merges similar lines that differ by location, batch, or UoM into a single line for picking. | Helps streamline picking when items are functionally the same. |
| Dispatch Held | Holds the shipment from being dispatched. Depends on Company Profile settings. | Often used for manual review or customer-specific dispat |
⚠️ Which Steps Are Mandatory?
To ensure your Waveflow functions correctly, you must include:
✅ Allocation
✅ Shipment Picking Job Creation
✅ Load Assignment
The rest are optional and should be used based on your business process and customer requirements.
💡 Example Use Cases
Example 1 – Simple B2C Fulfilment
Allocation ✅
Add Consignment Pieces
Consign to Carrier
Print Consignment Paperwork
Shipment Picking Job Creation ✅
Great for small parcel orders that skip packing — the label is printed at the pick face.
Example 2 – Complex Multi-Zone Orders
Allocation ✅
Consolidate Detail Child
Split Shipment
Create Job Instruction Groups
Shipment Picking Job Creation ✅
Ideal for orders with multiple SKUs across zones, improving cluster picking performance.
✅ Saving and Applying
Click Apply after adding each detail option.
You can add multiple Waveflow steps in the exact order you want them to be executed.
🧠 FAQs
Q: What happens if I don’t include Allocation?
A: The system will not assign inventory, so nothing can be picked.
Q: Can I use Reject Part Allocation and Consigning together?
A: Yes — this ensures only fully allocated, consignment-eligible shipments proceed to label printing.
Q: Does the order of steps matter?
A: Yes. For example, you must Consign to Carrier before you Print Consignment Paperwork.
Click on the Apply Button to add your detail option, and add as many of them that are needed for your specific use case.