🚚 Shipment Planner
What is Shipment Planner?
Shipment Planner is the launchpad for managing outbound shipments in the warehouse. It’s primarily used by Warehouse Managers to review, action, and progress shipments into wave planning and execution.
For 3PL environments, it also supports Soft Allocation, enabling early inventory reservation before fulfilment begins.
🔍 Accessing Shipment Planner
Navigation Path:
Shipping > Shipment PlannerOr use the search bar to type "Shipment Planner"
🏊 Pool Tab
The Pool tab is the first status stage for outbound shipments. When a shipment is created, it lands here until further action is taken.
👀 What You’ll See
Each row in the Pool tab represents a shipment, with data similar to what's found in Shipping Enquiry. Scroll horizontally to see more fields.
📋 Key Columns in Pool Results
Visual: Item Thumbnail
Shipment Details: Shipment Number, Item Code, Customer Order Ref, Warehouse, Company
Dates: Created Date/Time, Planned Dispatch Date
Contents: Total Lines / Units, Lines in Pool
Shipping Info: Carrier, Carrier Service, Ship To Name / City / Country
Exceptions: Wave Reject Reason (if applicable)
🧭 Actions in the Pool Tab
⬇️ Ellipsis Menu (⋯)
Each shipment has an action menu with:
Edit – Update shipment details
Hold – Pause the shipment
Delete – Permanently remove the shipment
To Wave – Send shipment to the Wave tab for planning
🧰 Bulk Actions
Use checkboxes to select multiple shipments
Select the top checkbox to select all in the pool
Then use "To Wave" to process them in bulk
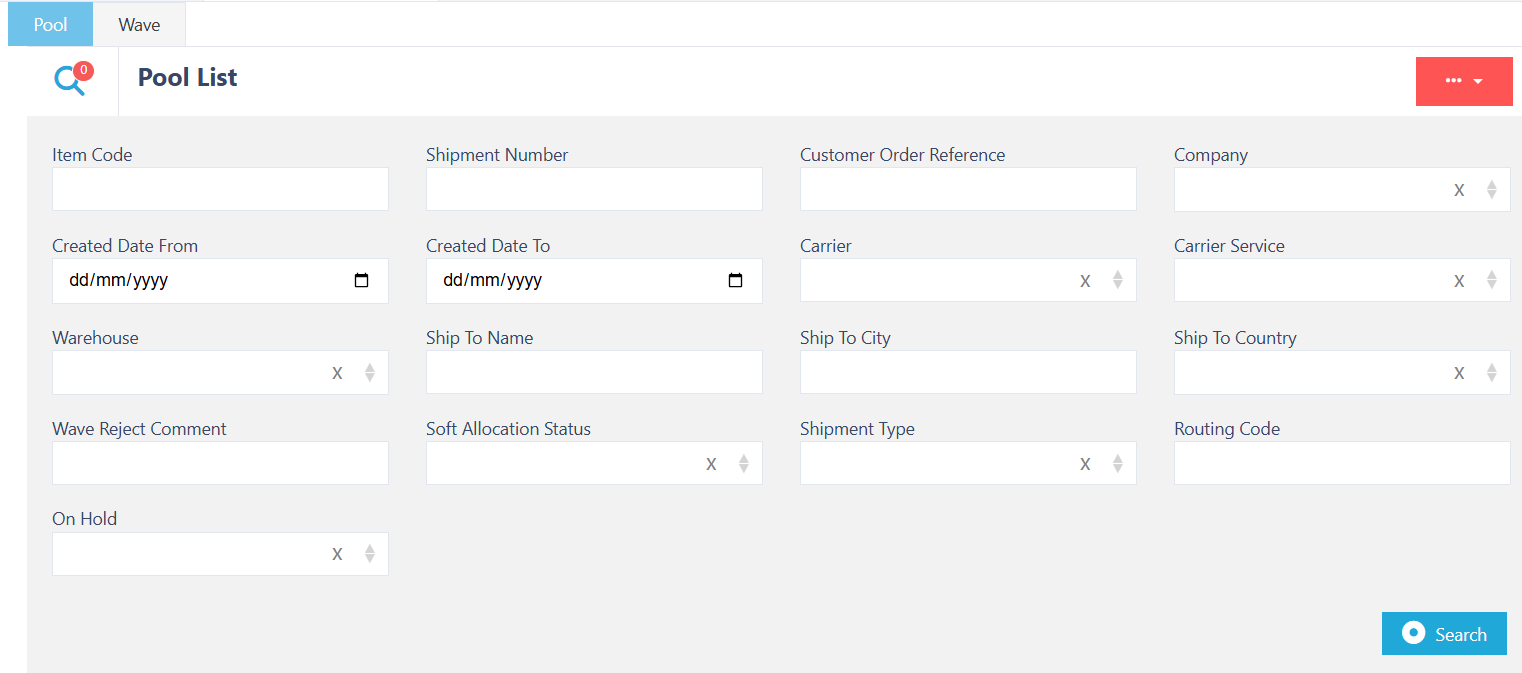
🔍 Searchable Fields in the Pool Tab
You can locate shipments by searching with any of the following fields:
📦 Shipment Details
Shipment Number
Customer Order Reference
Company
Created Date (From / To)
🚚 Shipping Information
Carrier
Carrier Service
Ship To Name
Ship To City
Ship To Country
📄 Item Information
Item Code
🗒️ Additional Filters
Wave Reject Comment
Once you have entered all the information, you need to find your results click on the search button to continue.

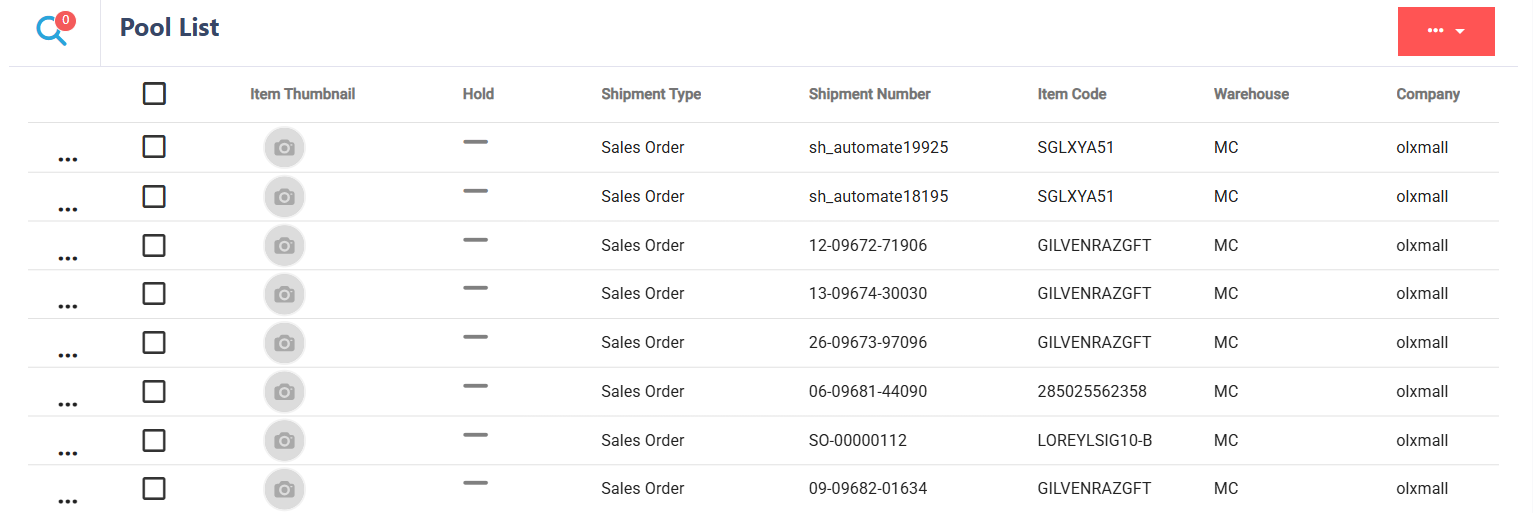
Pool Results View
The Pool results grid shows limited columns by default. To view additional data, scroll horizontally. Key columns include:
🖼️ Visual
Item Thumbnail
- 📦 Shipment Details
Shipment Number
Item Code
Customer Order Reference
Warehouse
Company
Created Date/Time
Planned Dispatch Date
- 🧾 Shipment Contents
Total Lines / Total Units
Lines in Pool
- 🚚 Shipping Information
Carrier / Carrier Service
Ship To Name
Ship To City
Ship To Country
- ⚠️ Exceptions
Wave Reject Reason
If you want to go back and input more information, click on the search icon and enter whatever data you need to refine your search.
🌊 Putting Shipments to Wave
Find your Shipment using the search function you were prompted with when opening the shipment planner, then select the shipments you want using the check box , if you want to select all shipments in the pool, use the check the box at the top
  .
.
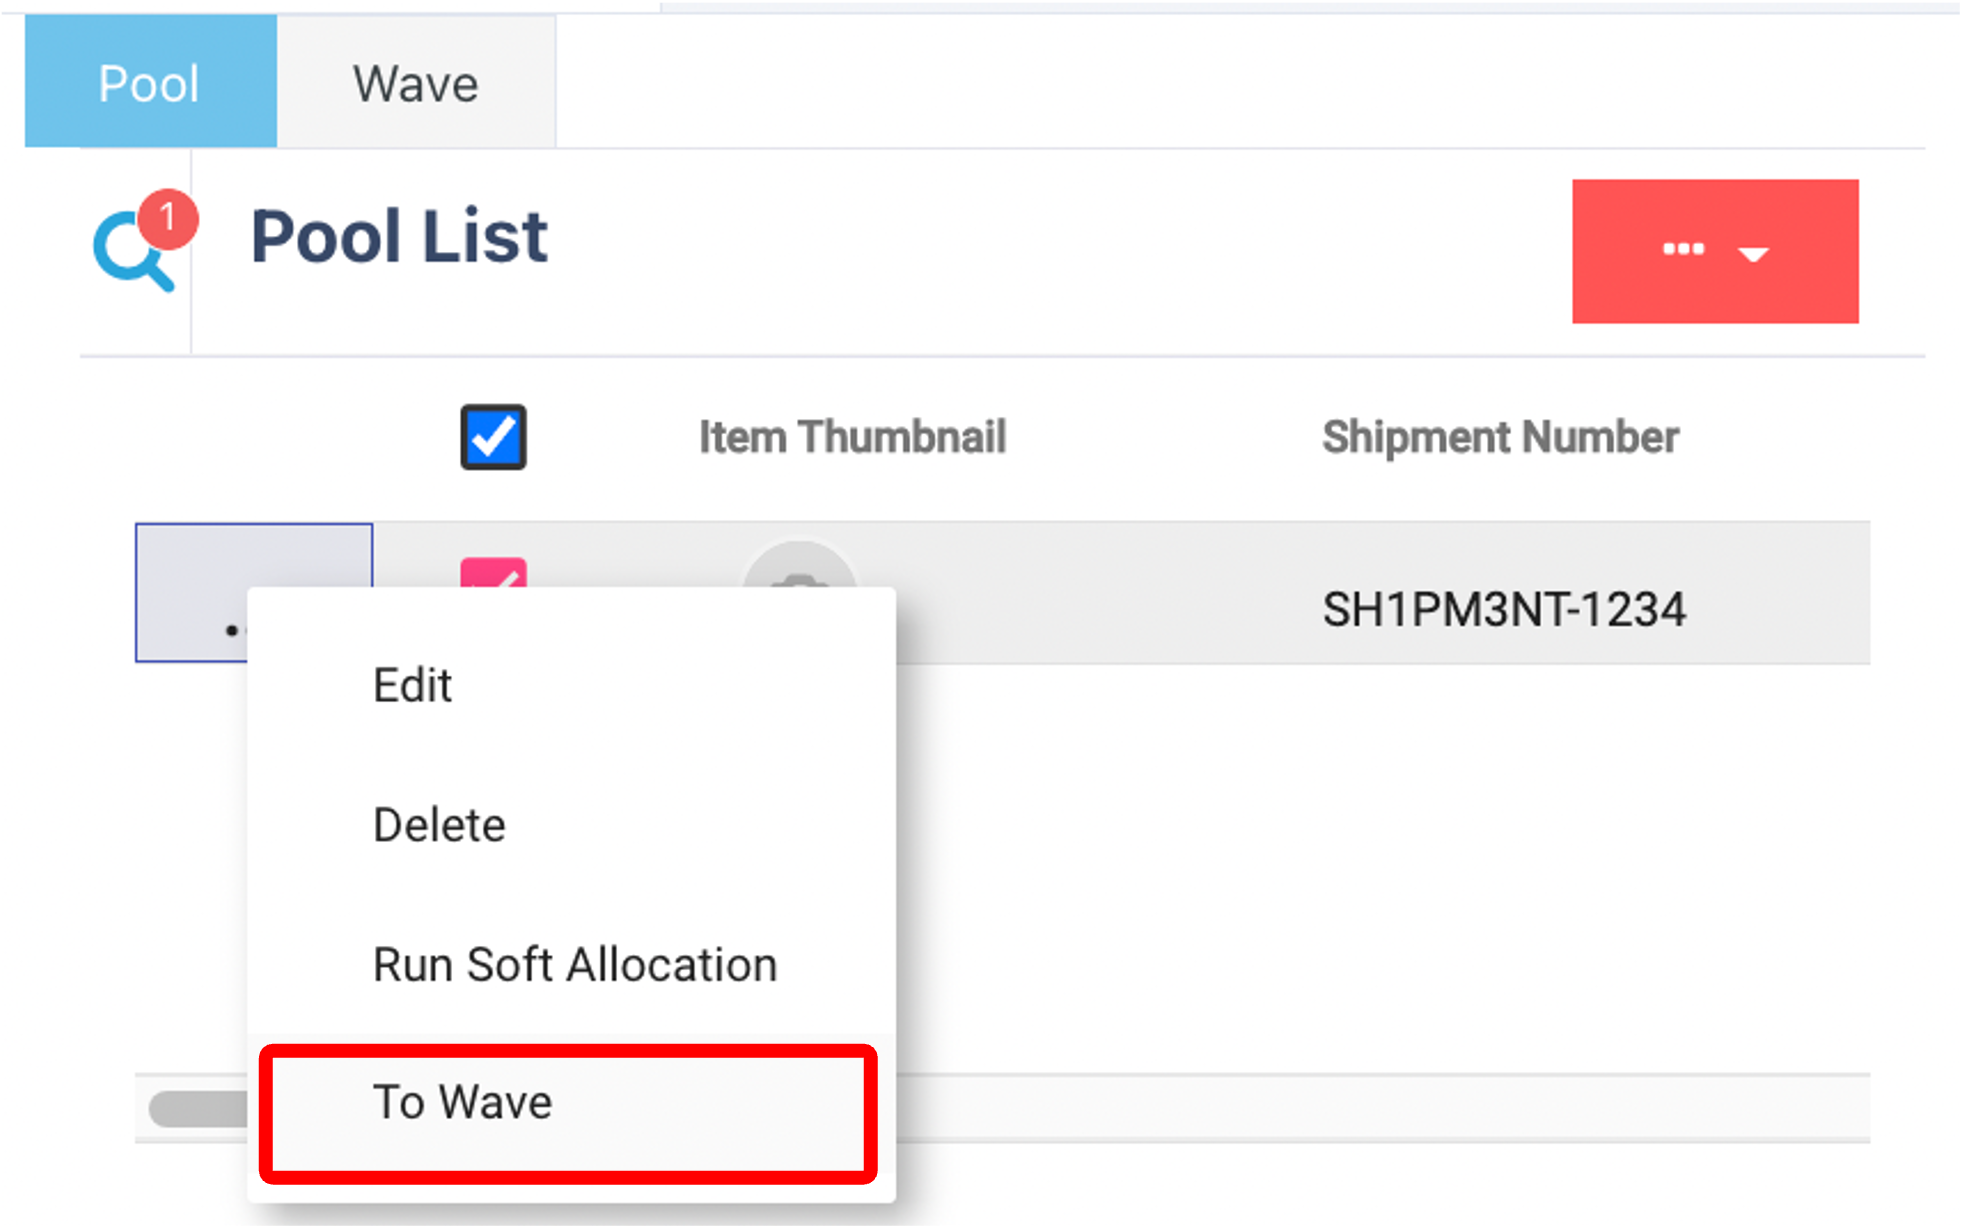
Click on the three dots  and "To Wave".
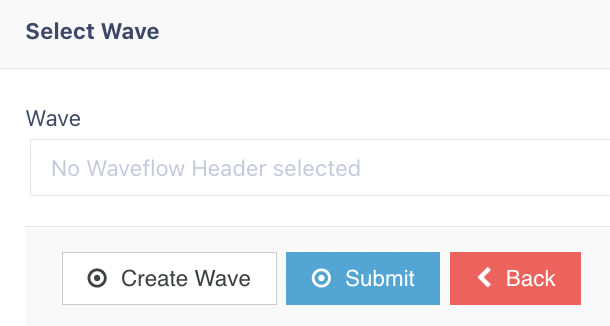
Select your Wave via the drop-down menu once you have done so, click on the submit button .png) If needed you can create a wave using the create wave button
If needed you can create a wave using the create wave button  .
.
Creating a Wave
If your wave has already been created, you can skip this step.
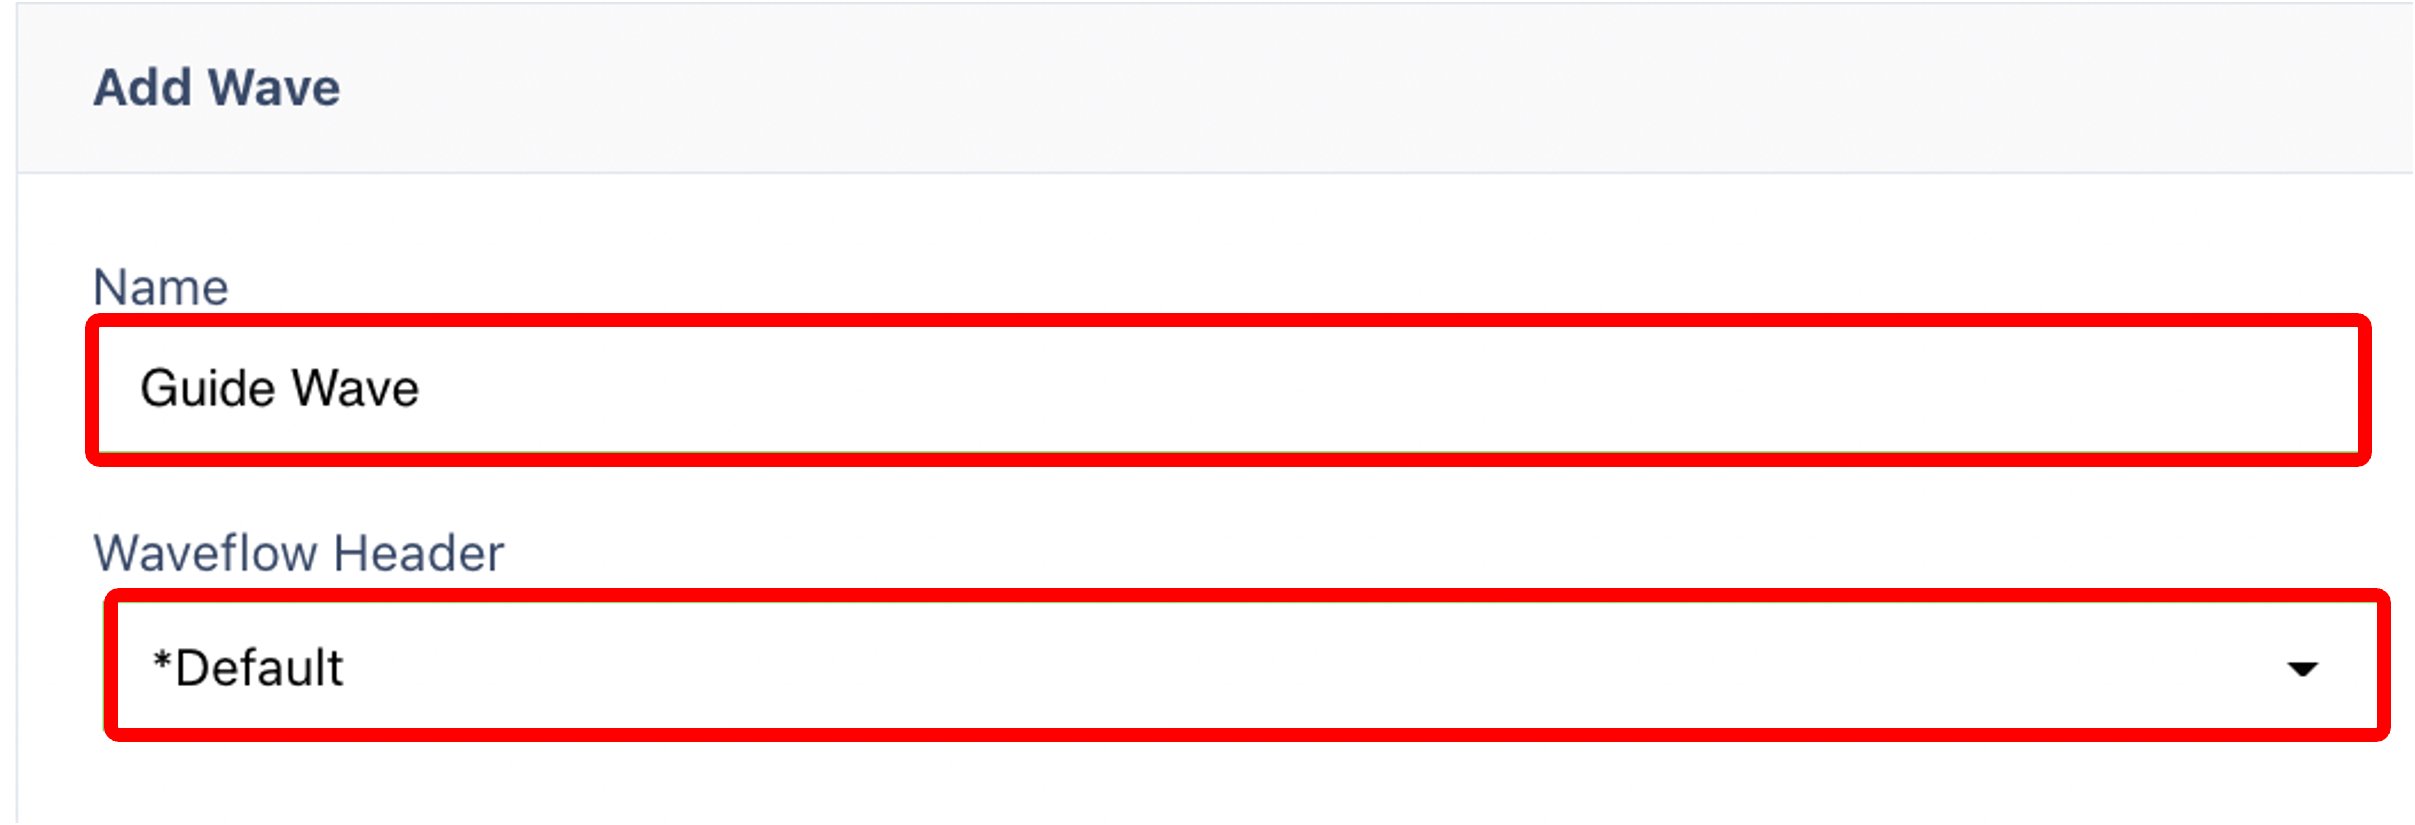
If a suitable wave doesn't exist, create one by entering the following:
Wave Name
Waveflow Header – This determines the processing logic (e.g., allocation and picking tasks).
Click on the Submit button to continue.
🏁 Running the Wave
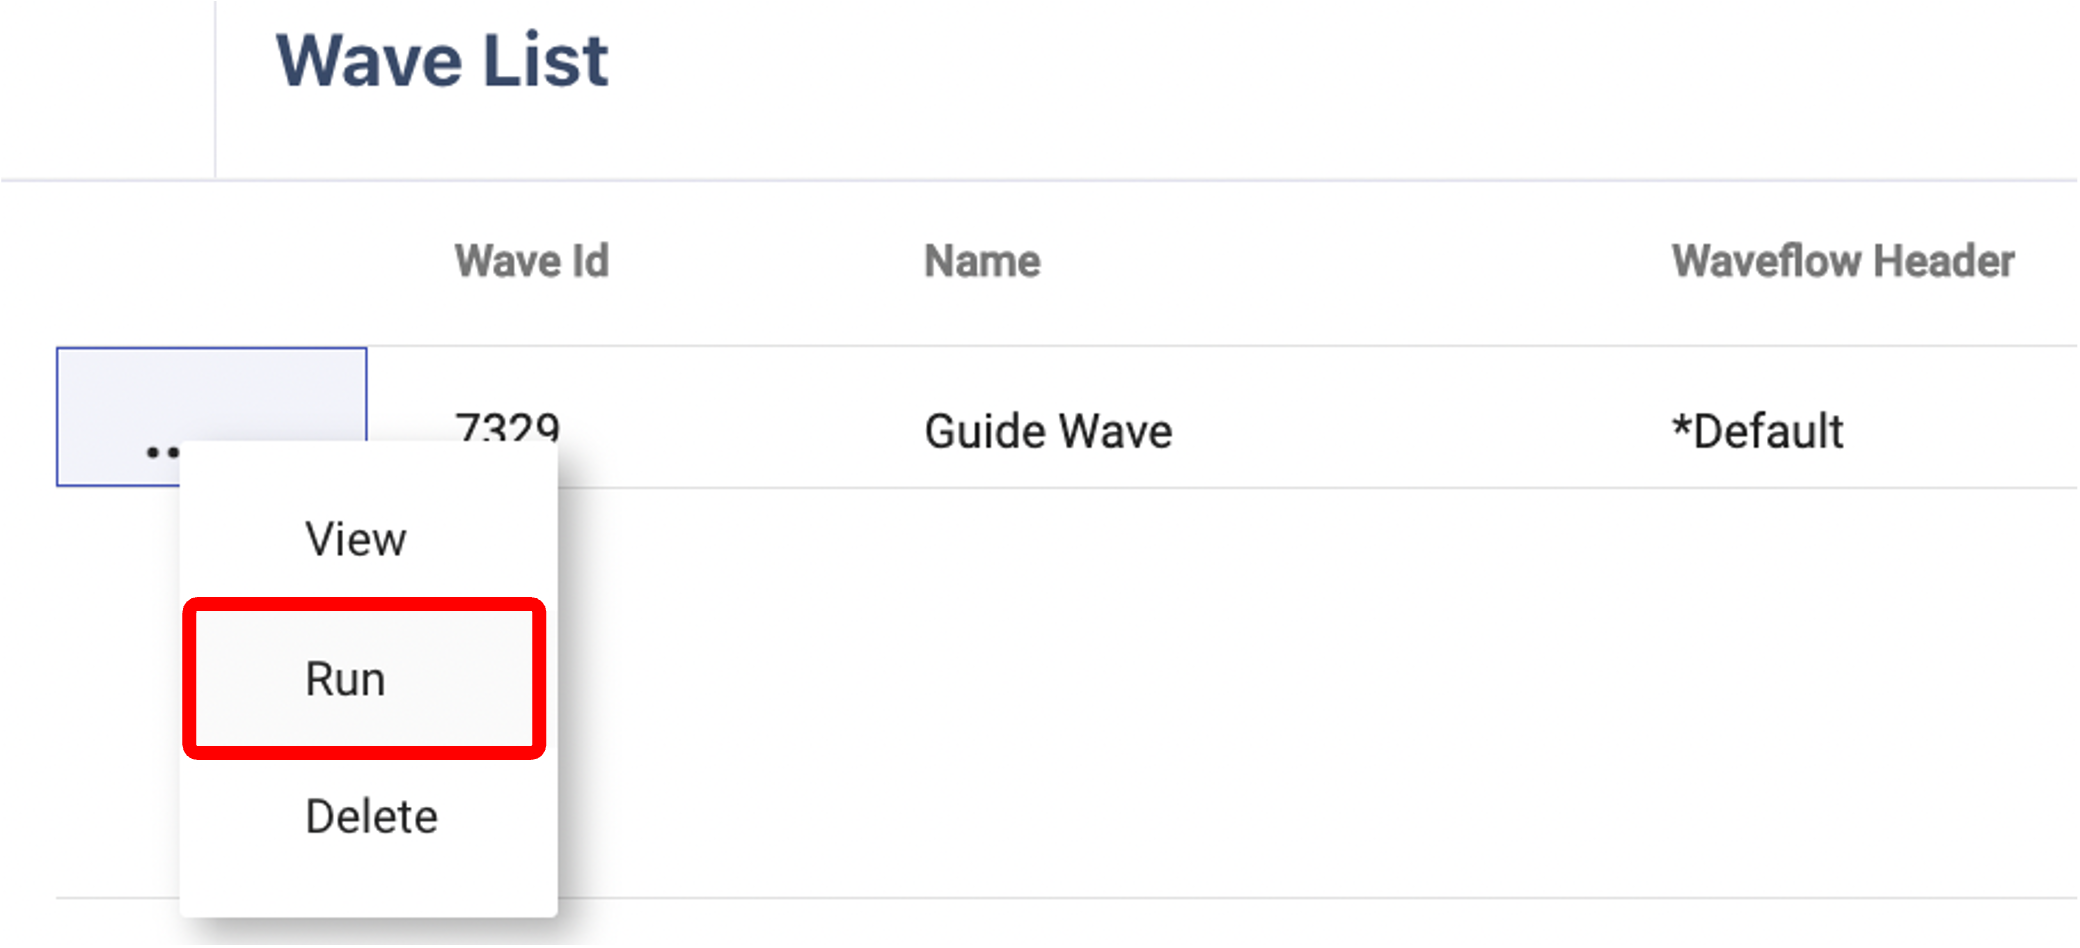
To run a wave, you first switch to the wave tab within the shipment planner.
In this tab, you should see a list of all waves, including their name, ID and waveflow header. Find the wave that you want to release, click on the three dots and then click "Run". You also have the option to view and delete waves.
When the wave is successfully run, the assigned Waveflow is executed. This typically includes:
Allocation – Assigning inventory to shipments based on Allocation Rules.
Shipment Picking Job Creation – Generating picking tasks for operatives, based on the Shipment Picking Job Creation configuration.
Additional Waveflow processes may apply depending on your configuration. For a full list, refer to the Waveflow knowledge article
🧊 Soft Allocation (3PL Clients Only)
🧠 What is Soft Allocation?
Soft Allocation reserves inventory against an order without generating picking jobs. It’s ideal for 3PLs who want to commit stock early for sync with platforms like Shopify, before the fulfilment process starts.
🔒 Who Can Use It?
Only available for Companies with Soft Allocation enabled
Controlled at the Company level
✅ When to Use It
To reserve stock in advance while delaying fulfilment
While waiting for label prep, inbound completion, or batching
To reflect availability on external platforms like Shopify
🧭 How to Use It
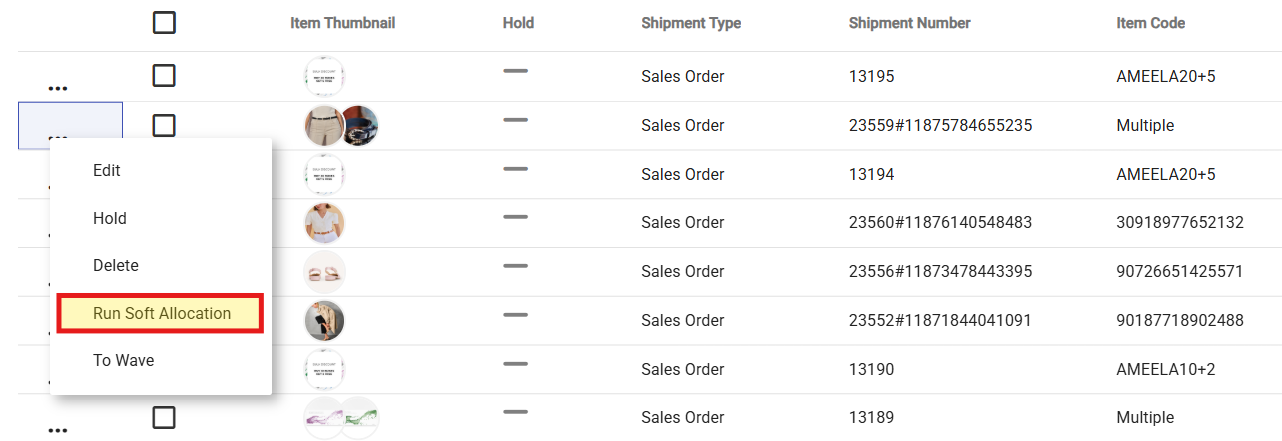
Go to Shipment Planner > Pool Tab
Find your shipment using the filters
Click the ellipsis (⋯) next to a shipment
Click "Run Soft Allocation"
📝 The system will attempt to allocate the full shipment — but will not create any jobs. You can later deallocate or run the Wave when ready.
Note: This option only appears for shipments associated with Companies that have Soft Allocation enabled.