📥 Understanding Receiving
What is Receiving?
Receiving in Canary7 marks the starting point of the goods-in process. It involves scanning, verifying, and registering the arrival of goods into the warehouse system, ensuring that items are correctly recorded, discrepancies are addressed, and inventory is made ready for storage.
Once completed, the stock becomes visible in inventory and, where applicable, can trigger automated Putaway Job Executions depending on the selected Receiving Profile.
🔑 Key Functions of the Receiving Process
📦 Capture Receipt Data – Scan or enter key details such as item codes, quantities, suppliers, and delivery info.
✅ Verify Against Orders – Ensure that the received items match expected quantities and data from purchase orders or receipt headers.
🔁 Profile-Driven Automation – Automatically trigger downstream actions (like Putaway Jobs) based on the Receiving Profile selected.
📊 Inventory Updates – As items are checked in, inventory levels are updated in Canary7 (and your ERP, if integrated).
⚠️ Discrepancy Handling – Shortages, overages, or damaged goods can be identified and flagged during receiving.
📂 Accessing the Receiving Screen
Open the Navigation Menu.
In the search bar, type "Receiving" and click the result.
ORNavigate directly to: Receiving > Receiving from the sidebar.
How to Use Receiving
🧭 Selecting a Receiving Profile
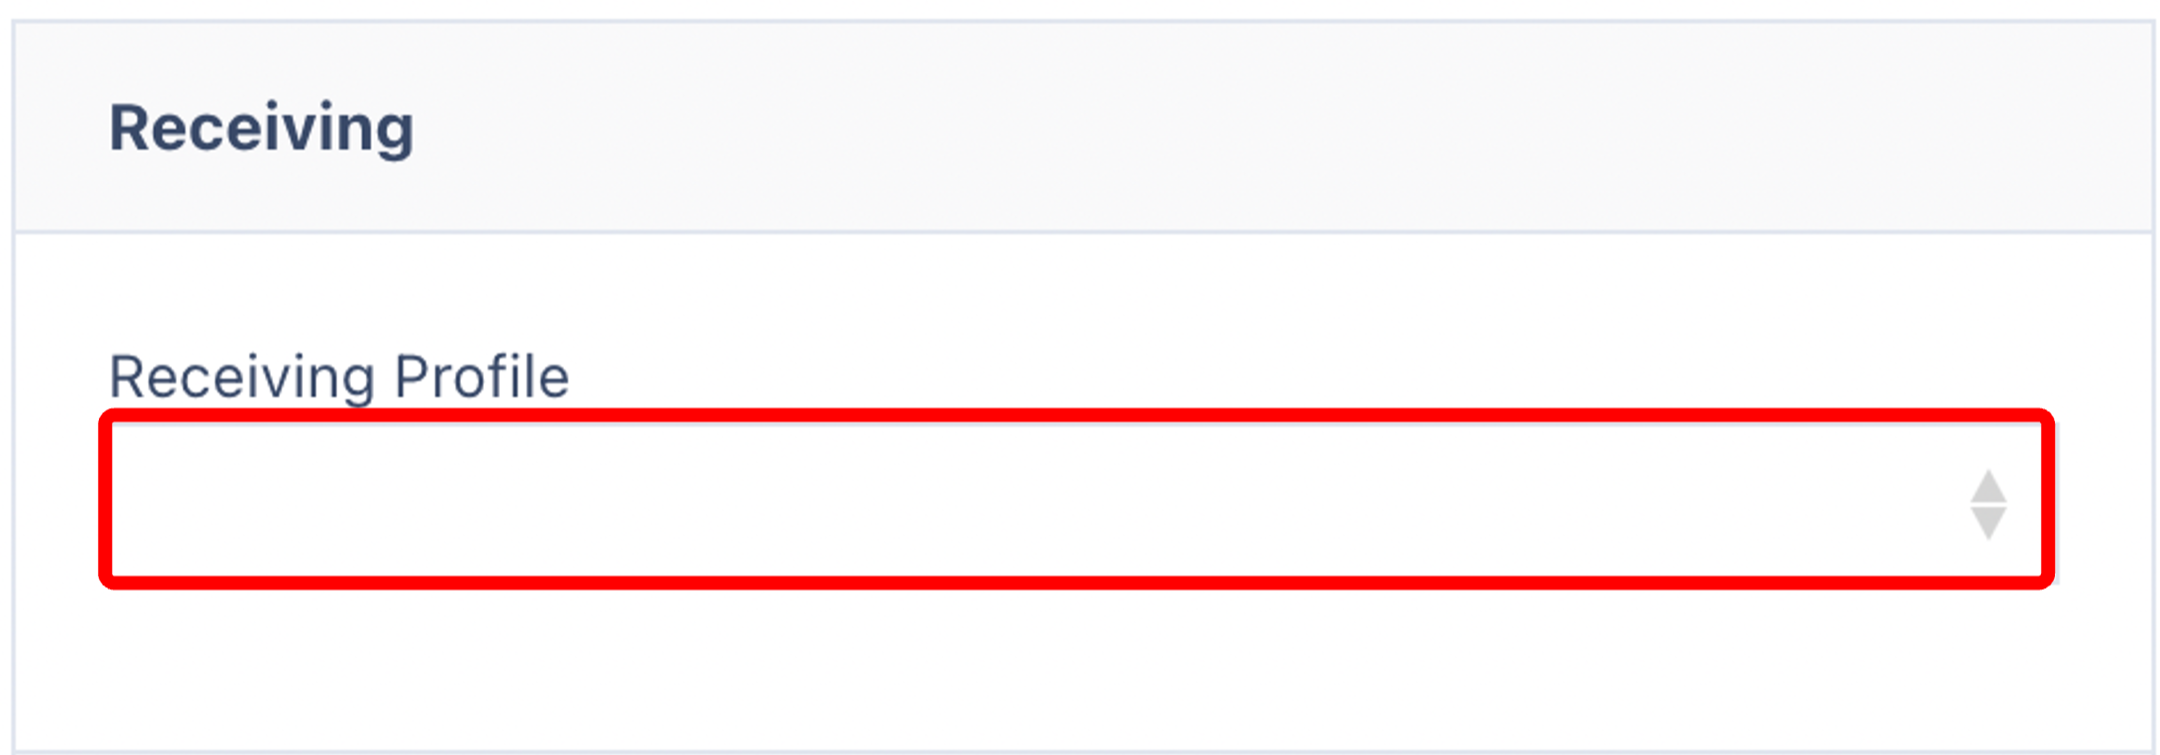
Before scanning items, select the appropriate Receiving Profile from the dropdown. This determines the workflow and automation used.
Common profiles include:
Standard Receiving
Returns Receiving
🔧 Need to create a new profile? Add a Receiving Profile
🔁 Receiving Processes
There are two core types of receiving flows in Canary7:
1️⃣ Check and Put
This process involves scanning and verifying items at receiving, then assigning them to a container that will later be put away via a Putaway Job Execution.
✅ Best for:
High-volume deliveries
Complex warehouse zones
Space planning / batching of goods
🔍 Key Characteristics:
Items are containerized at receiving
Putaway happens as a separate job
Suitable for delayed or grouped putaway
2️⃣ Check and Locate
This process involves scanning and verifying items, then immediately putting them away to their designated location — all in one continuous step.
✅ Best for:
Fast-moving stock
Time-sensitive goods
Simple warehouse layouts
🔍 Key Characteristics:
Immediate putaway upon check-in
No Staging or holding area
Direct entry of location during the process
📋 Steps to Receive Items
To use receiving, the following steps are required
Scan or Enter the Receipt Number

Scan or Enter the Item
.png)
Select the Unit of Measure (UoM)
(You may be prompted for barcode scan after selecting)

Enter the Check-In Quantity

You will then be prompted to scan onto a container
🚀 Check-In Locate – Step-by-Step
If your profile is set to Check-In Locate, follow these steps:
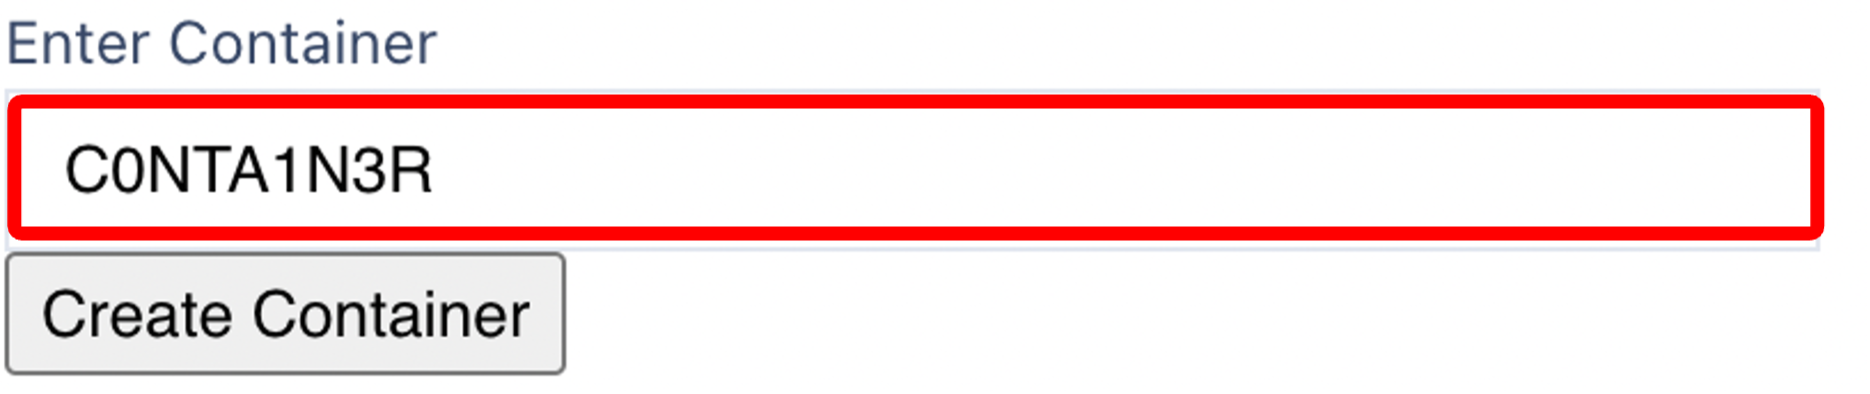
Scan/Enter a Container and click Create Container
Select a Shipment Container Type and click Create

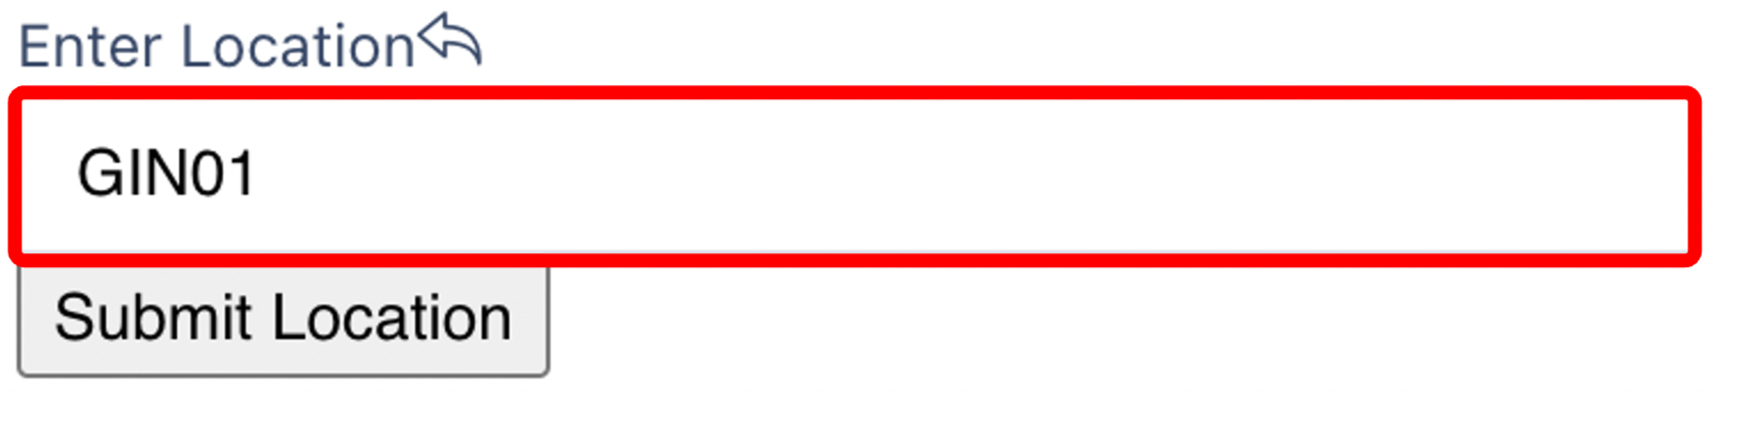
Enter the Location and click Submit
Click on the Next Button
 to continue.
Enter the label quantity, if no label is needed, type 0.

Now click the Check-in button , and the product is ready to be Putaway
🧊 Check and Put – Step-by-Step
If your profile uses Check and Put, follow these steps:
After entering quantity and item details, you will be assigned a location
You will then be prompted to enter the Check Digit (If enabled).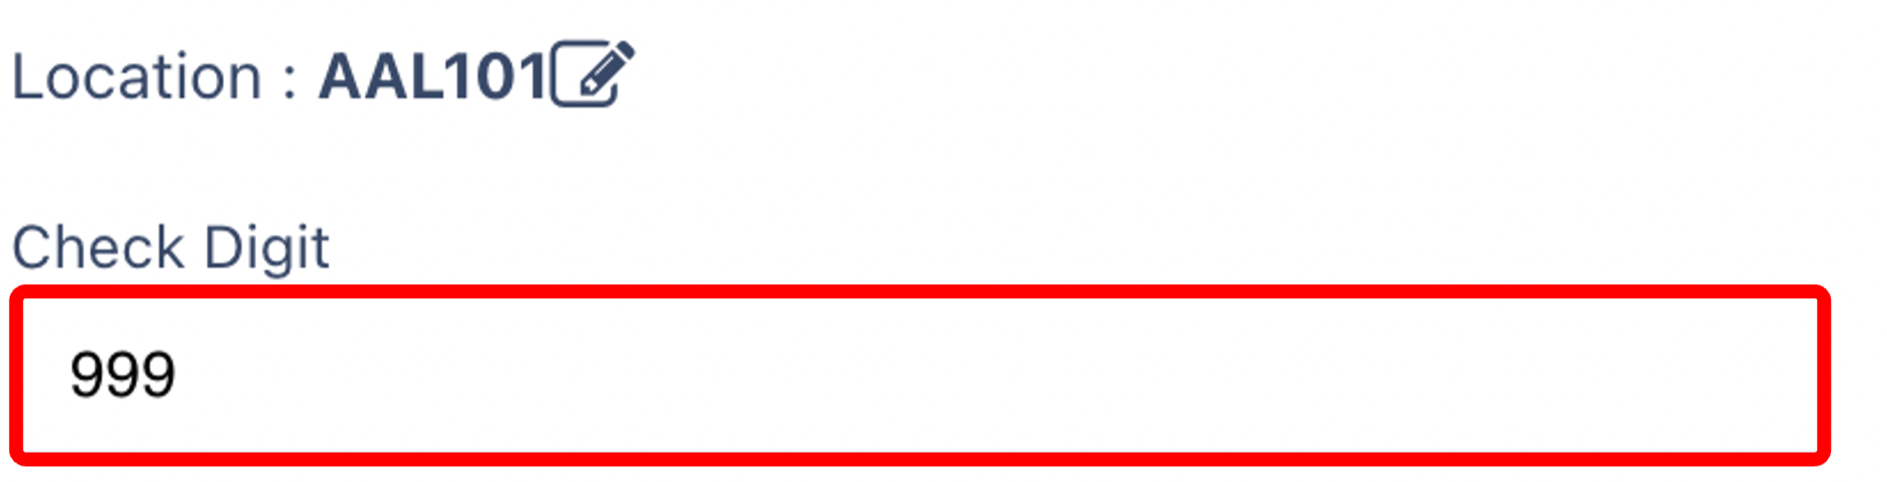
Enter the Label Quantity
(Enter
0if labels are not required)
Enter the Number of Pieces

Review your entries, then click Check In
✅ This completes the receiving step. The physical putaway will be executed later via a separate Putaway Job.