📢 Understanding Notification Master
Notification Master is a powerful feature in Canary7 that automatically alerts users when specific system conditions are met—or not met. These alerts help users stay informed about system events such as failures, successes, or other process-related actions.
Notifications are typically delivered via:
📧 Automated Email
🔗 Webhook (for integrations with external systems)
🛠 Common Use Case
A typical example is setting up a notification to alert a user when a Shipment fails to import—so the issue can be addressed without delay.
🔗 How It Works
Notification Master leverages Canary7's Process Logs, allowing you to create granular criteria that precisely define when a notification should trigger.
For example:
Notify the operations team when allocation fails for Company ABC in Warehouse 02.
📂 Accessing Notification Master
From the Navigation Menu, type and select "Notification Master" in the search bar.
Alternatively, go to:
Configuration → System Setup → Notification Master
➕ Creating a New Notification
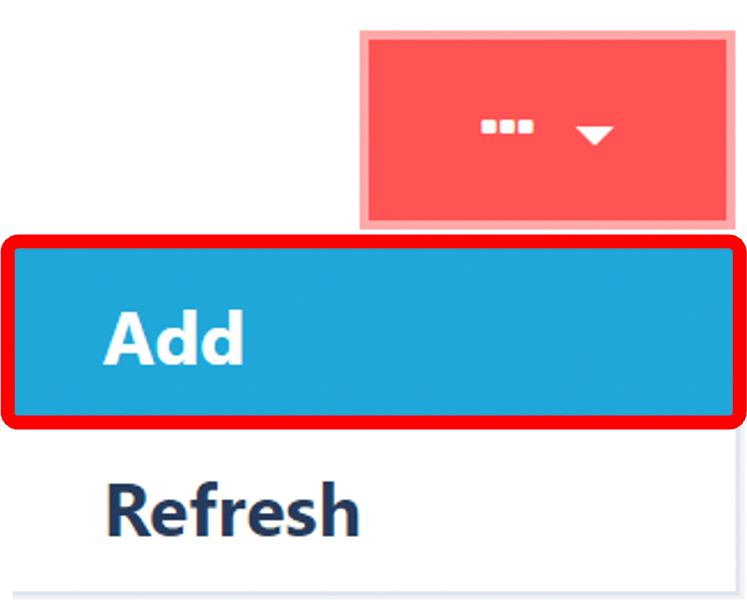
Step 1: Click Add
Click on the Red Action Button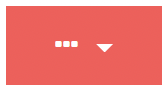 , this will bring up a drop-down menu, and select "Add"
Step 2: Complete the General Tab
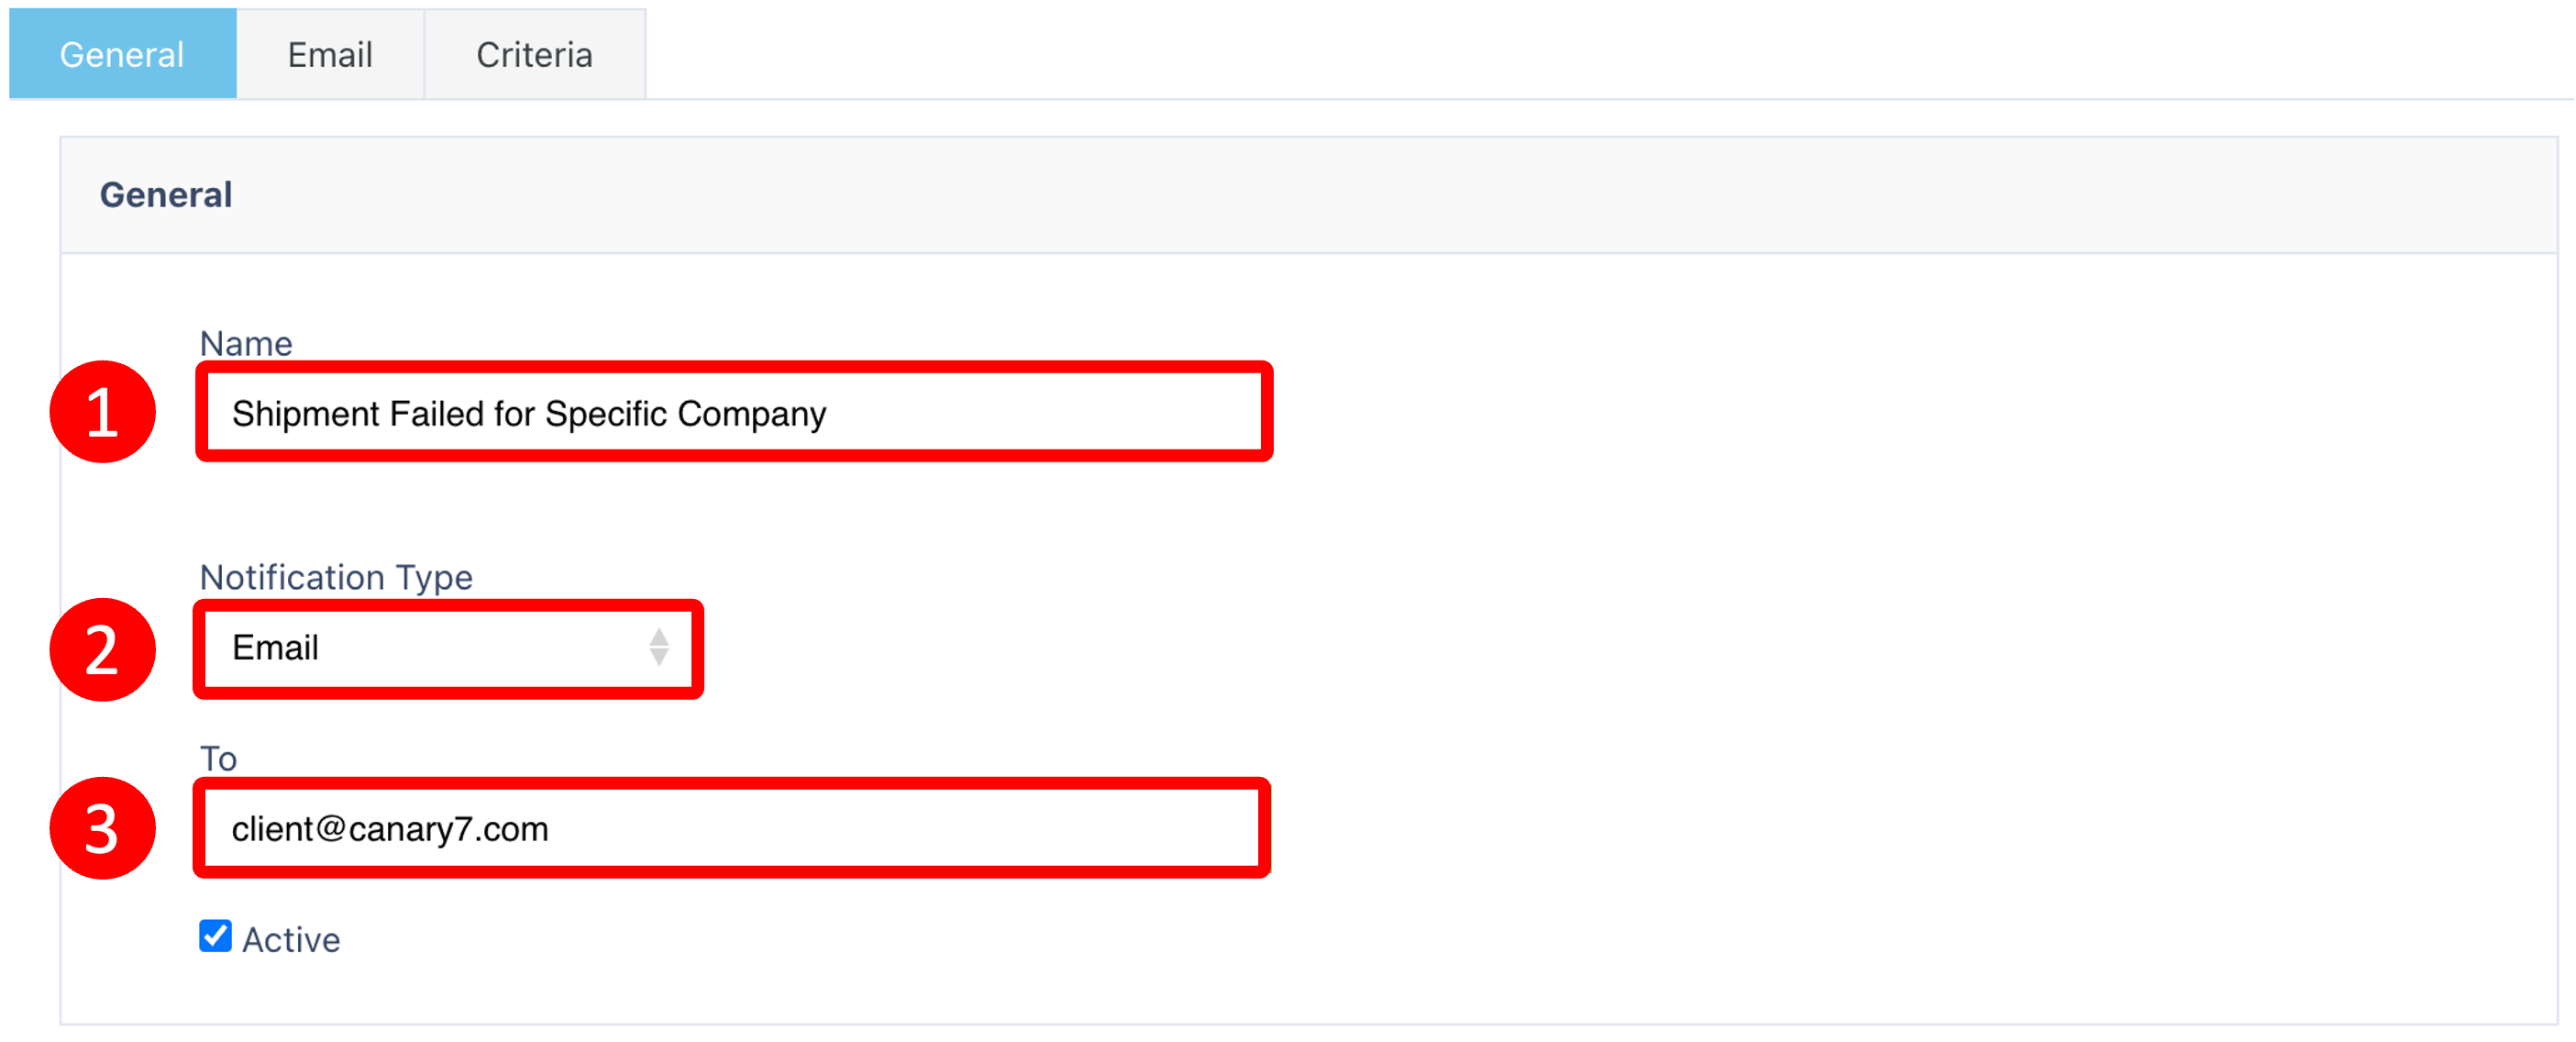
Enter or select the following details:
| Field | Description |
|---|---|
| Name | A label for your notification |
| Notification Type | Choose Email or Webhook |
| Email Recipient | One or more recipients (if Email selected) |
| Active | ✅ Ensure this is checked so the notification will function |
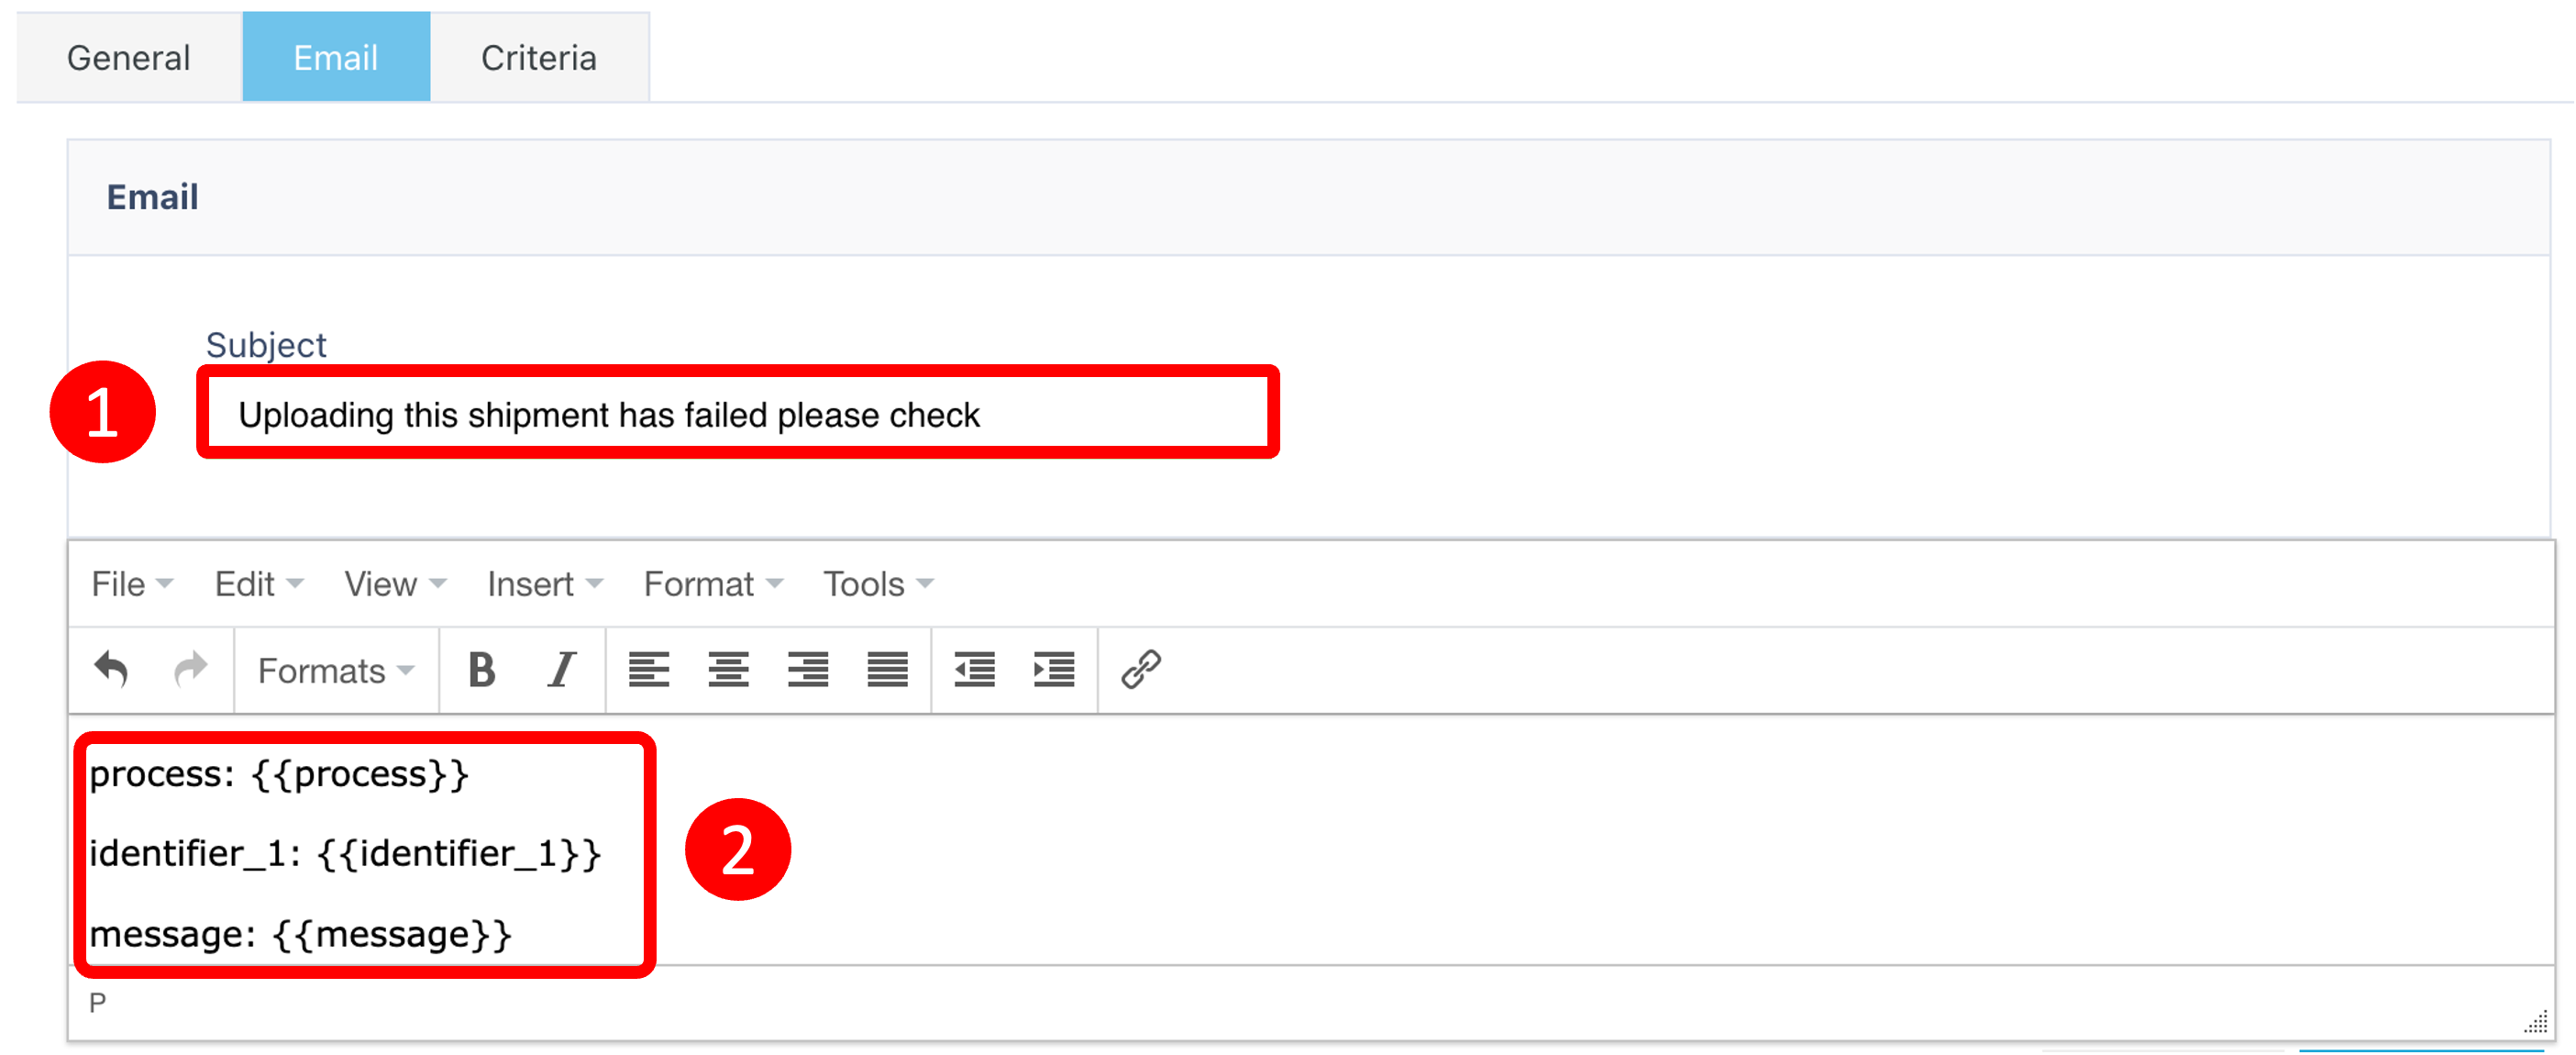
📧 Step 3: Complete the Email Tab
(Only visible if "Email" is selected as the Notification Type)
| Field | Description |
|---|---|
| Subject | Email subject line |
| Message | Email body content – supports dynamic data placeholders |
{ } to insert dynamic data from Process Logs.Example:Click Submit to create the Notification.
🎯 Step 4: Adding Notification Criteria
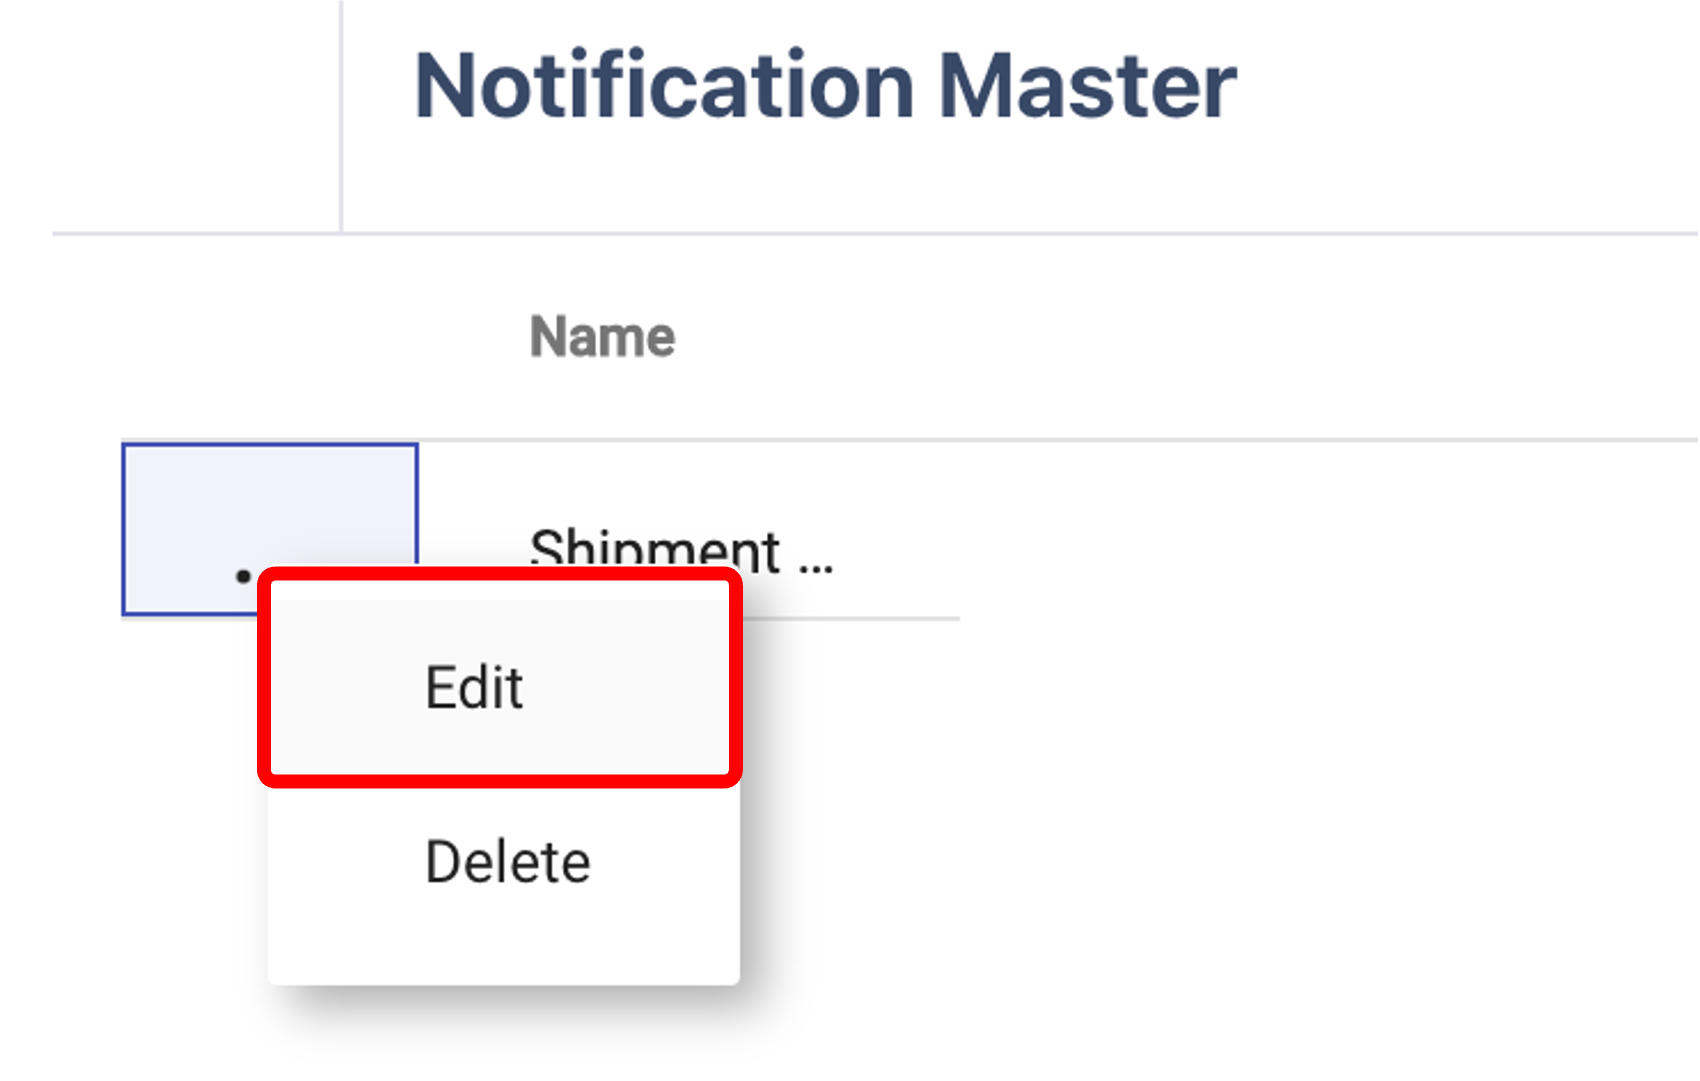
Within Notification Master, locate the Notification you have just created, click on the three dots  and then click "edit".
In this example, we will make criteria to email the user when a shipment fails.
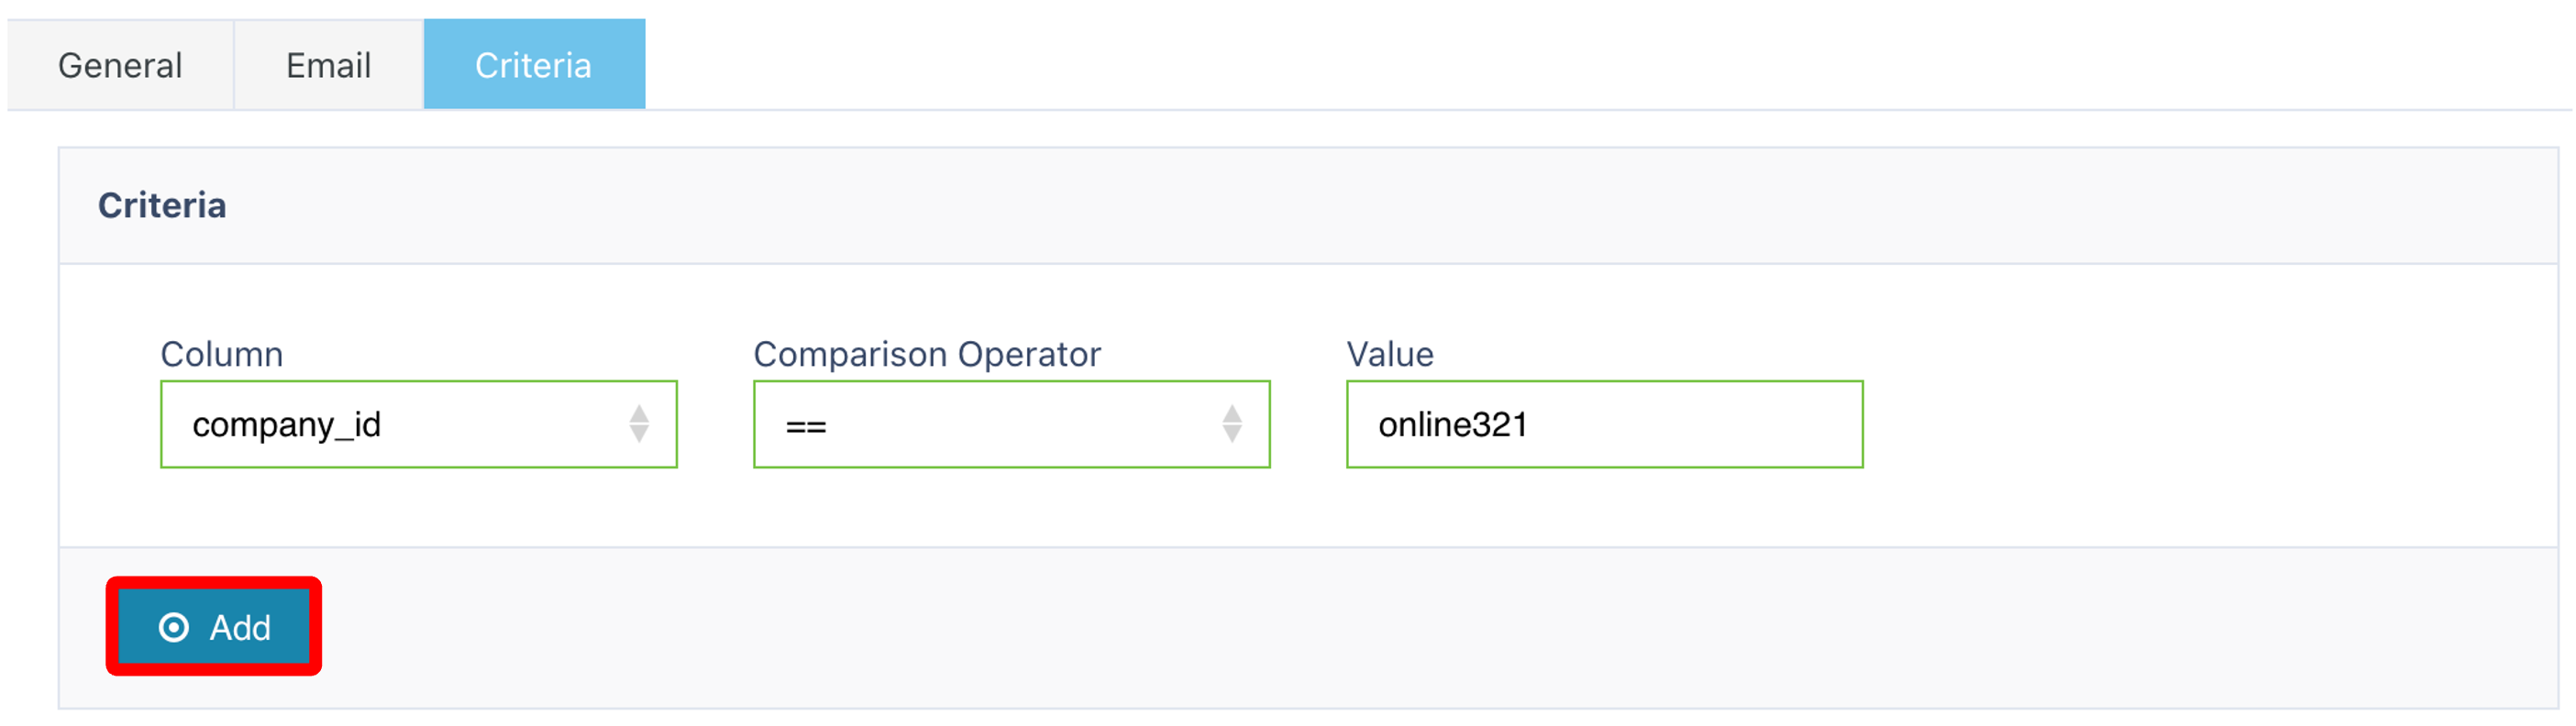
➕ Click Add to define a new set of criteria
This is where you control exactly when a notification is sent.
This is an example of criteria used to notify user's of a Shipment Import failure.
📊 Criteria Options (All linked to Process Logs)
You can use the following fields to filter events:
| Criteria Field | Description |
|---|---|
| Process | e.g. "Shipment Import", "Allocation", "Job Creation" |
| Action | e.g. "Fail", "Success" |
| Message | Specific text from the process log (partial matches supported) |
| Identifier_1 | Custom system identifiers (e.g., Shipment ID, Order Number) |
| Identifier_2 | Secondary identifiers (e.g., Wave ID, Job Group) |
| Identifier_3 | Additional context (e.g., SKU, Carrier Code) |
| Identifier_4 | Additional metadata if applicable |
| Date/Time | When the event occurred |
| Company ID | Internal numeric company ID |
| Company Code | External-facing company code |
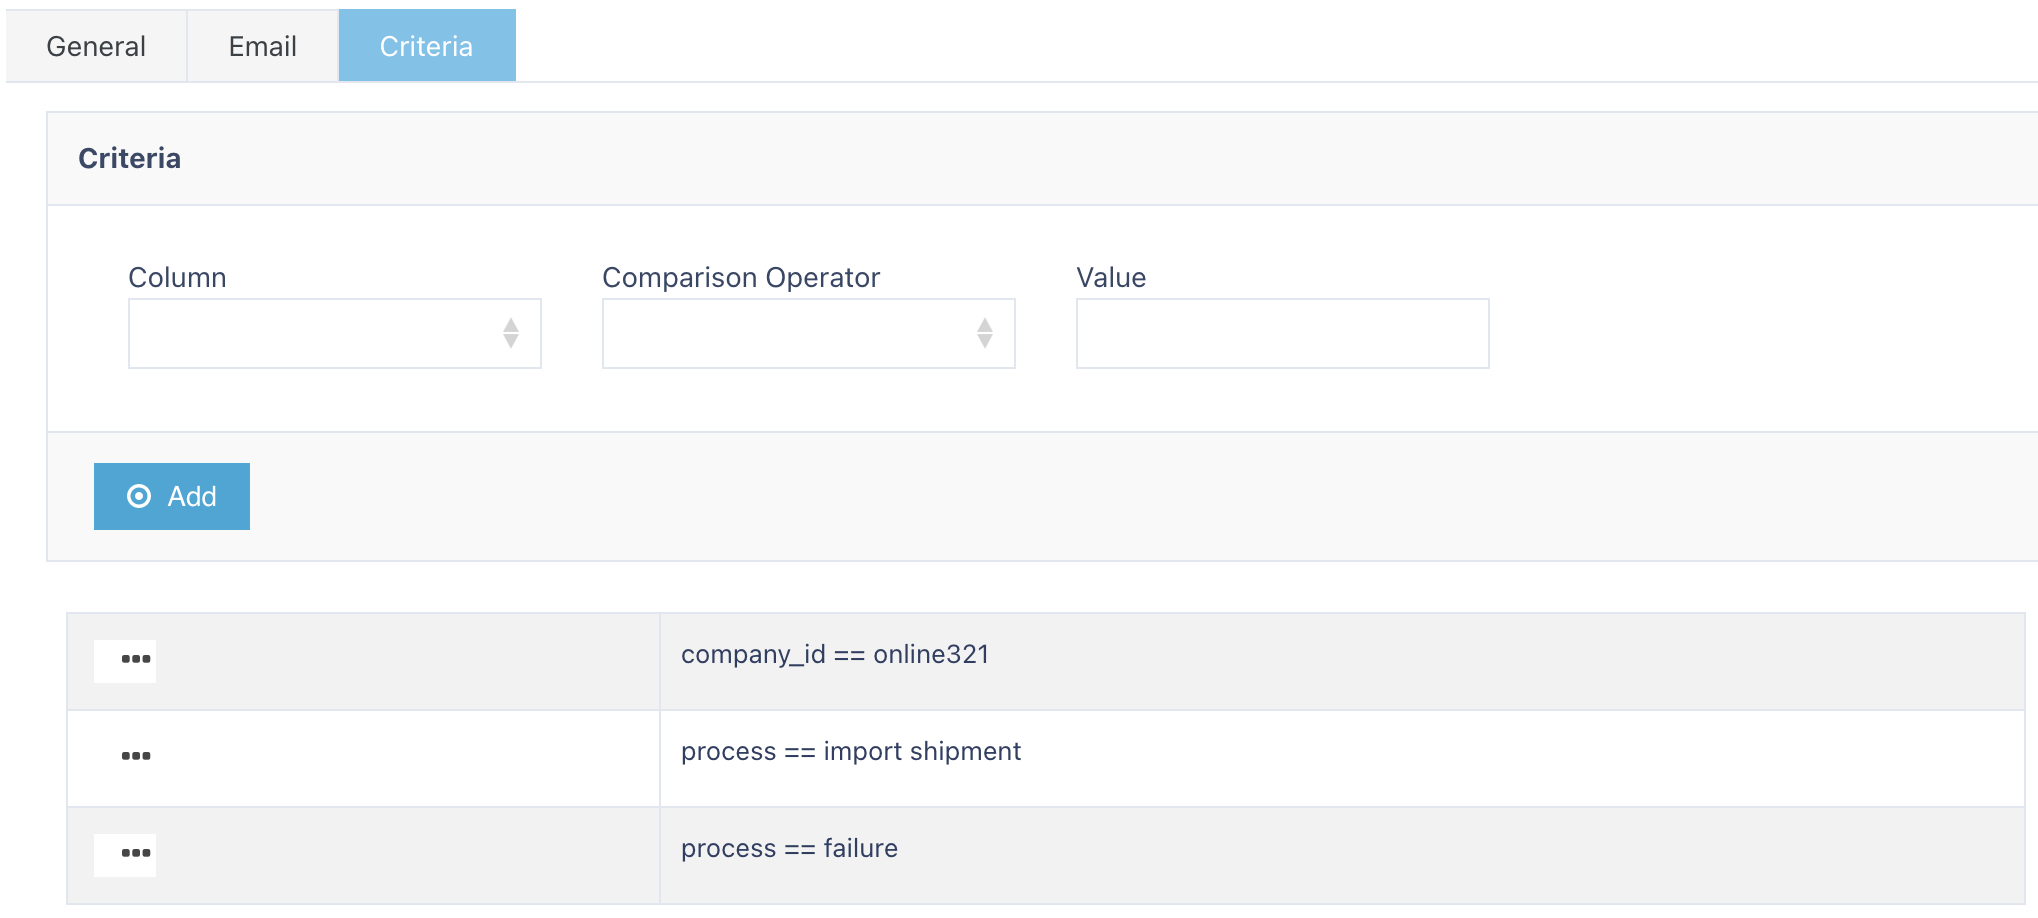
Process =
Shipment ImportAction =
FailCompany Code =
ABC
Click Add once your criteria are defined.
✅ Summary
Notification Master keeps your team proactively informed
Set up alerts for failed processes, key system actions, or workflow exceptions
Use detailed criteria from Process Logs to fine-tune when alerts are triggered
Supports email and webhook delivery for flexibility
Once you have selected and entered the required fields, click on the submit button.png) to add.
to add.