🗺️ Understanding Location Class
Location Classes in Canary7 are system-defined categories that define the purpose of a location in the warehouse.
They are hardcoded (i.e. cannot be edited or customised) and play a key role in how inventory is managed throughout workflows like receiving, picking, and shipping.
Each Location Class enables Canary7 to apply the correct logic to that area — for example, whether it can receive goods, stage shipments, or temporarily hold stock.
📚 Location Class Types
Here’s a summary of the Location Classes available in Canary7:
📦 Inventory
Standard storage locations used between receiving and picking.
🚚 Receiving Dock
Represents the goods-in area of the warehouse. Used during the inbound process.
📤 Shipment Dock
Used for outbound shipping. Inventory moved here is typically ready to be despatched.
📥 Consolidation Dock
Used to gather picked items together before packing or shipping.
🎁 Packing Desk
Where items are packed after picking and before they are transferred to the Shipment Dock.
🛑 Staging Dock
Temporary holding areas for items before final movement — usually before shipping.
🪜 Pick and Drop
Used in two-step replenishment workflows. These are intermediate points where one user drops off items, and another collects them.
👤 User
Indicates inventory is in the hands of a user — such as during picking or replenishment. Canary7 treats the user as a location while stock is in transit.
🧠 Why It Matters
Each Location Class ensures that warehouse logic is applied correctly based on location purpose.
This impacts key processes like:
✅ Allocation
🔄 Replenishment
📦 Picking
🚚 Shipping
🧭 Accessing Location Class
To view or edit Location Classes:
🔍 Use the Search bar and type “Location Class”, or
🛠️ Navigate to:
Configuration→Functional Area Setup→Inventory Control Setup→Location Class
➕ Adding a Location Class
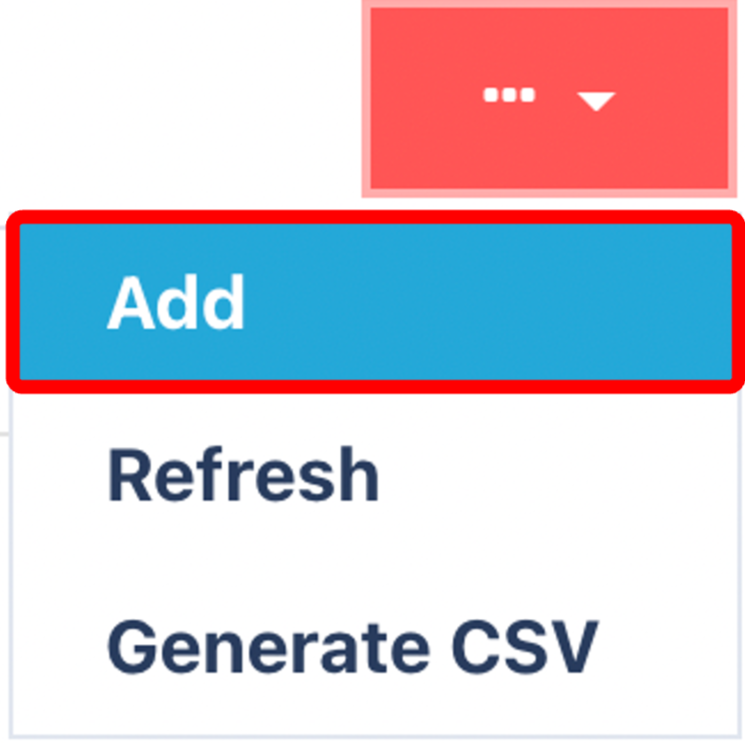
Click on the Red Action Button , this will bring up a drop-down menu, and select "Add"
📝 Enter Required Fields
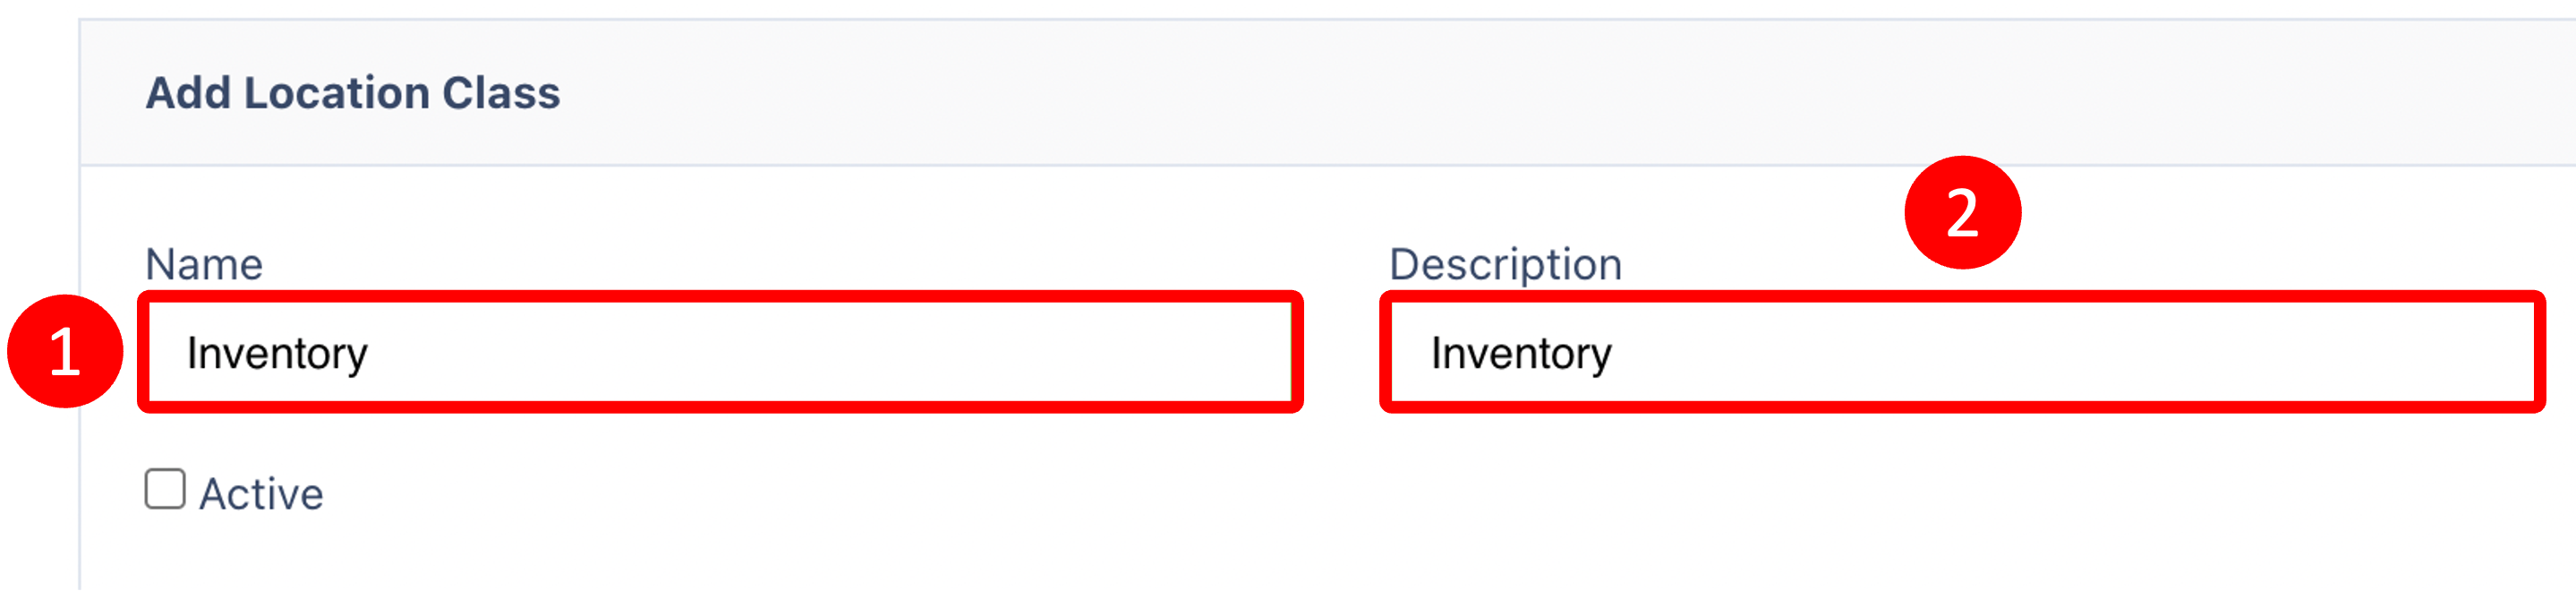
📛 Name – Name of the Location Class
🧾 Description – Optional, but helps describe the class
✅ Active – Make sure this is ticked so the class appears in the system
⚠
Once you have selected and entered the required fields, click on the submit button.png) to add.
to add.