🧭 Understanding Zone
🗺️ What are Zones?
In Canary7, Zones are logical groupings of warehouse locations that help organise and streamline your operations. By grouping locations based on their layout or function, zones let you apply specific rules that match how things actually work on the floor.
There are three types of Zones in Canary7:
1️⃣ Locating Zones
🔍 Used when putting stock away after receiving. These zones guide the system on where inventory should be stored.
💡 Best Practice:
For most implementations, we recommend using a single, global Locating Zone across the warehouse unless your operation requires strict control over putaway behaviour. This allows maximum flexibility and avoids over-complication unless there is a clear benefit. Granularity with Putaway Jobs can be achieved through Locating Rules.
2️⃣ Allocating Zones
📦 Used during allocation to influence where inventory is pulled from. These can separate stock by client, size, or product type.
💡 Best Practice:
Again, one global Allocating Zone is usually best unless your operation needs to restrict allocation for specific reasons. For deeper control, use Allocating Rules.
3️⃣ Work Zones
⚙️ The most operationally important. Work Zones define how work is performed — such as picking, replenishment, or movements — and are often referenced in system rules and workflows.
🧠 Examples:
🦶 Ground-Level Pickface: For fast-moving, small items picked into totes.
🏗️ High-Bay Racking: For slower or bulkier items, accessed via forklift.
📌 While both may be used for picking, the method, speed, and equipment differ — so defining them as separate Work Zones lets the system apply the correct logic and workflow.
✅ Why Use Zones?
Zones help your WMS make smart decisions, such as:
📍 Allocation Rules: Prioritise picking from specific Work Zones using Selections.
🚶 Picking Job Creation: Separate work by zone to optimise labour and equipment.
🔄 Replenishment: Move stock from a High-Bay Work Zone to a Ground-Level Pickface.
Thoughtfully defining your zones, especially Work Zones, helps Canary7 mirror your real-world processes and boost overall efficiency.
➕ Adding a Zone
👣 To add a new Zone:
Navigate to Zone in the system.
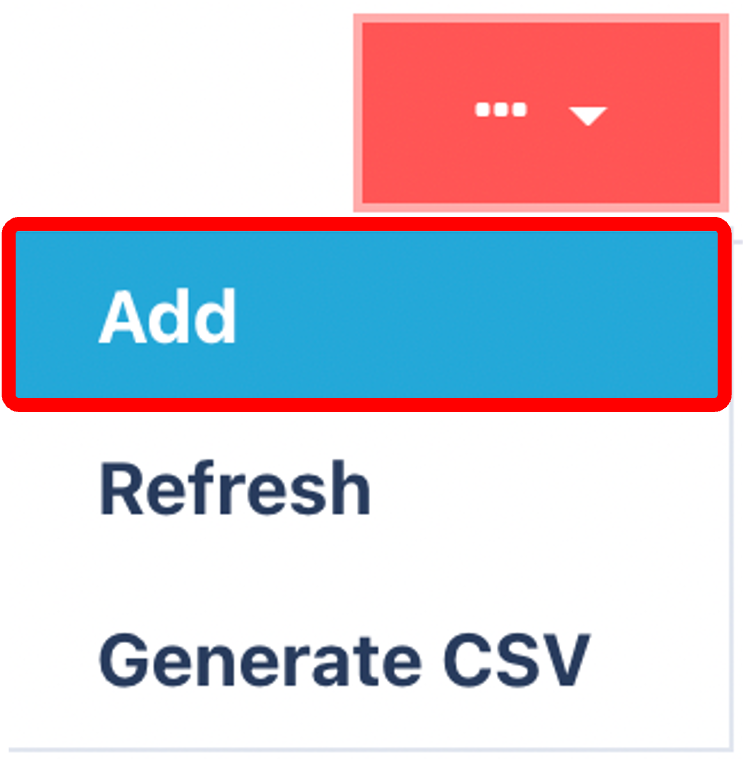
Click the Red Action Button 🔴 and select Add ➕.
📝 Enter the Required Fields:
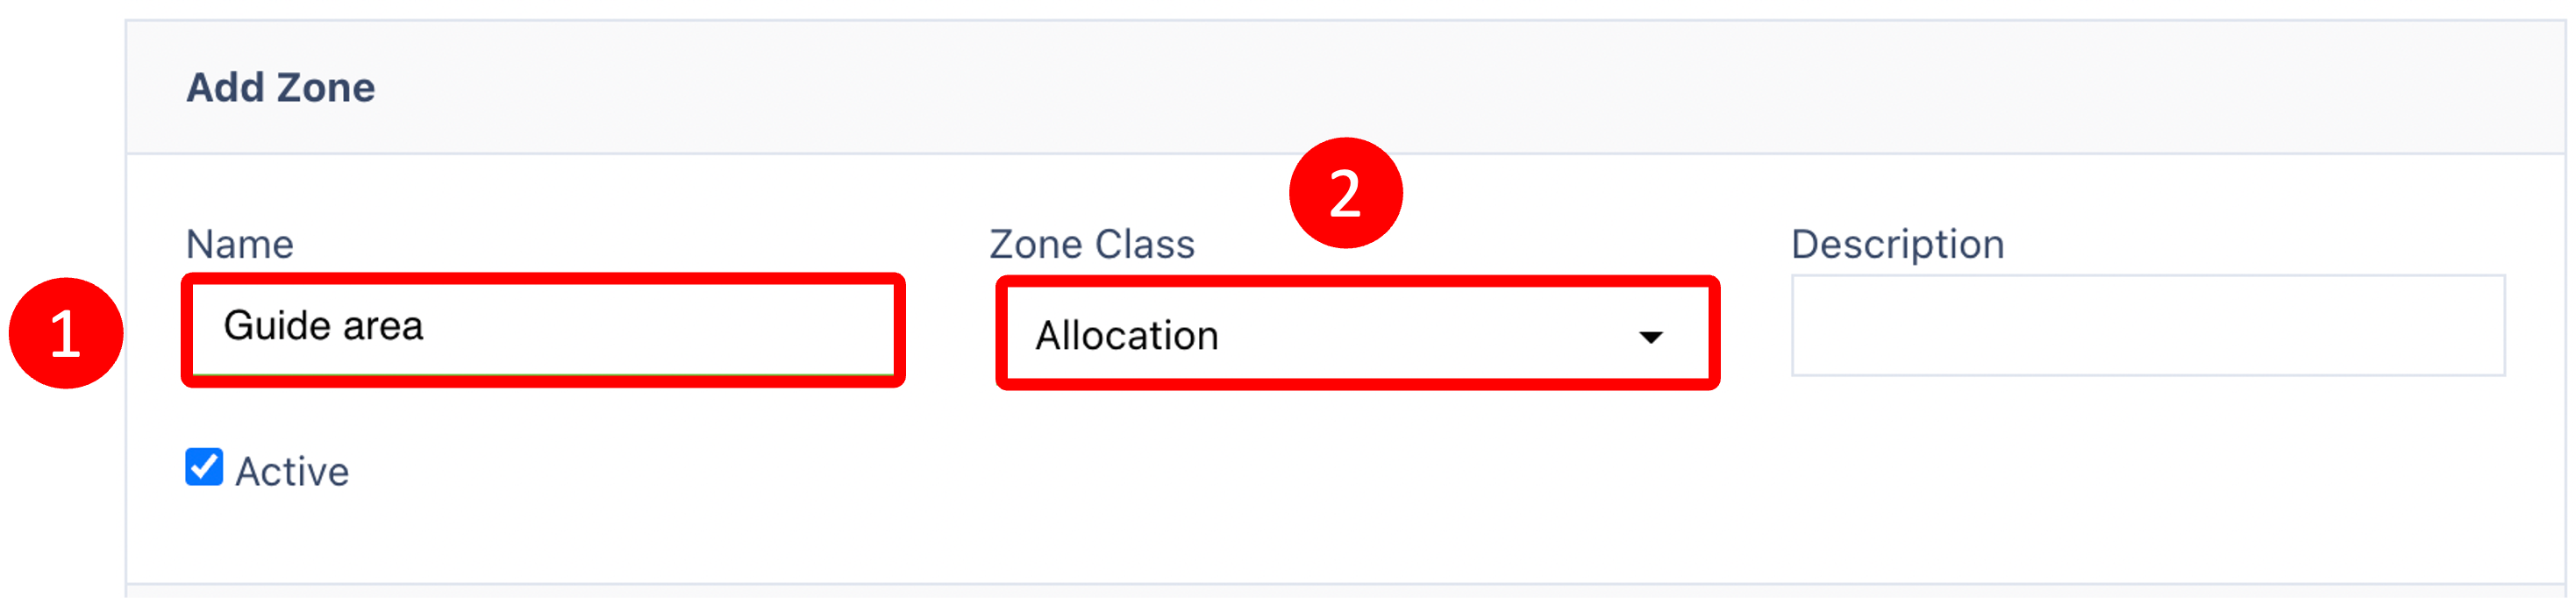
Name of the Zone
Zone Class (e.g., Locating, Allocating, or Work Zone)
✅ Check the Active Zone box
📤 Click the Submit Button to save your Zone
Ensure that you check the box  and click on the submit button
.png) to create the zone.
to create the zone.