🧩 Understanding Job Type
❓ What is a Job Type?
A Job Type is a simple label you assign when setting up Job Creation.
It helps distinguish between different execution methods for the same job class — such as:
🚚 Shipment Picking
🔄 Replenishment
📊 Cycle Count
📦 Cluster Jobs
🎯 Why Use Job Types?
Job Types don’t change how a job behaves technically, but they help organise, track, and filter jobs across the warehouse. They're especially useful in:
📌 Separating jobs by customer
(e.g., Customer A Picking vs Customer B Picking)⚙️ Distinguishing jobs by method
(e.g., High Bay Picking vs Zone-Based Replenishment)🔍 Filtering jobs during execution
(particularly useful in Job Enquiry)
🛠️ Accessing Job Type
To access or create a Job Type:
Open the 📂 Navigation Menu
Use the 🔎 Search Bar to type “Job Type”
Or go to:
⚙️ Configuration > Functional Area Setup > Job Setup > Job Type
Job Types are assigned in the General Tab of the following Job Creation screens:
Shipment Picking Job Creation
Replenishment Job Creation
Cycle Count Job Creation
Cluster Job Creation
Any jobs generated through these profiles will be tagged with the selected Job Type. Job Types must be created before Job Creations.
➕ Add a Job Type
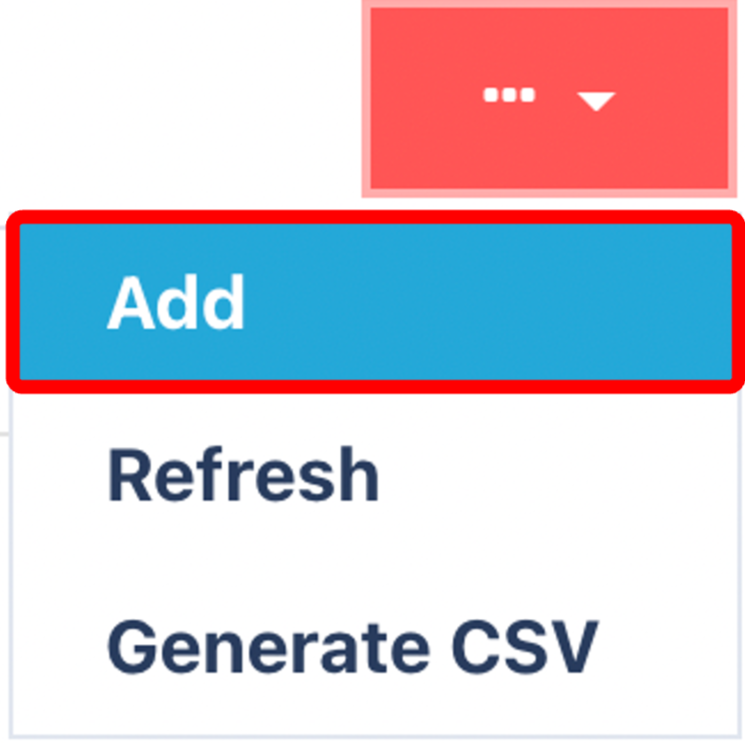
Click on the Red Action Button , this will bring up a drop-down menu, and select "Add"
Enter the following
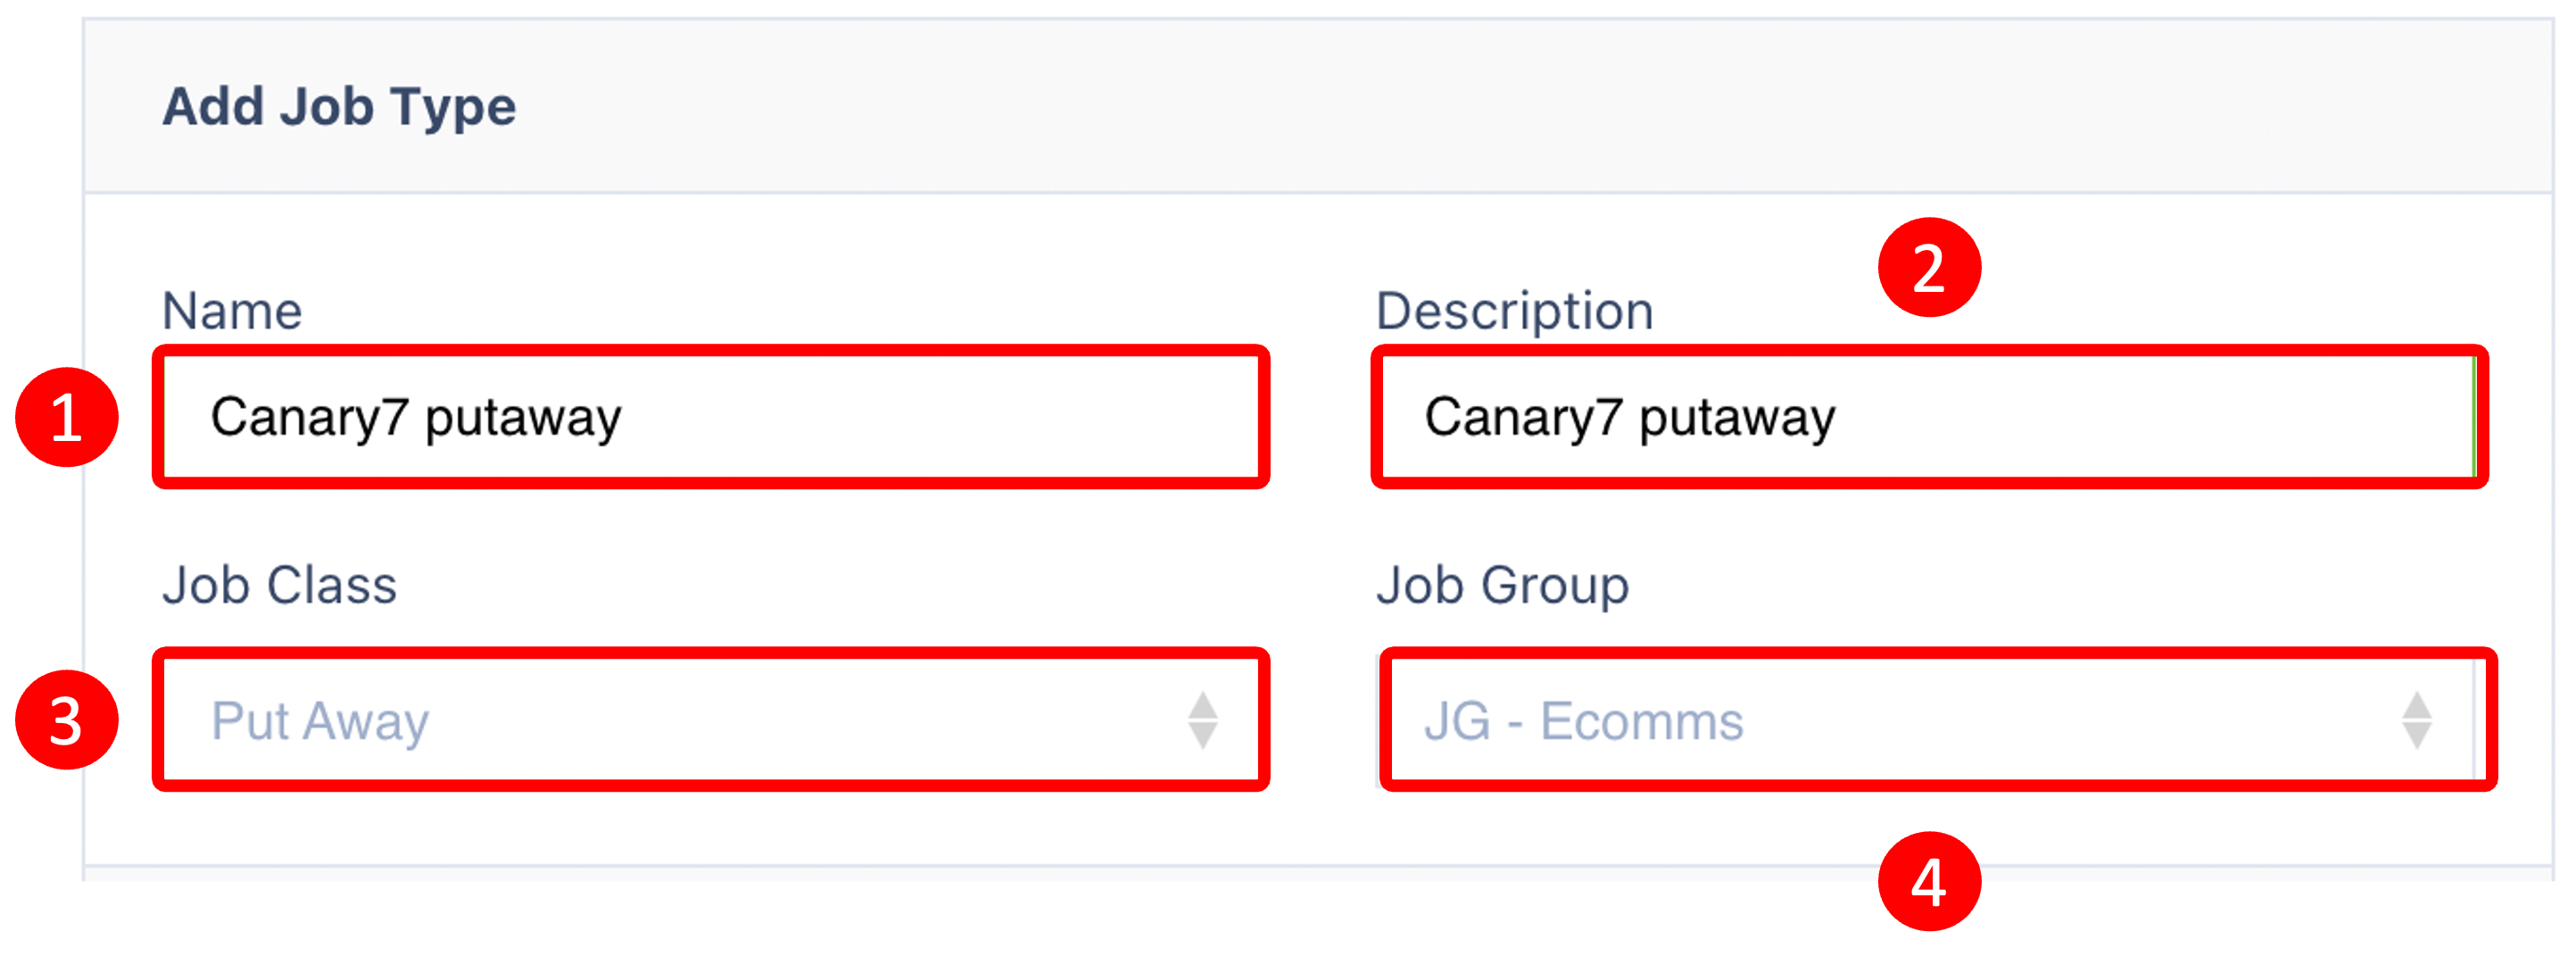
✍️ Fill in the Following Fields:
🏷️ Field | 📘 Description |
|---|---|
Name | The name for your Job Type (e.g., Customer 1 Replenishment) |
Description | Optional text to provide context for the Job Type |
Job Class | Select from system-defined classes: |
Job Group | Group multiple Job Types for easier filtering/reporting. |
Once saved, your Job Type will be available in all Job Creation profiles:
✅ Shipment Picking Job Creation
✅ Replenishment Job Creation
✅ Cycle Count Job Creation
✅ Cluster Job Creation
This helps the operations team clearly distinguish job flows and tailor assignments or reporting as needed.
Once saved, your Job Type will be available for selection in all Job Creation profiles.
Once you have selected and entered the required fields, click on the submit button.png) to add.
to add.