🏷 Understanding Charge Type
📘 What is a Charge Type?
A Charge Type defines what you are charging the customer for and when the charge should be applied. It links to a Charge Class to determine how the charge is calculated, then adds configurable rules to control the circumstances under which the charge applies.
Charge Types allow you to specify:
Trigger conditions – e.g., after a receipt is confirmed or a shipment is dispatched
Variables used in the calculation – e.g., number of units, weight, volume, time
Each Charge Type is linked to a Rate Card and Contract to determine the applicable rate and customer.
🔍 Accessing Charge Type
There are two ways to access Charge Types in Canary7:
Search Bar
Use the search bar in the top navigation
Type "Charge Type"
Click the result to open the Charge Type list
Via Navigation Menu
Go to Billing
Click Charge Type
This opens a list of all configured Charge Types, along with the Charge Class they use, the conditions applied, and other relevant details.
Adding a Charge Type
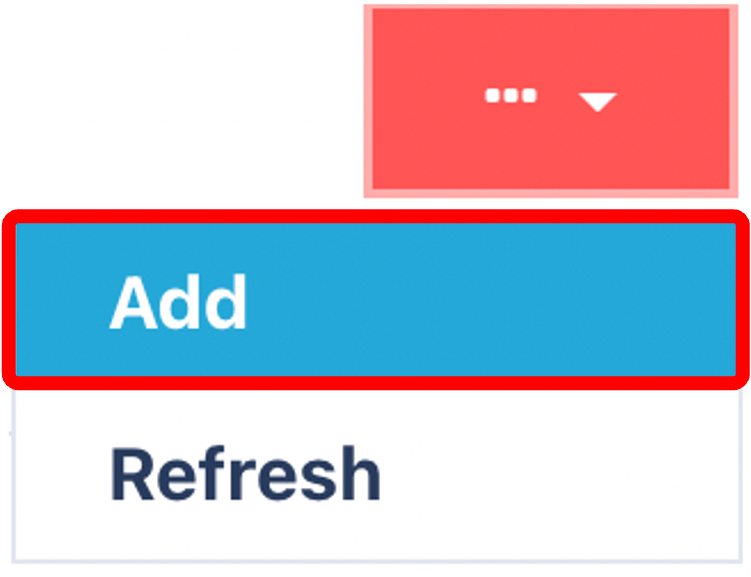
Click on the Red Action Button , this will bring up a drop-down menu, and select "Add"
Complete General Tab
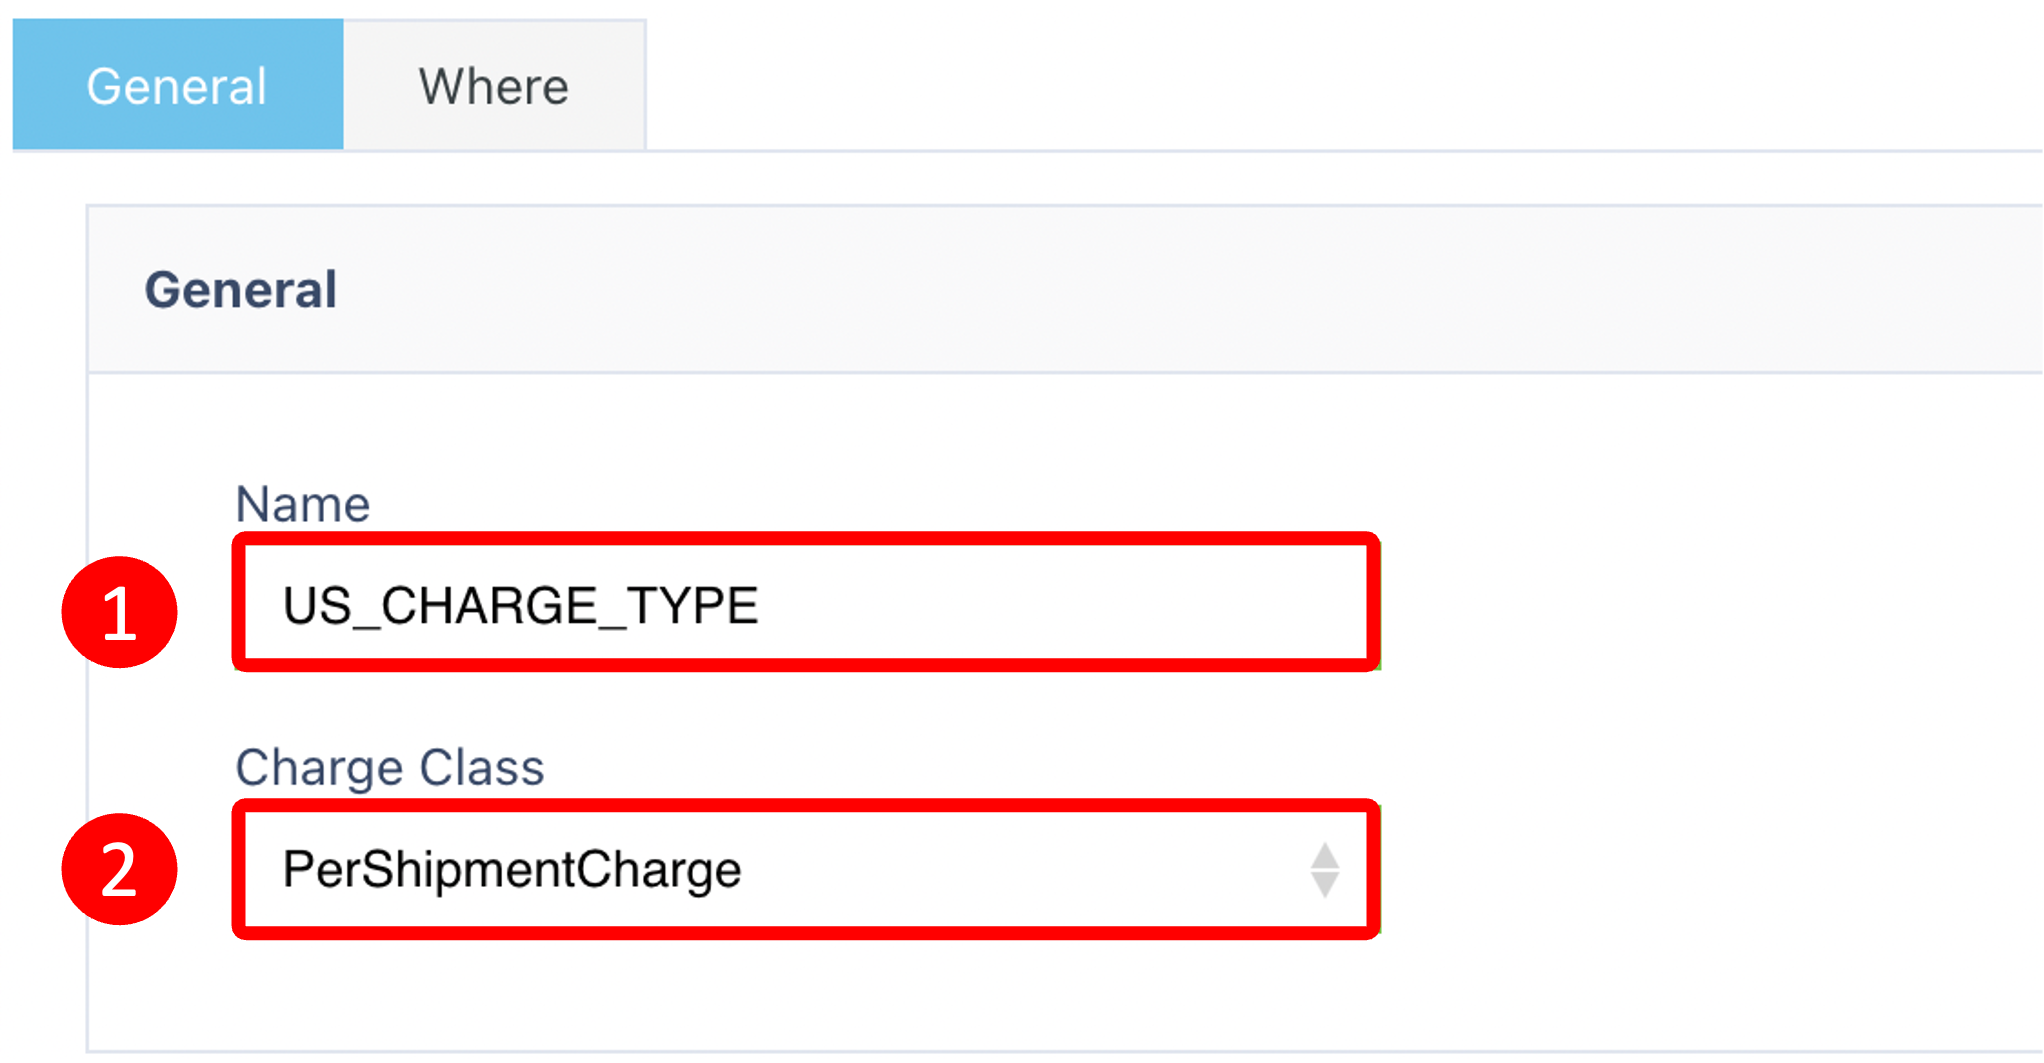
Enter and select the following:
Name – Give your Charge Type a descriptive name (e.g., USA Handling Fee)
Charge Class – Select from the system-defined list (e.g., FlatRateCharge, ChargePerUnit)
Complete the Where Tab
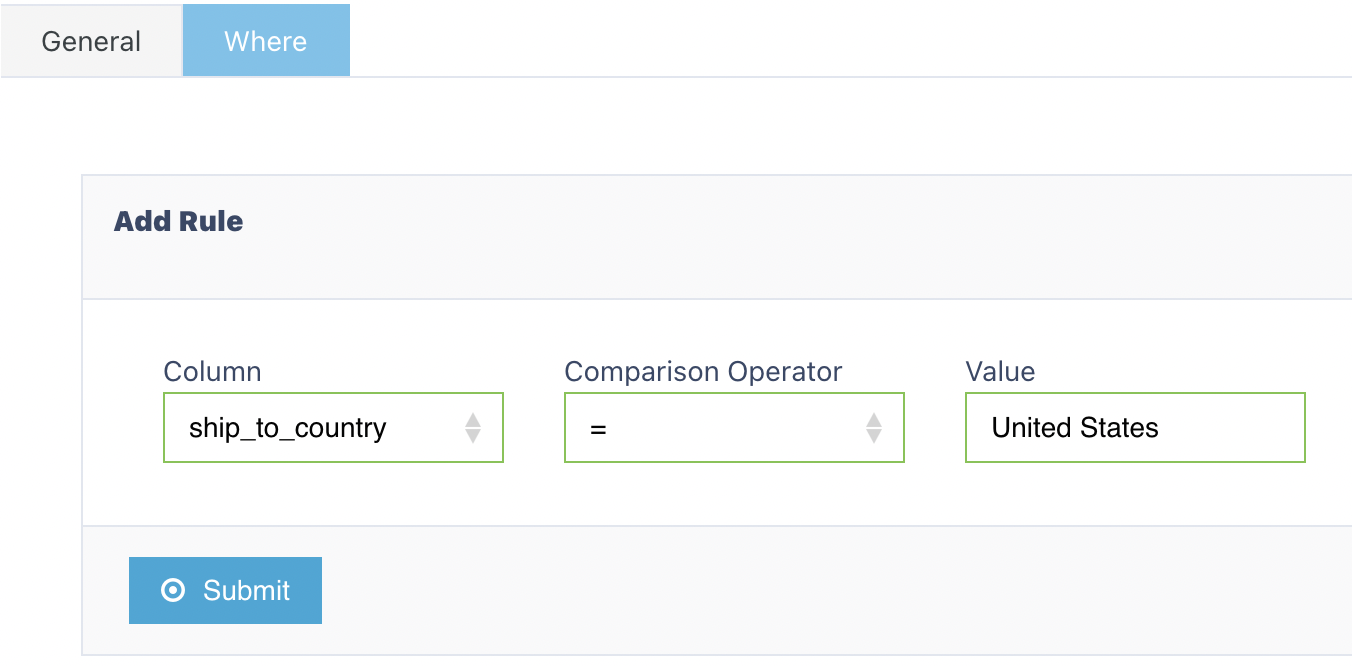
📍 Where Tab
The Where Tab defines the criteria that must be met for the charge to be applied.
Example:
Let’s say we want to apply a handling fee only when:
The Ship-To Country is USA
The Warehouse is Warehouse1
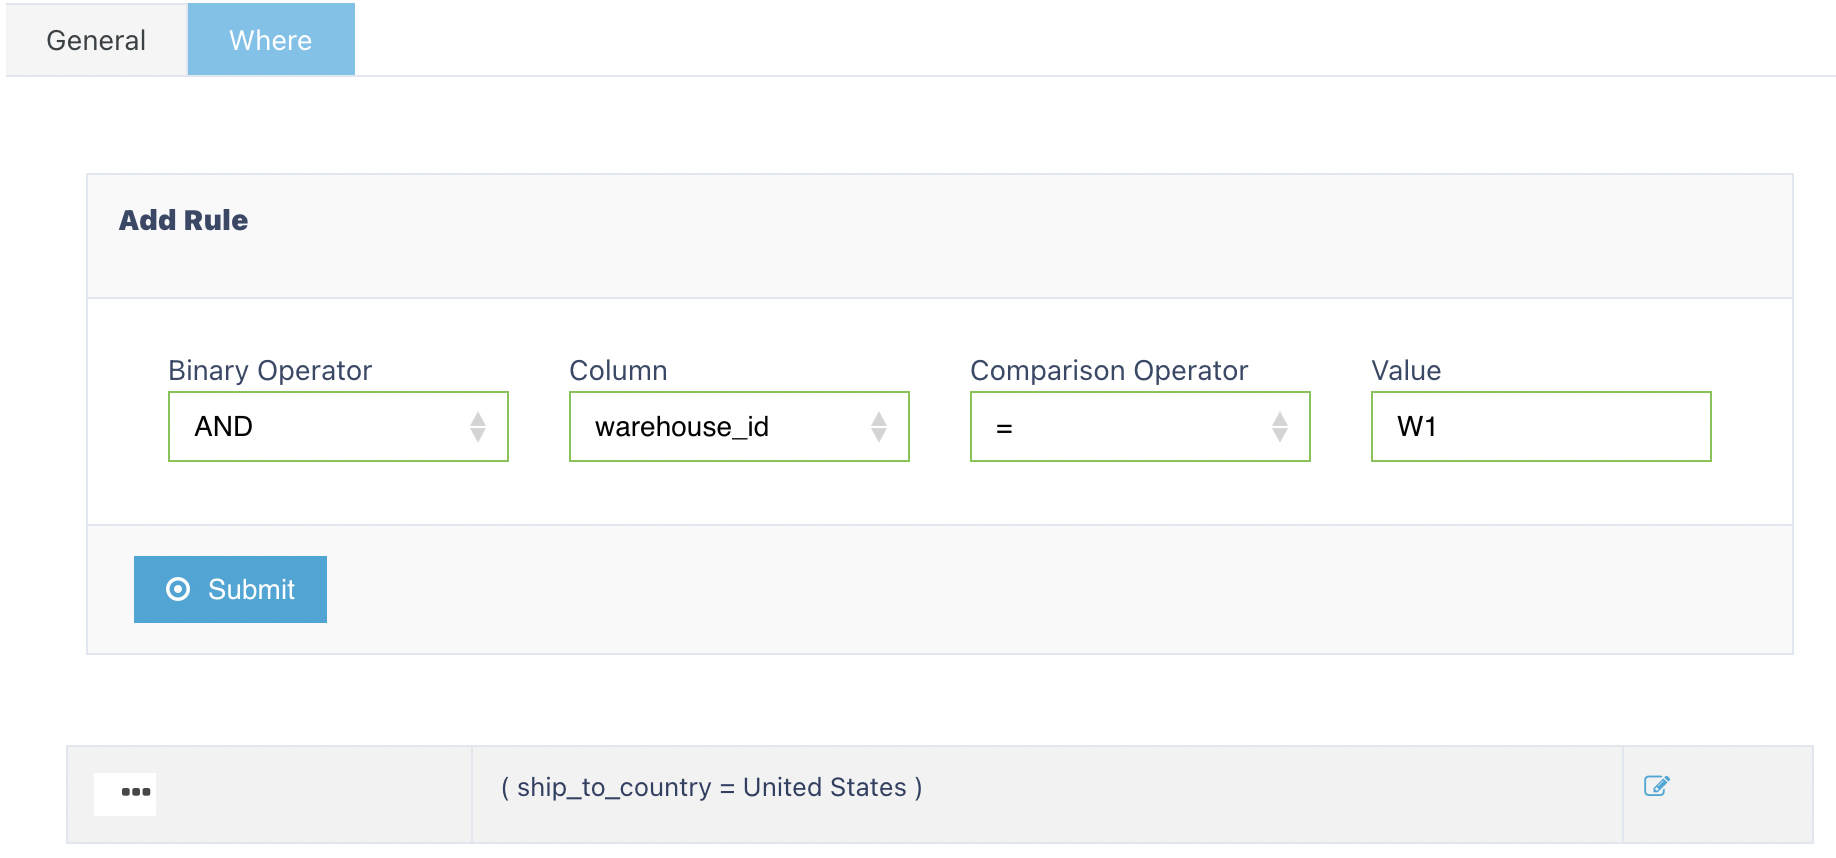
To configure this:
Select a column – e.g.,
ship_to_countryChoose a comparison operator – e.g.,
=Enter a value – e.g.,
USAClick the Submit button (top-right) to apply the condition
You’ll then be prompted to add a second condition:
Select second column – e.g.,
warehouse_codeChoose binary operator –
ANDComparison and value – e.g.,
= Warehouse1Click Submit again to finalise
The final “Where” criteria would appear as:
ship_to_country = 'USA' AND warehouse_code = 'Warehouse1'
🧩 Available Columns (Examples)
When building your conditions, some commonly used fields include:
warehouse_codecompany_codeshipment_numbership_to_countrycarrier_namecreated_at
⚖️ Comparison Operators
| Operator | Meaning |
|---|---|
| = | Equals |
| <> | Not equal to |
| < | Less than |
| > | Greater than |
| <= | Less than or equal to |
| >= | Greater than or equal to |
| like | Partial match (e.g., US%) |
When adding multiple conditions:
AND – All conditions must be true
OR – At least one condition must be true
Once you have selected and entered the required fields, click on the submit button.png) to add.
to add.