Understanding Replenishment Profile
What is Replenishment Profile?
A Replenishment Profile controls which replenishment jobs are visible to operatives on the Replenishment Execution screen. While it does not create jobs, it filters and tailors job visibility based on configurable criteria such as job zones, job types, and verification requirements. This ensures that operatives only see the jobs relevant to them and helps streamline task execution across warehouse teams.
🔧 Key Configuration Areas
⚙️ General Tab
| Field | Description |
|---|---|
| Name | A descriptive name to identify the profile. |
| Initiation Method | Determines how jobs are started: System – Automatically assigned.User – Manually started by the operative. |
| Order By | Defines how jobs are sorted on screen. Options include: PriorityStart Position AscendingCreated Date |
| Over Pick | Allows operatives to pick more than the required quantity. Useful for covering future demand or using excess stock. Options: Yes / No |
| Short Pick | Allows jobs to be completed even if the full quantity isn’t available. Options: Yes / No |
| Set Job Number to Container on Successful Execution | Whether to record the Job Number on the destination container. Options: Yes / No |
| Print Replenishment Picking Label | Triggers label printing after picking. Options: Yes / No |
| Only Show Assigned Jobs | Users will only be able to access jobs that are directly assigned to them. |
📦 Job Zones Tab
Select one or more Job Zones that this profile should apply to. Only replenishment jobs within the selected zones will be shown to the operative.
💡 Refer to the Zone guide for zone definitions and best practices.
🧩 Job Types Tab
Choose the relevant Job Types (e.g. bulk top-up, emergency replenishment). This ensures that only specific replenishment workflows are visible under this profile.
💡 Use this to restrict profiles to relevant job functions.
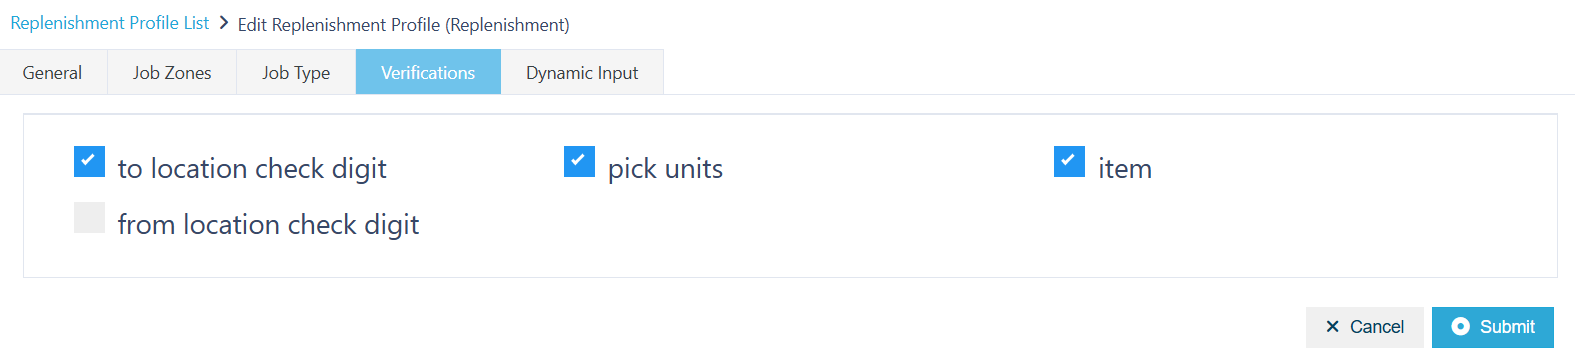
✅ Verifications Tab
Verifications enhance job accuracy and control by prompting operatives to confirm key actions during the process.
Available Verification Options:
| Verification | Description |
|---|---|
| To Location Check Digit | Requires scanning the destination location (or its check digit) to verify correct placement. |
| From Location Check Digit | Requires scanning the source location for accuracy. |
| Pick Units | Allows users to manually enter the picked quantity (e.g. “5 units”) rather than scanning every unit. |
| Item | Prompts users to scan the item barcode to verify SKU identity. |
⚙️ Dynamic Input (Advanced)
For advanced users, dynamic input fields allow the use of custom scripts to manage:
Barcode parsing
Business-specific logic
⚠️ Dynamic inputs are typically configured during onboarding or as part of advanced customisation.
📂 Accessing Replenishment Profiles
You can access Replenishment Profiles via either of the following:
Search Bar: Type and select "Replenishment Profile".
Navigation Path:
Configuration > Functional Area Setup > Replenishment Setup > Replenishment Profile
➕ Creating a New Replenishment Profile
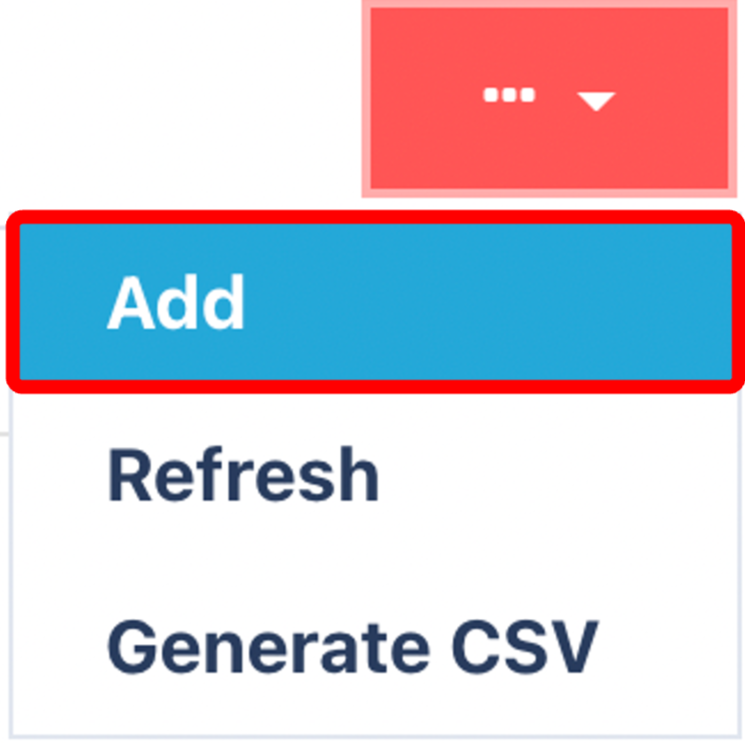
From the Replenishment Profile screen, click Add.
Click on the Red Action Button , this will bring up a drop-down menu, and select "Add"
Enter General Settings
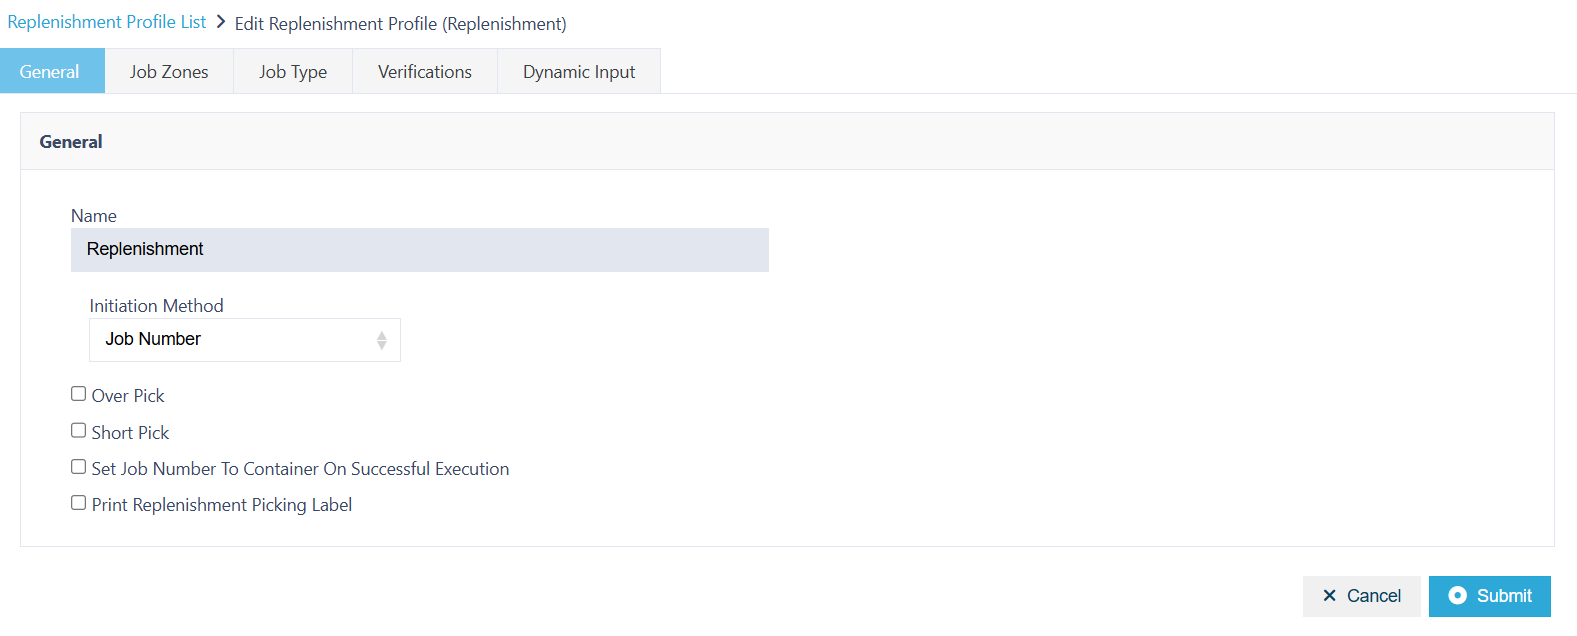
Complete the General tab with all mandatory fields.
Select Job Zones
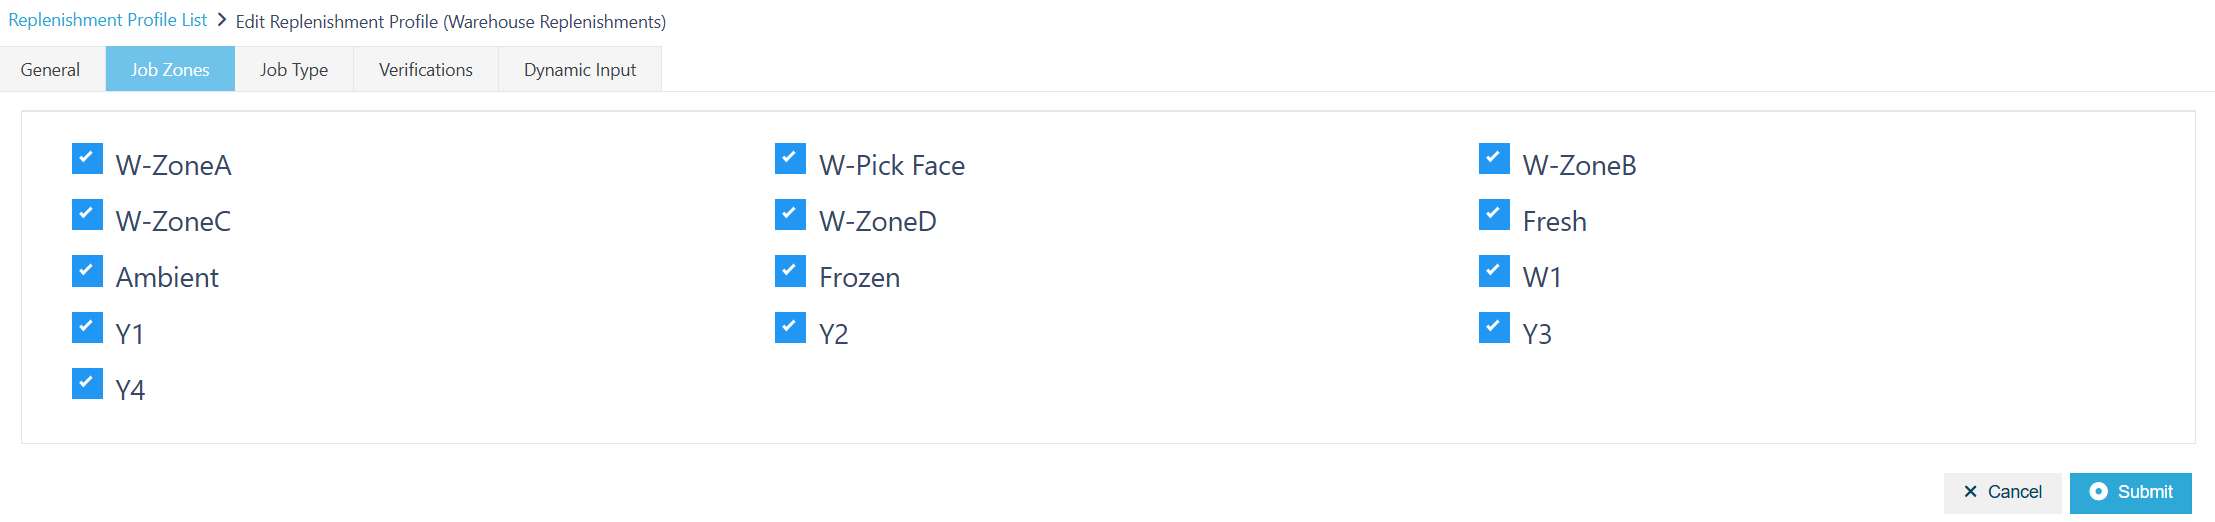
Check the relevant Job Zones, please refer to the Zone guide.
Select Job Types

Check the relevant Job Types, please refer to the Job Type guide.
Select the Verifications
Once you have selected and entered the required fields, click on the submit button.png) to add.
to add.