🖨️ Print Node Setup in Canary7
Setting up Print Node allows Canary7 to send print jobs directly to your local or network-connected printers. Follow the steps below to complete the setup.
Add Print Node Details
🔐 Step 1: Add Print Node Account in Canary7
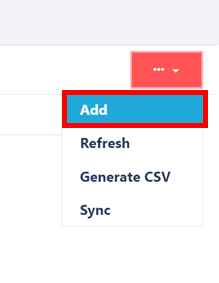
Navigate to Print Node Account via the Navigation Menu.
Click the red Add button.
3. Enter your email address as the username and set a password.
📌 Only the email and password fields are required.
These credentials will be used to log into the Print Node application.
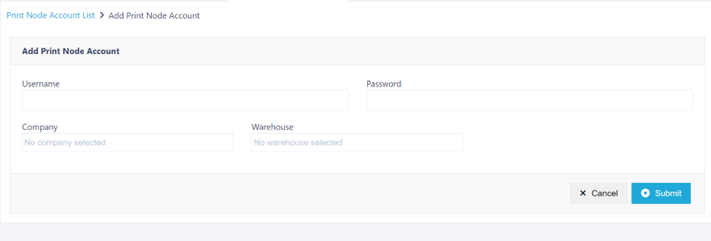
When you add these details you will use these credentials to log into Print Node.
💾 Step 2: Download and Install Print Node
Go to Print Node Download Page.
Download and install the Print Node application for your operating system.
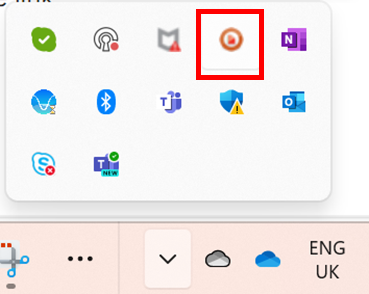
Once installed, the application will appear on your desktop or system tray.
🔑 Step 3: Log In to Print Node
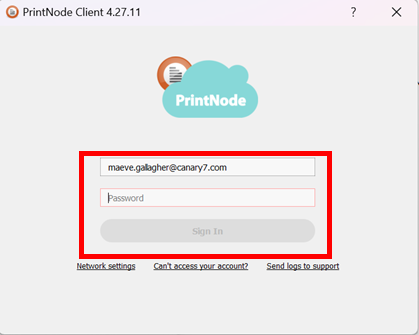
Launch the Print Node application.
Enter the email and password you created in Canary7 to log in.
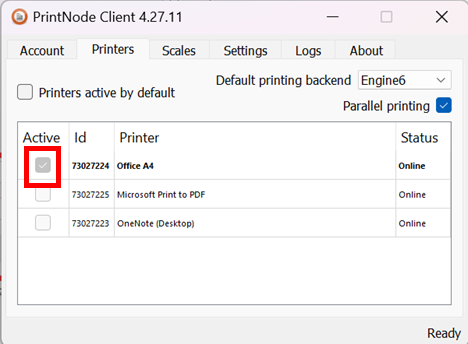
🖨️ Step 4: Select Printers in Print Node
Navigate to the Printers tab within the Print Node application.
A list of all printers currently connected to your machine will appear.
Tick the checkboxes next to the printers you wish to sync with Canary7.
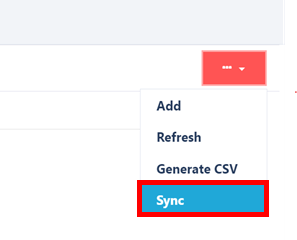
🔁 Step 5: Sync Printers with Canary7
Return to Canary7 > Print Node Account.
Click on the red ellipsis menu (⋮) next to your Print Node account.
Select Sync.
📦 A background job will run to import the selected printers into Canary7.
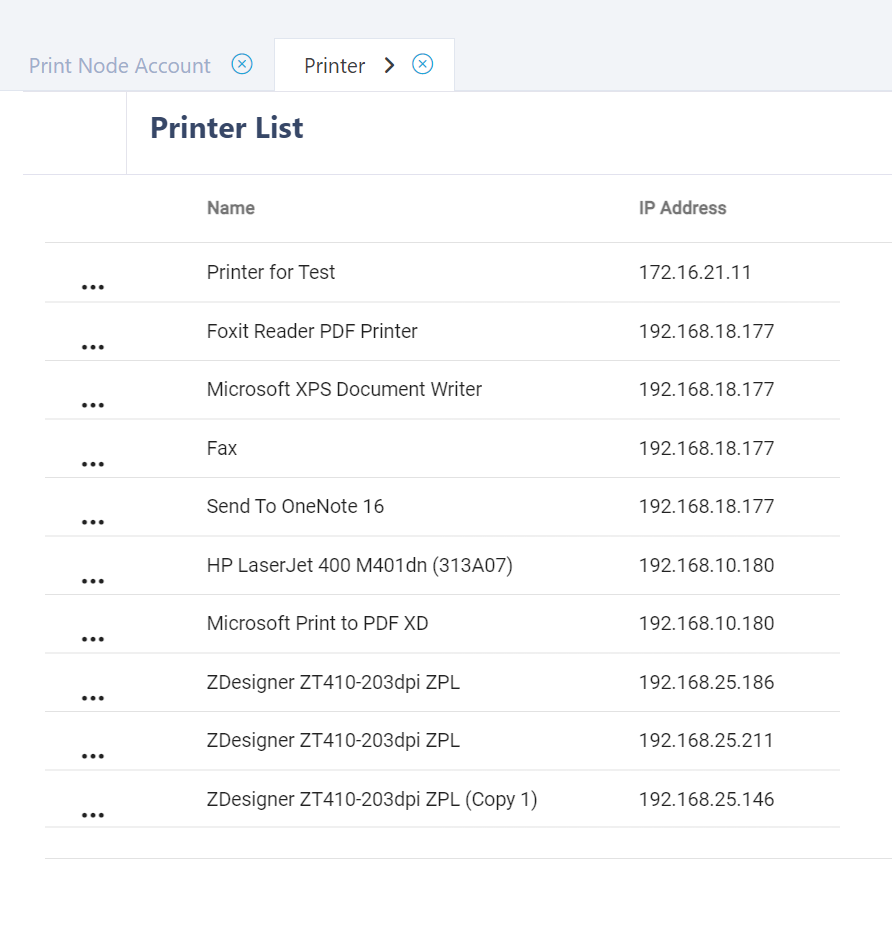
🧭 Step 6: View Synced Printers in Canary7
Go to the Printers menu in Canary7 to view all printers that have been synced.
Each printer entry will display:
Printer Name
IP Address – reflects the machine IP from where the printer was synced.
📝 Note: A single printer synced from multiple devices will appear as multiple entries, each with its own IP.
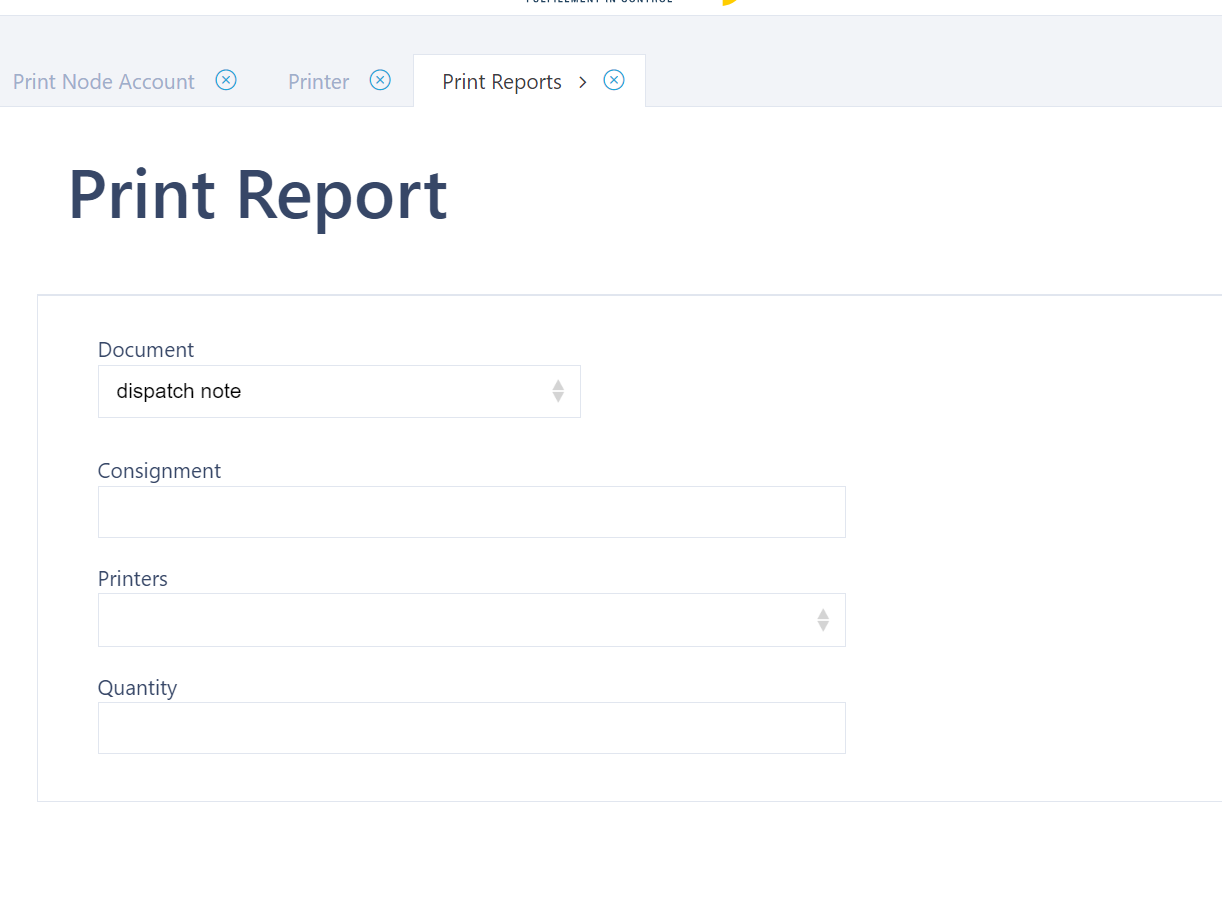
🧪 Step 7: Perform a Test Print
Navigate to Print Reports in Canary7.
Open the Printer dropdown menu to view synced printers.
Select a printer and perform a test print.
🧭 The most recently synced printers usually appear at the bottom of the list.
❔ FAQ and Troubleshooting
There is a full list of FAQs on the PrintNode website which may answer your question if it is not answered on this page - https://www.printnode.com/en/faq
What ports does the PrintNode service use?
Outbound ports 443 and 6123 are used by PrintNode to communicate with their servers. Their servers then talk to Canary7 via API calls, which allow us to send prints to your printers.
There is a local web interface hosted on the machine that hosts the PrintNode service, that can be hosted on a port of your choice using the --web-interface-port option on the service.
Why do my prints take a long time to appear?
Certain parts of Canary7 take time to process print information and then that has to be sent down to your machine for sending to the printers. If the internet connection is slow between your machine and PrintNode, these downloads can be slow and delay the print. If you are seeing ongoing issues with this please contact our support team who can investigate further and provide information about delayed prints.
Do PrintNode store copies of information printed?
PrintNode deletes the print job information after it is printed, so data is not stored in PrintNode. Canary7 does store documents and re-printing a document in Canary7 will create a new print in PrintNode.
What network configuration does the PrintNode Client need to be able to connect?
The PrintNode Client needs to be able to resolve the following domain names:
api.printnode.com
app.printnode.com
host2b.printnode.com
client.printnode.com
lon1.printnode.com
central.printnode.com
rdga3b.printnode.com
byfa3b.printnode.com
Each of the above domain names can resolve to an IP address in any of the following ranges. Please note that although the ranges are static, the mapping of domain names to IP addresses is not.
5.10.27.32/28 (that is, 5.10.27.33 - 5.10.27.46)
5.10.23.32/27 (that is, 5.10.23.33 - 5.10.23.62)
94.228.44.128/28 (that is, 94.228.44.129 - 94.228.44.142)