📦 Understanding Clustering in Canary7
🔗 What is Clustering?
Clustering in Canary7 is a two-step system that groups individual jobs (usually shipments) into clusters for more efficient processing.
It helps warehouse operatives pick multiple orders simultaneously, each into a designated container or Cluster Position.
🔄 How Clustering Works
🧠 Cluster Job Creation Master
Defines the logic for clustering, including:Job Types
Max/Min Cluster Positions
Sorting rules
📋 Cluster Planner
Applies your clustering rules to selected jobs and generates optimised cluster jobs for execution.
🧱 Cluster Job Creation Master
This module defines how jobs should be grouped into clusters.
Each Cluster Position represents a tote or container (e.g., Cluster 3 = Tote 3).
📌 Note: This Job Creation Master does not include a WHERE tab, unlike others.
Add Cluster Job Creation Master
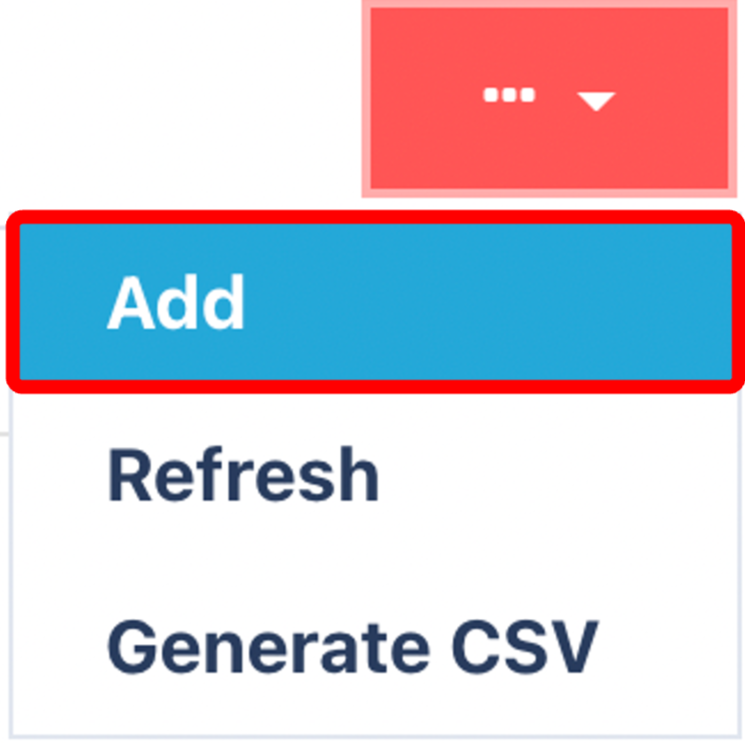
Click on the Red Action Button , this will bring up a drop-down menu, and select "Add"
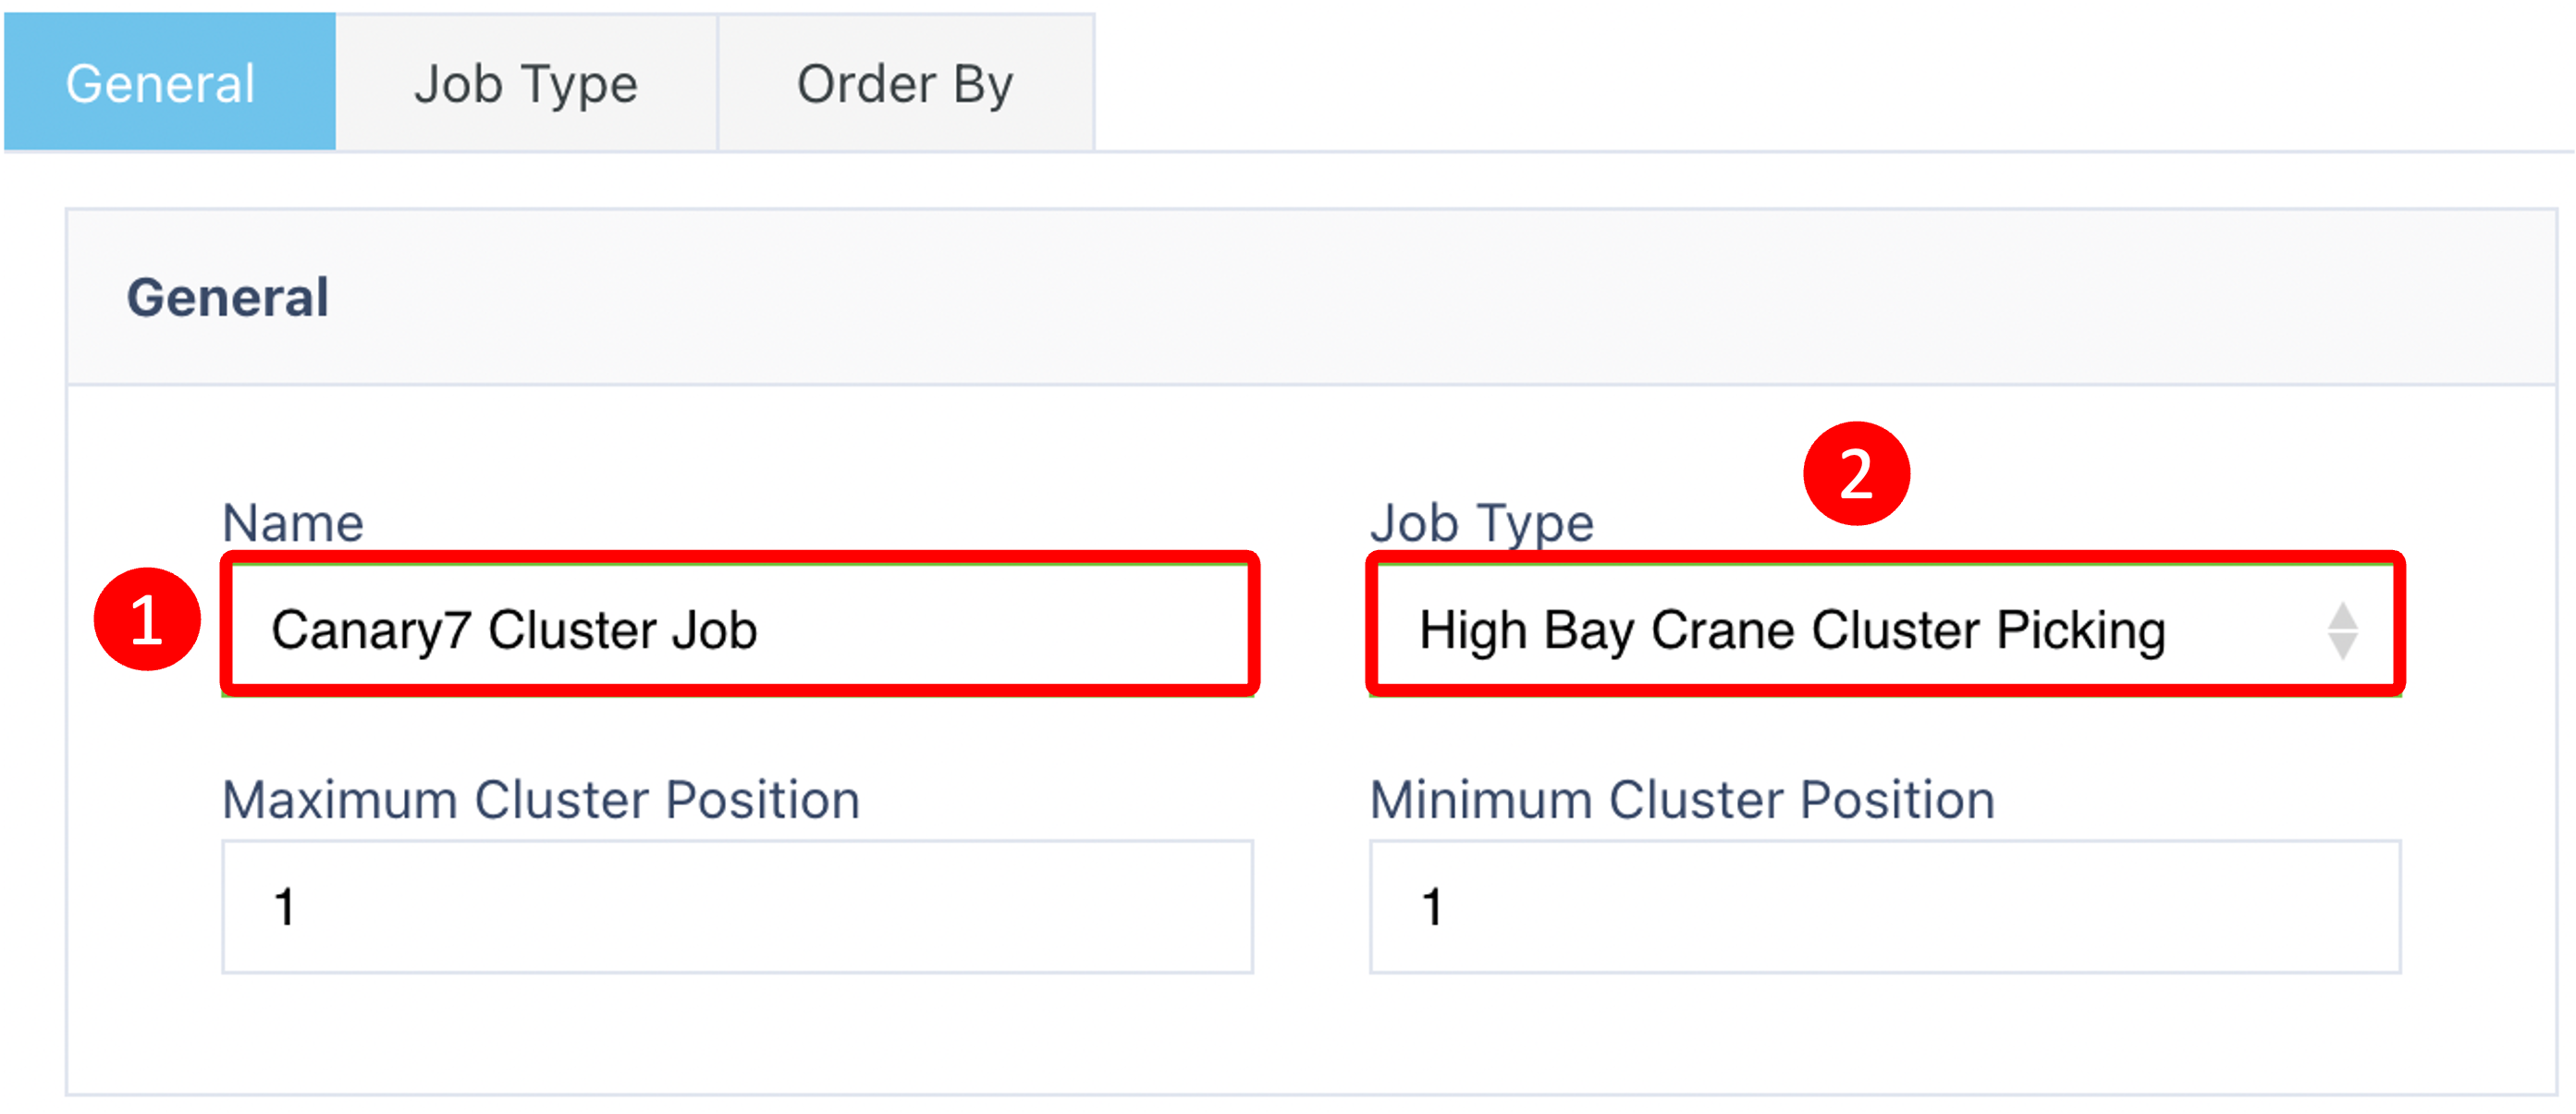
📝 General Tab – Required Fields
| 🔹 Field | 📘 Description |
|---|---|
| Name | A descriptive name for the clustering setup |
| Job Type | Select the Job Type this clustering applies to (e.g., “B2C Amazon Clustering”) |
| Maximum Cluster Position | Max number of positions (e.g., 10 totes = 10 positions) |
| Minimum Cluster Position | The fewest positions required for a cluster to be created |
🔄 Job Type Tab
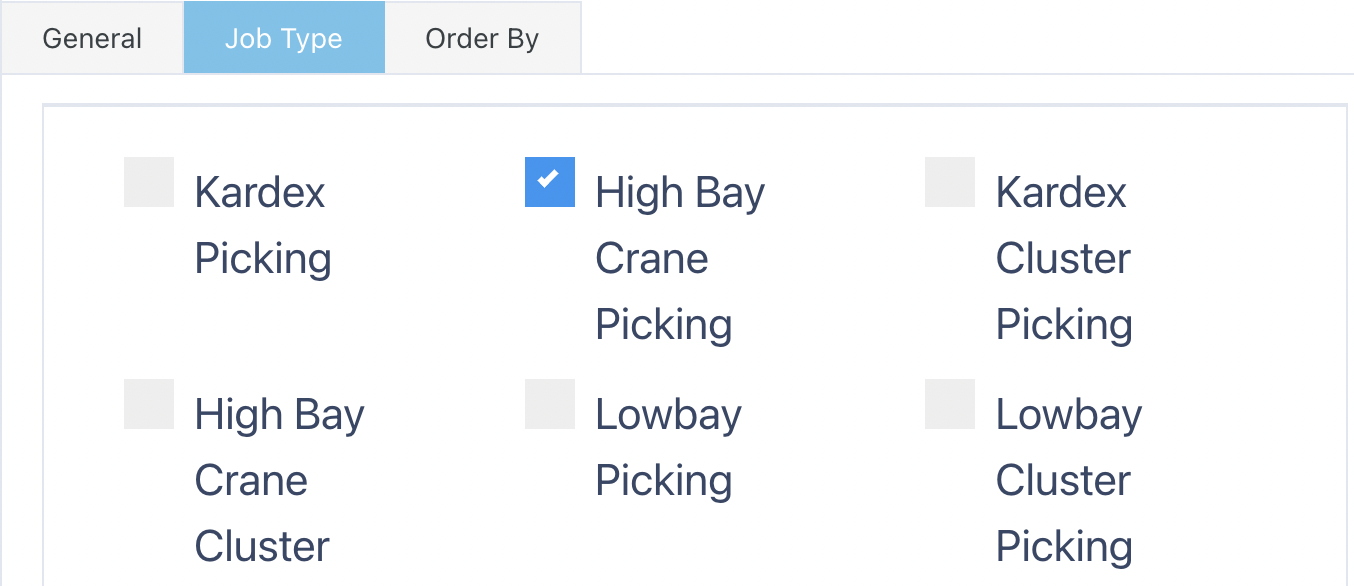
Primary Selection – Tick the Job Type selected in the General tab
Additional Job Types – Optionally include others if clustering needs to handle multiple job types
Click Submit to continue editing.
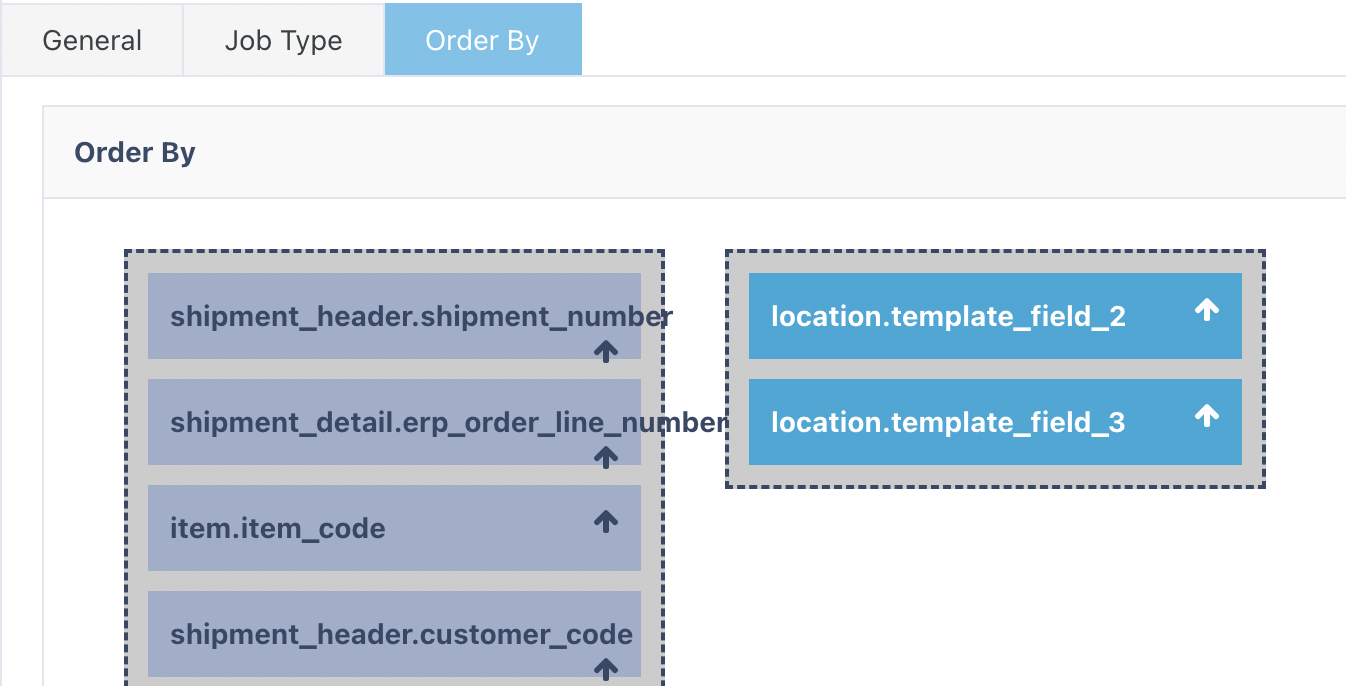
🔢 Order By Tab
Click on Order by Tab
To access:
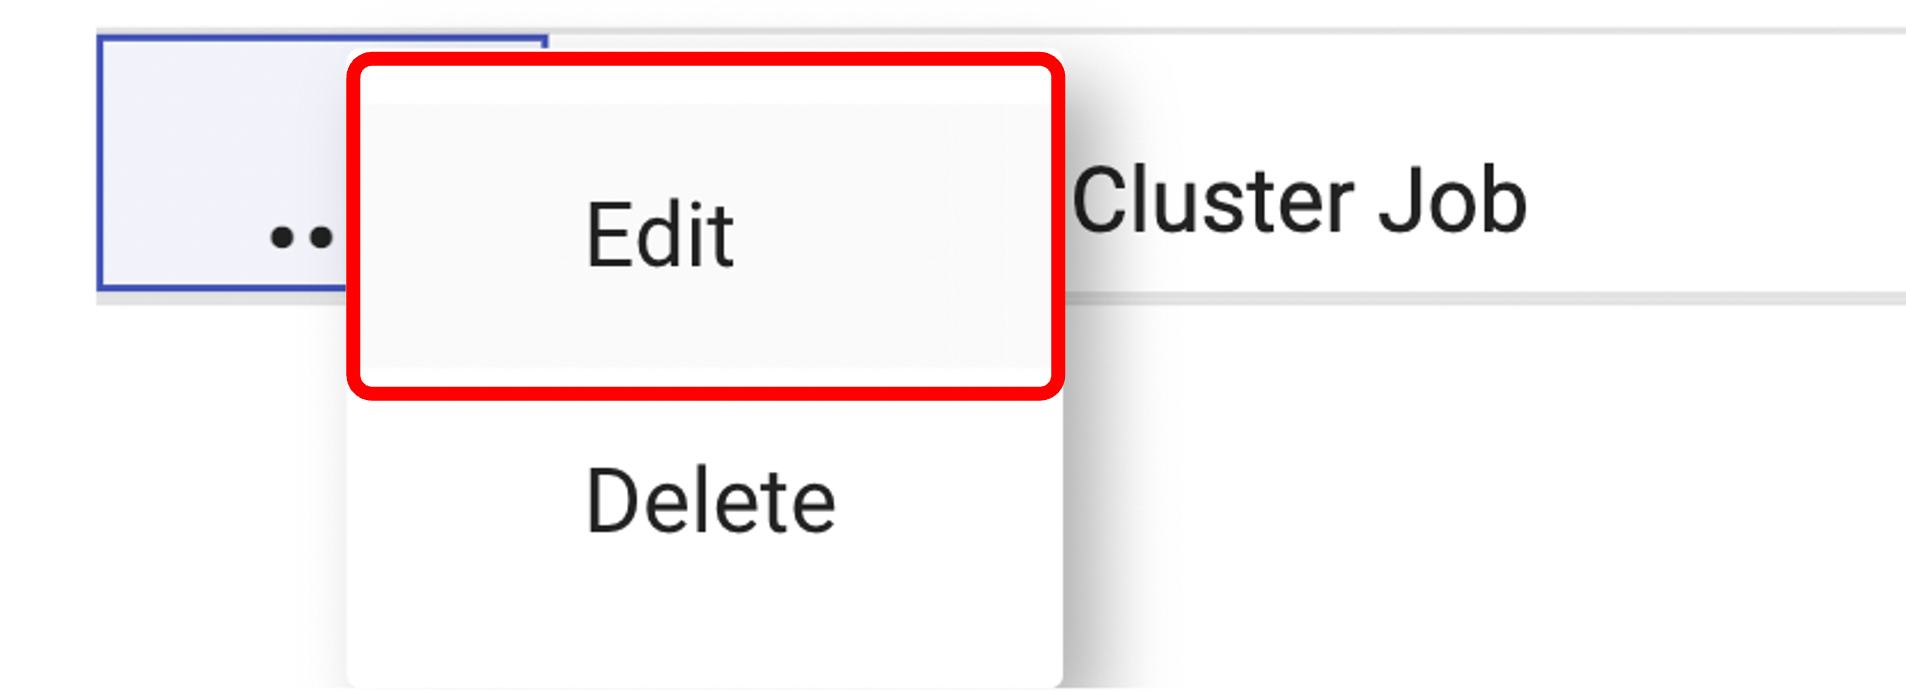
Locate your Cluster Job Creation
Click the ⋮ Three Dots > ✏️ Edit
Open the Order By Tab
Drag fields such as:
Location Code
Pick Walk Sequence
This controls the sequence of instructions within each cluster.
📋 The Cluster Planner
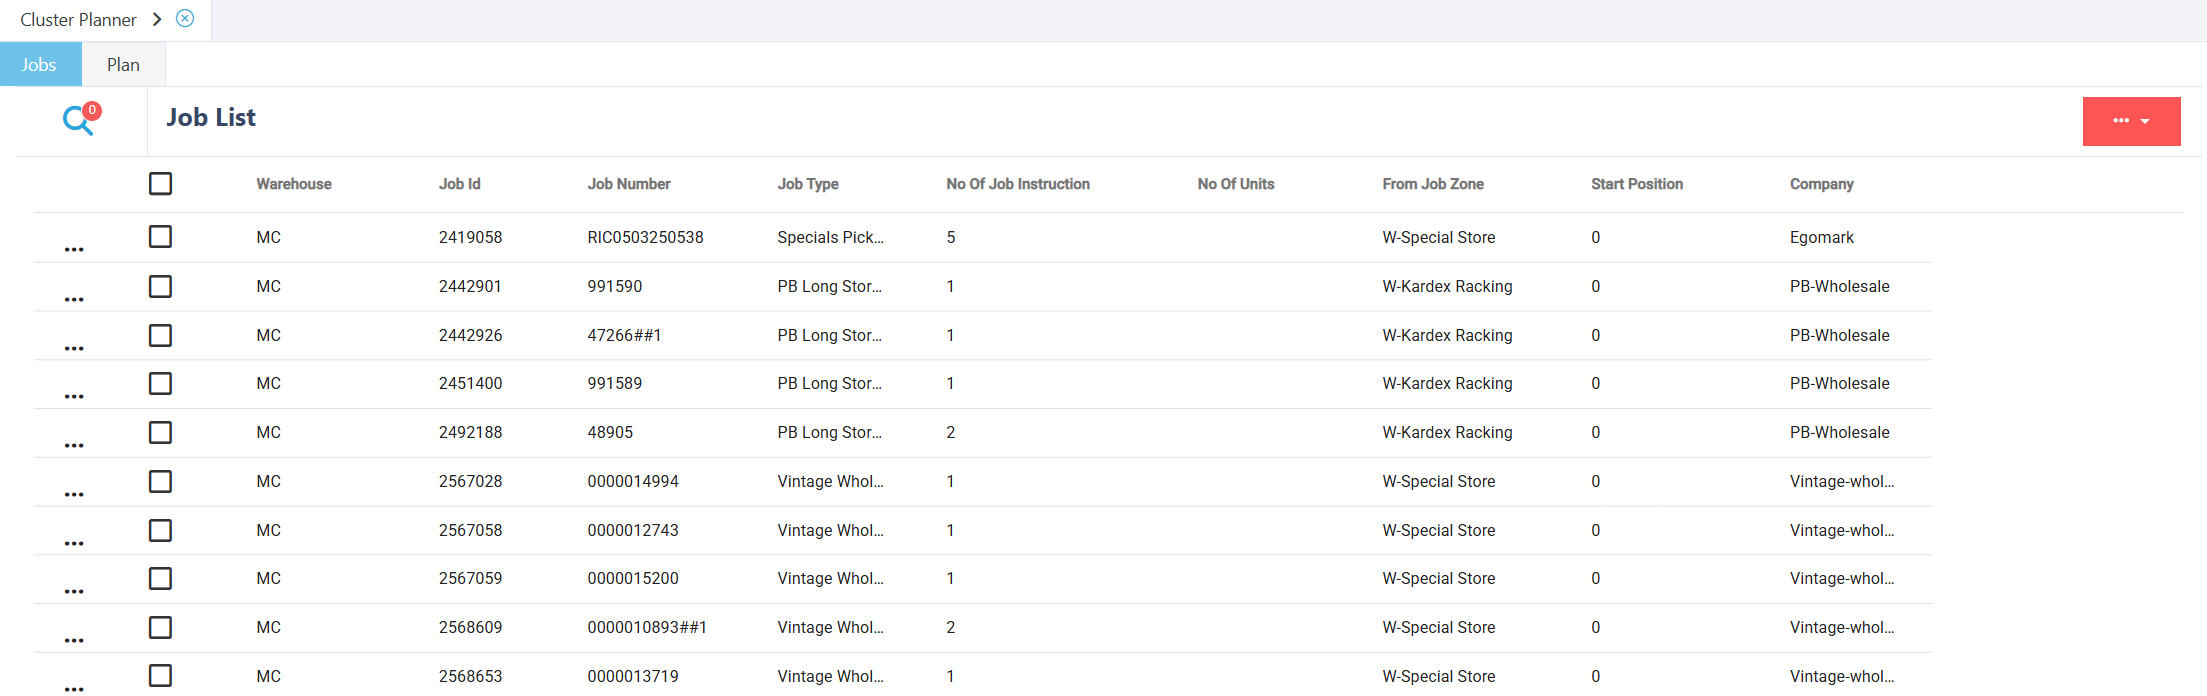
🗂️ Job List Tab
Shows all current jobs (e.g., shipments)
Users tick jobs to include in a plan
Open the Ellipsis menu and click “To Plan” to move selected jobs forward
🔧 Plan Creation
Create a new plan or select an existing one
📝 Provide:
Plan Name
Cluster Job Creation configuration

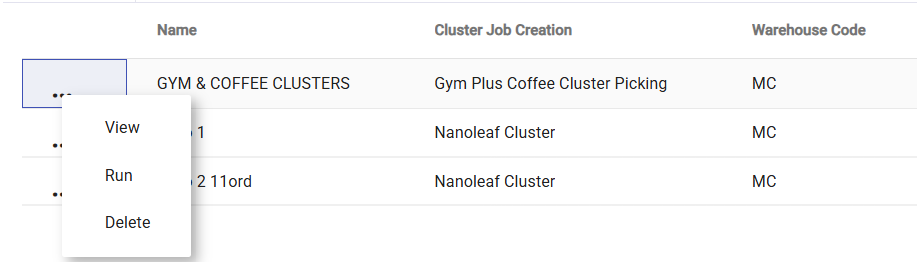
📘 Plan Tab
This tab manages your cluster plans:
| ⚙️ Action | 📘 What It Does |
|---|---|
| View | View plan details and grouped jobs |
| Run | Applies the clustering logic to generate cluster jobs |
| Delete | Remove plans no longer needed |

🧾 Summary
✅ Use Cluster Job Creation Master to define the structure
✅ Use Cluster Planner to select, group, and plan jobs
✅ Execute plans to generate optimised, efficient cluster jobs
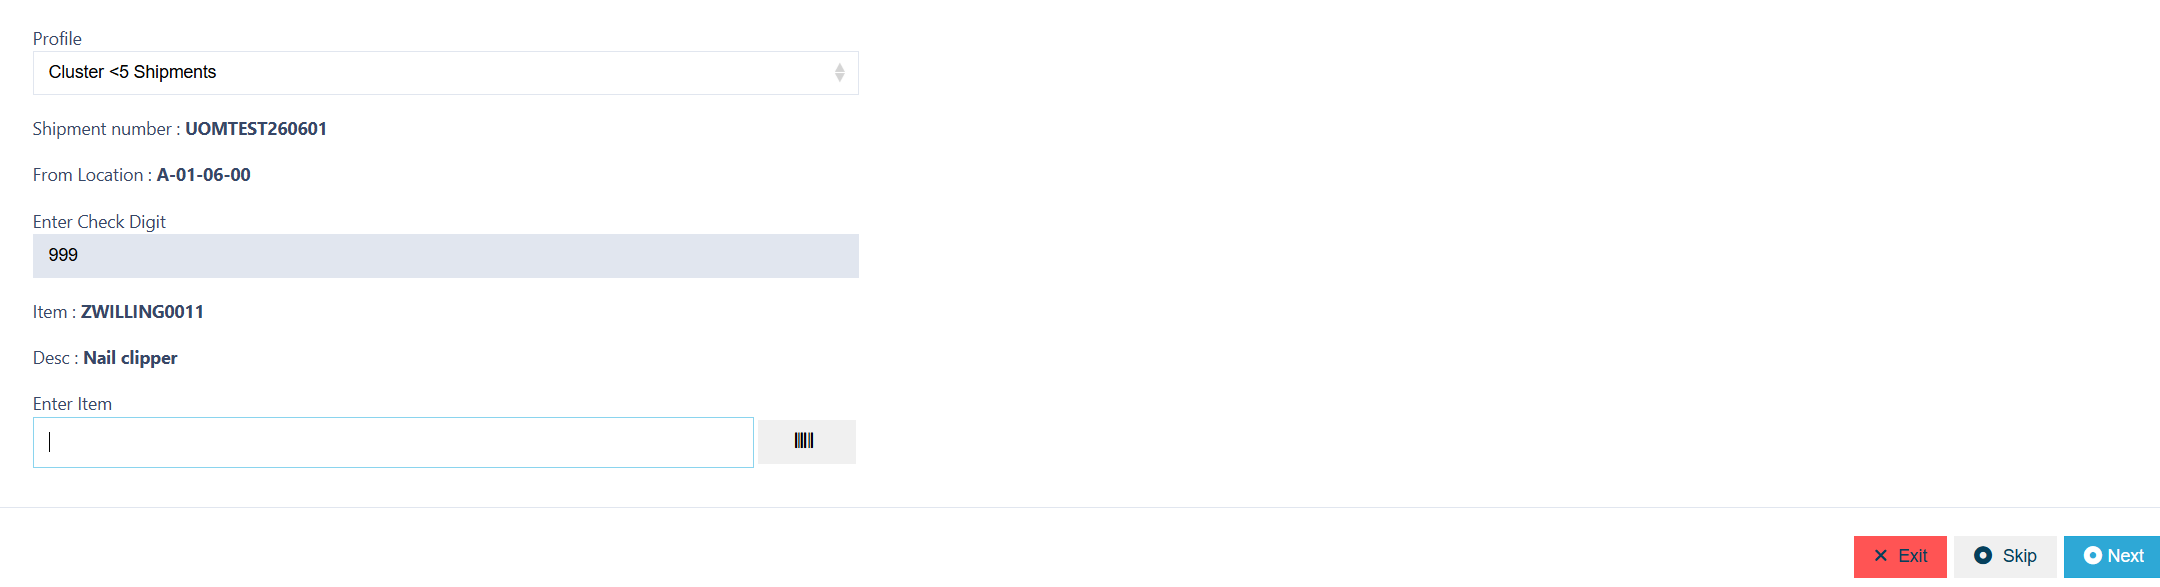
📦 Cluster Picking – Executing the Job
Here is an example of a typical Cluster Picking execution
Note: This may change depending on the number of verifications you have selected on your Shipment Picking Profile
🧮 Scan From Location Check Digit
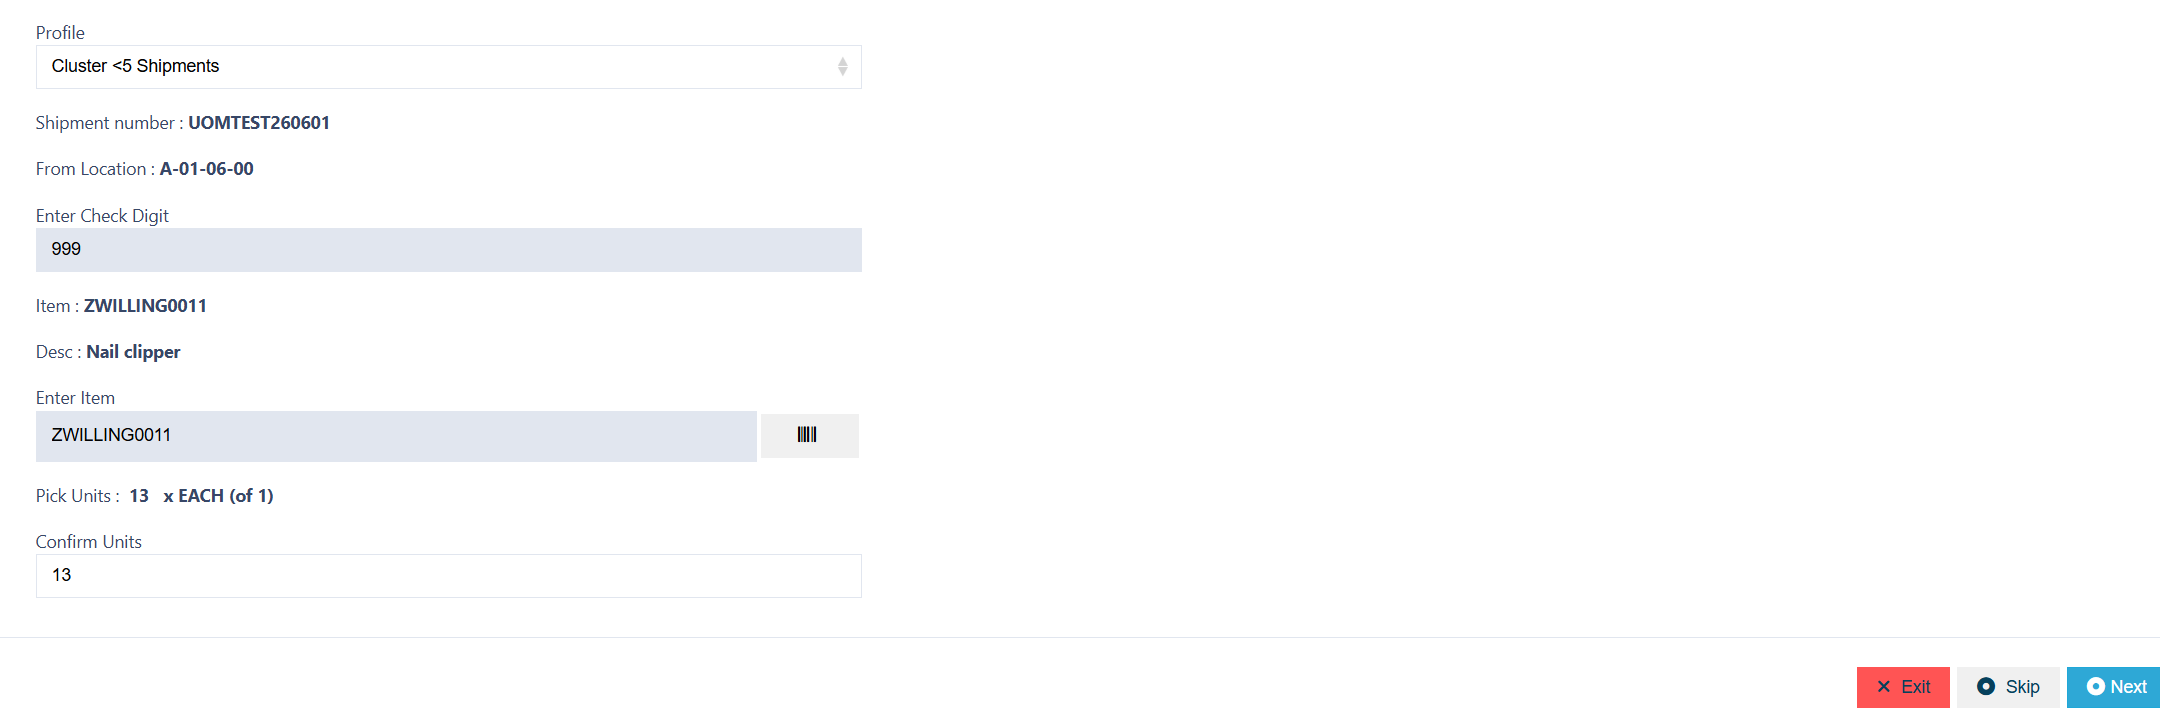
 🔍 Verify Item Code
🔢 Verify Quantity
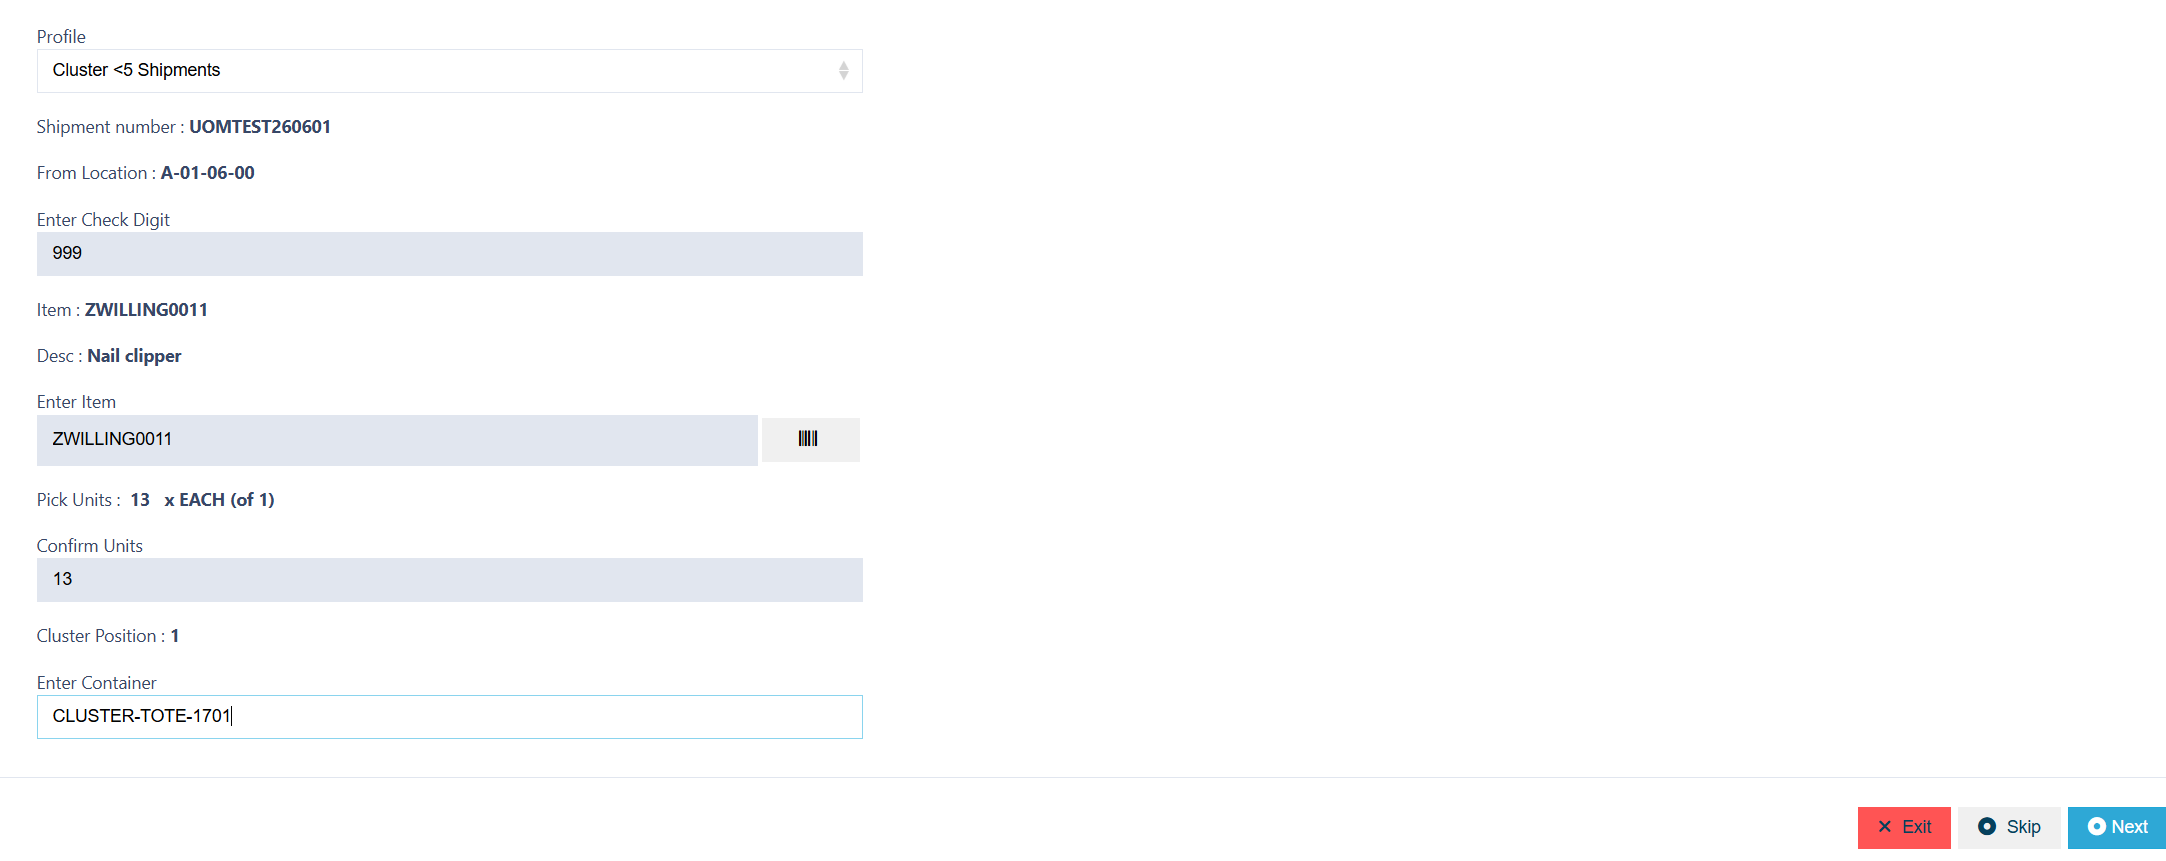
✅ Scan the Label of your Cluster Tote
Note: If you run out of space in your initial Cluster Position Tote, you can scan another Container in, this will associate a secondary container to that Cluster Position
December 2025 Updates (Staging only)
Note: The below functionality is currently only available on staging environments:
🔄 How Clustering Works
🧠 Cluster Job Creation Master
Defines the logic for clustering, including:Job Types
Max/Min Jobs
Max Instructions
Where Criteria
Sorting Rules
📋 Cluster Planner
Applies your clustering rules to selected jobs and generates optimised cluster jobs for execution.
🧱 Cluster Job Creation Master
This module defines how many jobs and instructions should be grouped into clusters, along with defining the maximum weight of the cluster job.
Add Cluster Job Creation Master
Click on the Red Action Button, this will bring up a drop-down menu, and select "Add"
📝 General Tab – Required Fields
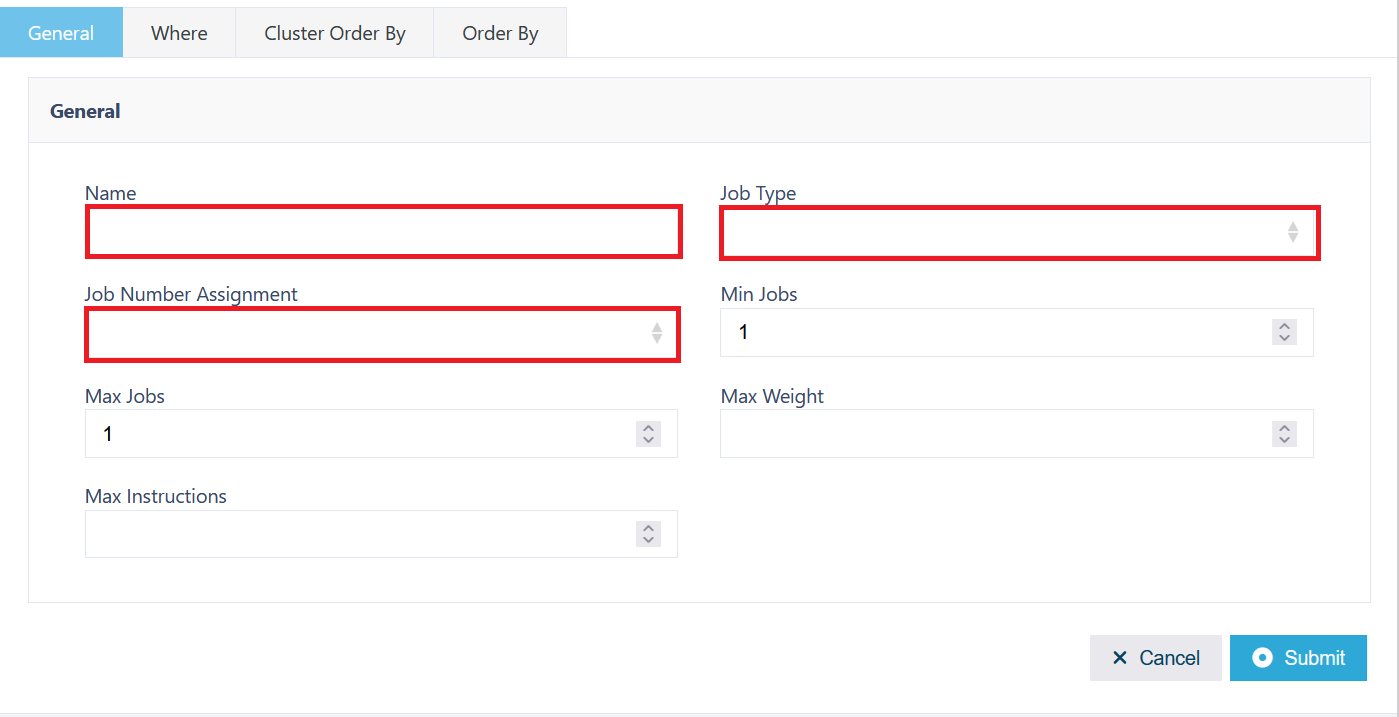
| 🔹 Field | 📘 Description |
|---|---|
| Name | |
| Job Type | Select the Job Type this clustering applies to (e.g., “B2C Amazon Clustering”) |
| Job Number Assignment | A drop-down that will define how the job number assignment of the cluster. |
| Min Job | The minimum number of jobs needed to run the cluster. |
| Max Jobs | The maximum number of jobs that will be in the cluster. |
| Max Weight | The maximum overall weight of the cluster. |
| Max Instructions | The maximum number of instructions of the cluster. |
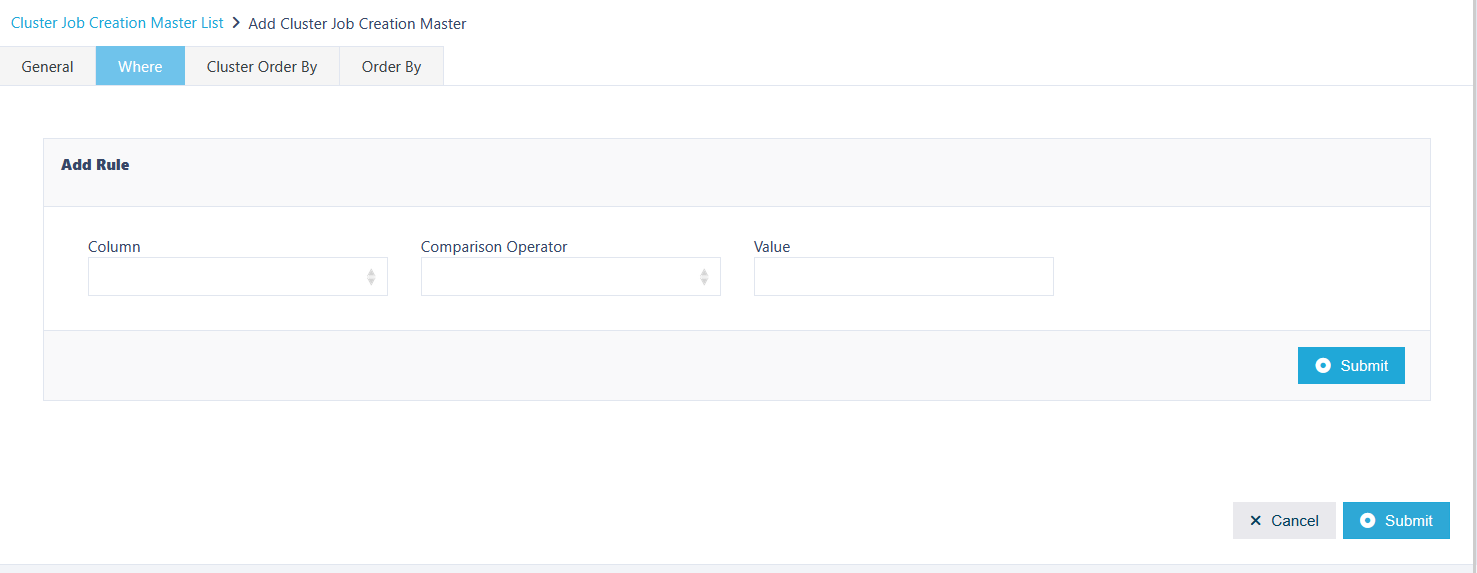
🔄 Where Tab
With the 2025 changes to Cluster Job Creation Master, the job tab has been removed and replaced with the where tab.
This operates similarly to other 'Where' functions found within Canary7.
📝Adding Order by's
To access:
Locate your Cluster Job Creation
Click the ⋮ Three Dots > ✏️ Edit
Open the Order By Tab
Drag fields such as:
Location Code
Pick Walk Sequence
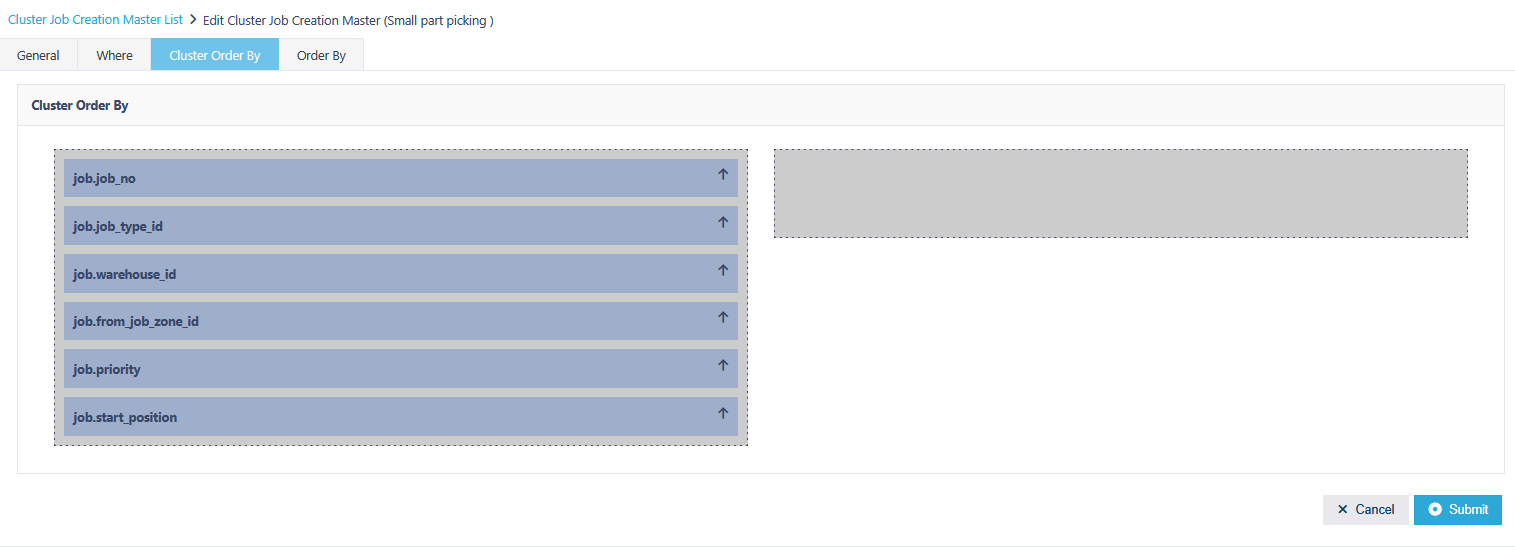
🔢Cluster Order By Tab
This controls the order in which jobs are selected to be added to the cluster.
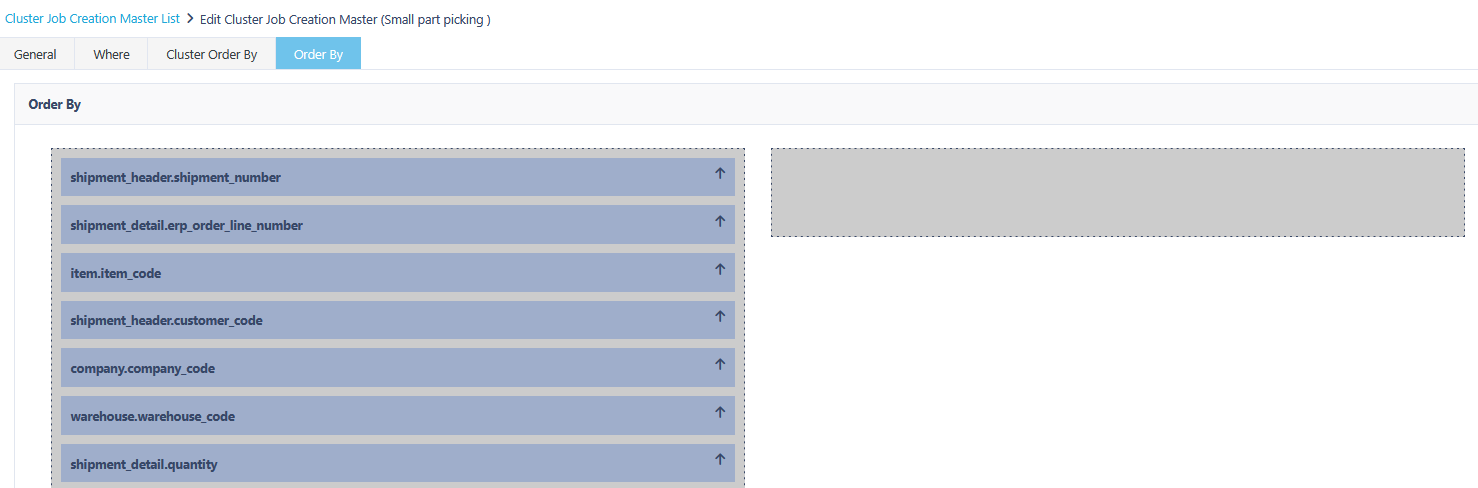
🔢Order By Tab
This controls the order in which instructions are selected to be added to the cluster.
📋 The Cluster Planner
🗂️ Job List Tab
Shows all current jobs (e.g., shipments)
Users tick jobs to include in a plan
Open the Ellipsis menu and click “To Plan” to move selected jobs forward
🔧 Plan Creation
Create a new plan or select an existing one
📝 Provide:
Plan Name
Cluster Job Creation configuration
📘 Plan Tab
This tab manages your cluster plans:
| ⚙️ Action | 📘 What It Does |
|---|---|
| View | View plan details and grouped jobs |
| Run | Applies the clustering logic to generate cluster jobs |
| Delete | Remove plans no longer needed |
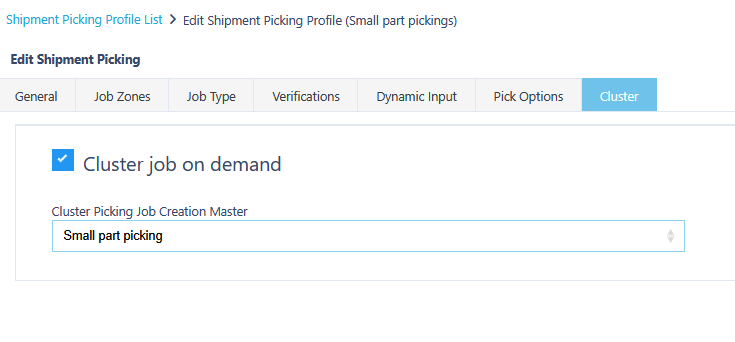
Creating Clusters On Demand
Creating on Demand Clusters is on possible on Auto Initiation.
Inside the Shipment Picking Profile menu users will find the cluster tab and inside a check box to enable Cluster Job on Demand.
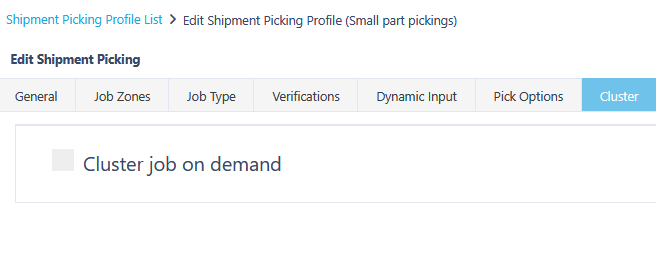
When enabled drop down option will appear that will allow the user to select which Cluster Picking Job Creation Master is run when initiating a job.
The available selection from the drop-down will be based if any of the enabled job types on Shipment Picking Profile match the job type of the Cluster Picking Job Creation Master.
📦 Cluster Picking – Executing the Job
Here is an example of a typical Cluster Picking execution
Note: This may change depending on the number of verifications you have selected on your Shipment Picking Profile
🧮 Scan From Location Check Digit
🔍 Verify Item Code
🔢 Verify Quantity
✅ Scan the Label of your Cluster Tote
Note: If you run out of space in your initial Cluster Tote, you can scan another Container in, this will associate a secondary container to that Cluster Position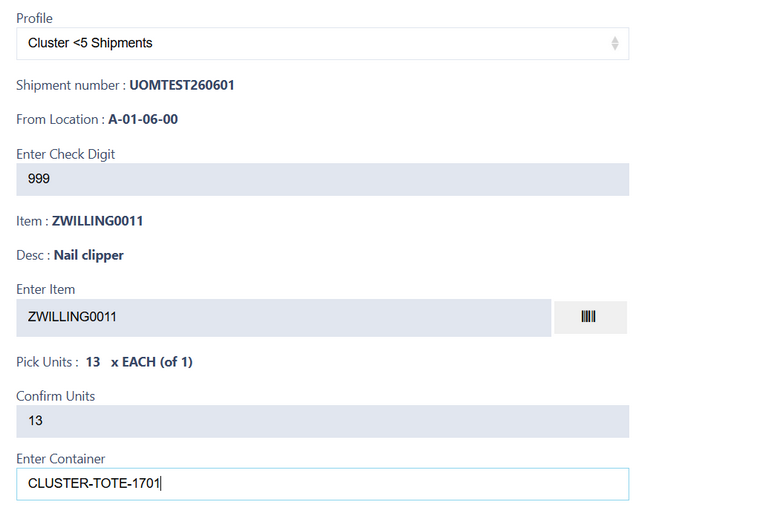
Once you have selected and entered the required fields, click on the submit button.png) to add.
to add.