Receipt Enquiry
- 12 May 2025
- 3 Minutes to read
- Print
Receipt Enquiry
- Updated on 12 May 2025
- 3 Minutes to read
- Print
Article summary
Did you find this summary helpful?
Thank you for your feedback!
Understanding Receipt Enquiry
What is Receipt Enquiry
Receipt Enquiry is a Canary7 (C7) feature that provides a centralised interface for accessing, managing, and tracking receipts. It improves visibility and control over incoming goods, supporting a more efficient and accurate receiving process.
Key Functions
View Receipt Details – Instantly access key information such as receipt numbers, supplier details, item quantities, and statuses.
Edit Receipt Data – Update or correct receipt records to ensure data accuracy.
Add New Receipts – Record and manage new inbound shipments in the system.
Track Receipts – Monitor the progress of goods through the receiving process.
Resolve Discrepancies – Identify and resolve mismatches such as quantity variances or missing items.
This feature enhances the goods-in process, helping minimise errors and streamline warehouse operations.
Accessing Receipt Enquiry
Go to the Navigation Menu (top-left corner of the screen).
Type "Receipt Enquiry" in the search bar and click on it.
Or navigate to Inbound > Receipt Enquiry.
Finding General Receipt information
You can search the Receipt tab to find general information relevant to Receipt Headers.

The Receipt Tab displays a list of inbound shipments and general receipt details. It shows ownership and quantity data for each receipt.
Searchable Fields:
Receipt ID Type
Expected Receipt Date (From / To)
Leading Status
Trailing Status
Company
Warehouse
Item Code
Once you have entered all the information, you need to find your results click on the search button to continue.
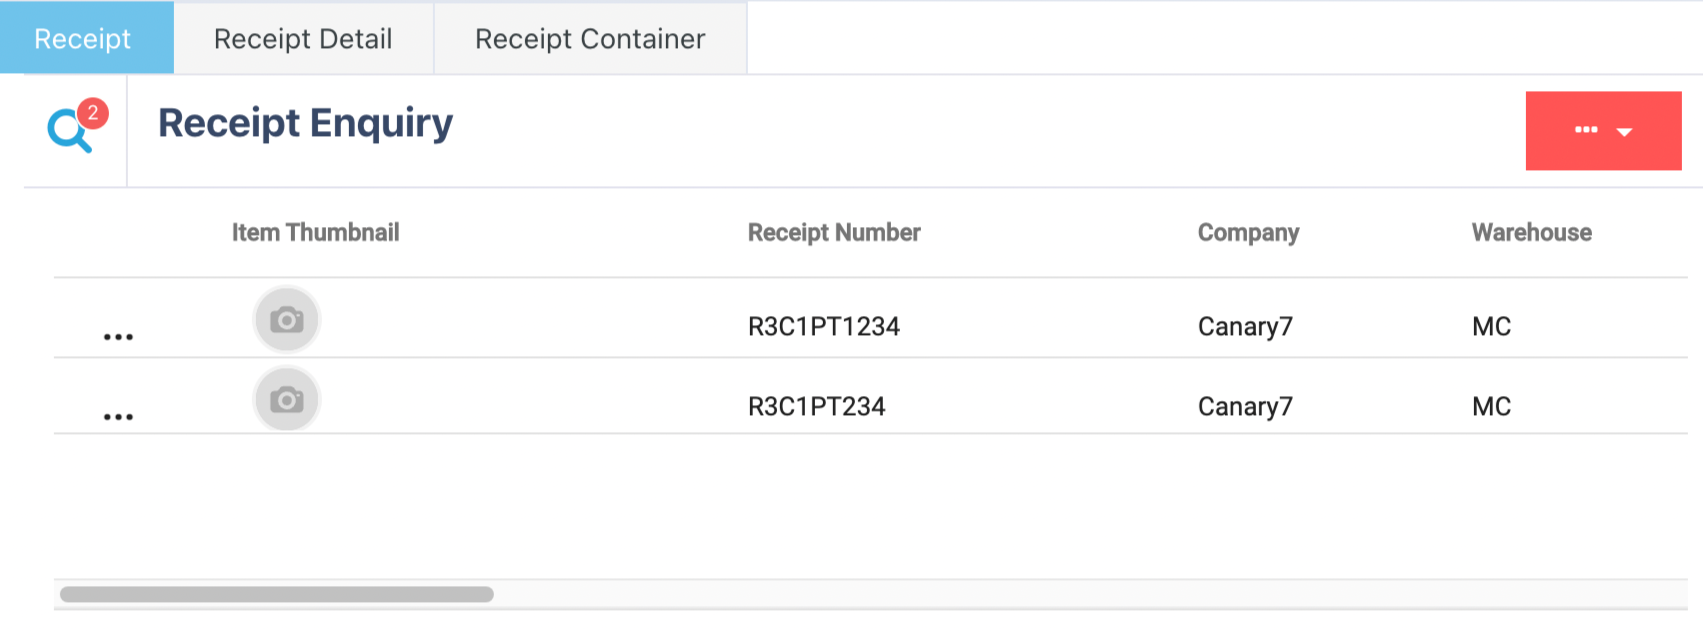
Column Headers:
Use the horizontal scroll bar to view all columns.
Receipt Number
Company Code
Warehouse Code
Receipt Date
Source ID
Source Address
Source City
Source Zip Code
Country Name
Description
Trailing Status
Total Lines
Open Lines
Open Containers
If you want to refine your search, click on the search icon![]() and enter the fields required.
and enter the fields required.
Finding Receipt Detail information
To find information relevant to Receipt Detail (the list of items that comprise each receipt), you can search in the Receipt Detail tab.
.png "image(1).png")
Example Use Case:
To view how many receipts contain a specific item, filter using the item code.
Searchable Fields:
Item Description
Company
Quantity
Created From Date
Created To Date
Once you have selected and entered the required fields, click on the submit button.png) to add.
to add.
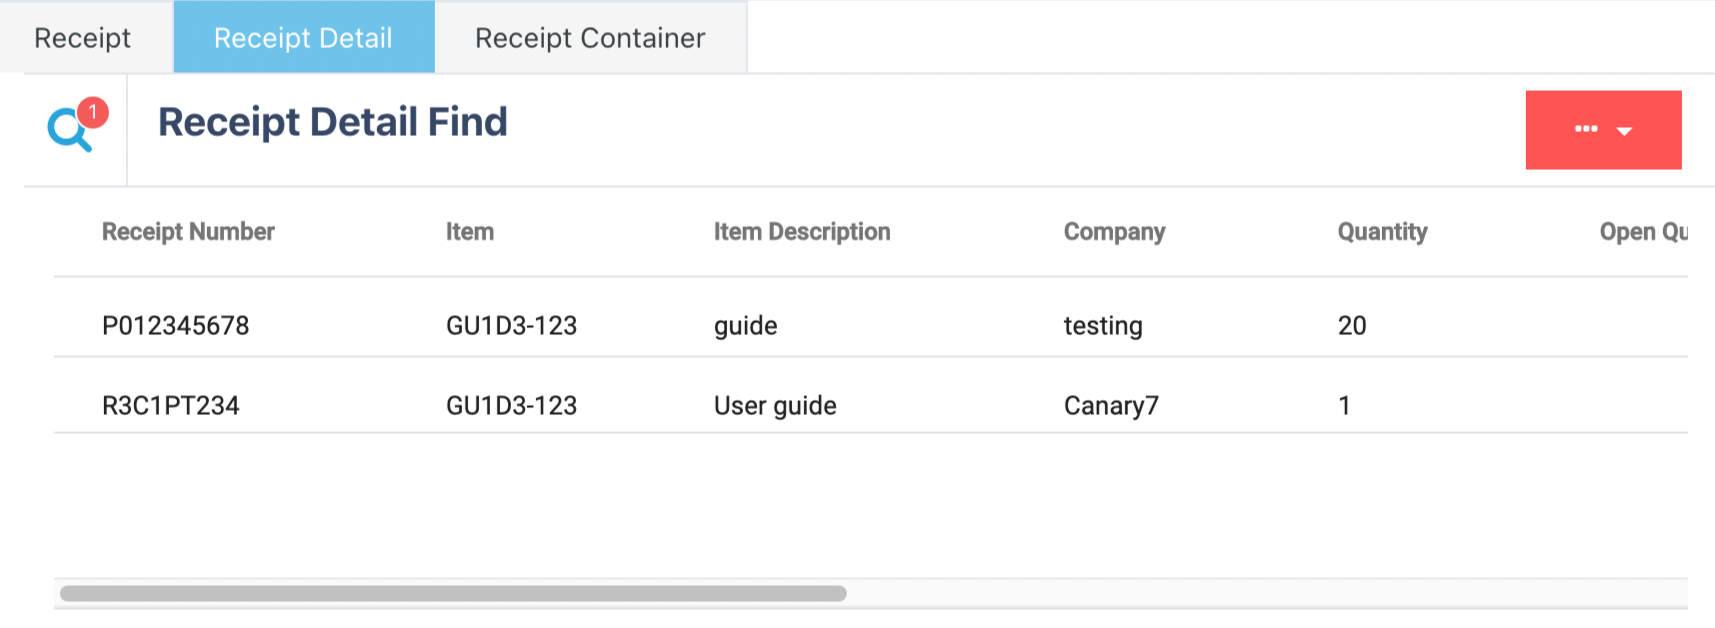
Column Headers:
Receipt Number
Item Code
Description
Company Code
Quantity
Open Quantity
Locating Rule
Receipt Date
Created At
Updated At
If you want to refine your search, click on the search icon![]() and enter the required fields.
and enter the required fields.
Finding Receipt Container Information
The receipt container tab is used for finding container-specific information on receipts.
.png "image(2).png")
Column Headers:
Receipt Number
Item Code
Description
Company Code
Quantity
Open Quantity
Locating Rule
Receipt Date
Created At
Updated At
Use the search icon to input or update your filters as needed.
Receipt Container Tab: Container-Level Information
This tab displays container-specific data for receipts.
Example Use Case:
See which containers are associated with a particular receipt.
Searchable Fields:
Container Number
Receipt Number
Item
Company
Quantity
Status
To Location
Batch Number
Container Type
Once you have entered all the information, you need to find your results click on the search button to continue.

Column Headers:
Container Number
Receipt Number
Item Code
Company Code
Quantity
Status
Location Code
Batch Number
Container Type
Created At
Updated At
If you want to refine your search, click on the search icon![]() and enter the required fields.
and enter the required fields.
Adding Receipts
Method 1: Adding a Receipt via import CSV
If starting this from scratch, ensure your .csv file is in the correct format.
Header | Receipt Number | Source ID | Source Address | Item | Quantity | Country | Locating |
Description | Used to Identify | Supplier Ref | Shows the name of the supplier | Item code | Number of items | Country of origin | method of locating |
Example | PO1234789 | CAN7 | Canary7 | GU1D3-123 | 20 | UK | Global Rule |
Here is the .csv template for Download
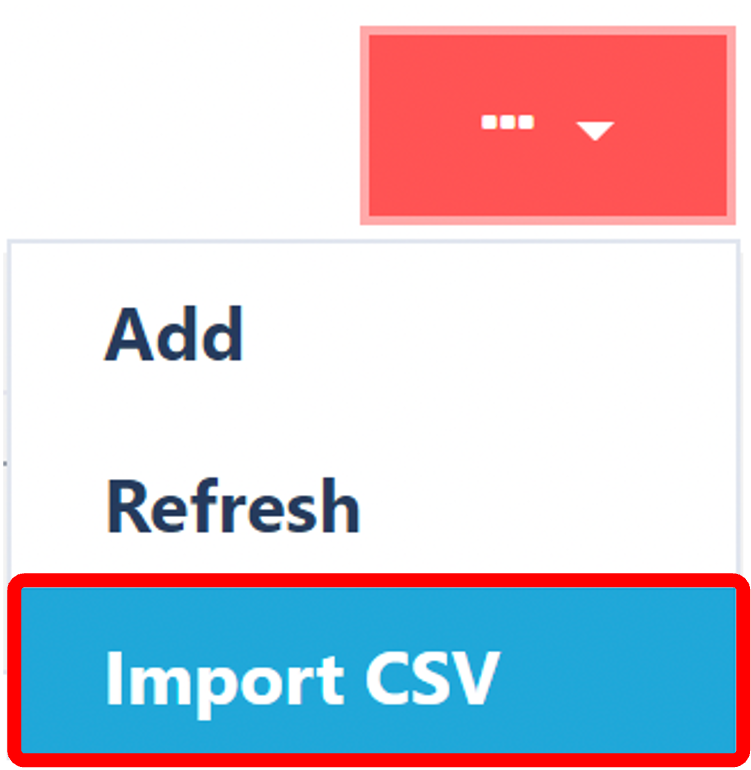
Importing the CSV
Within Receipt Enquiry, click on the Red Action Button  this will bring up a drop-down menu and select "Import CSV".
Choosing File
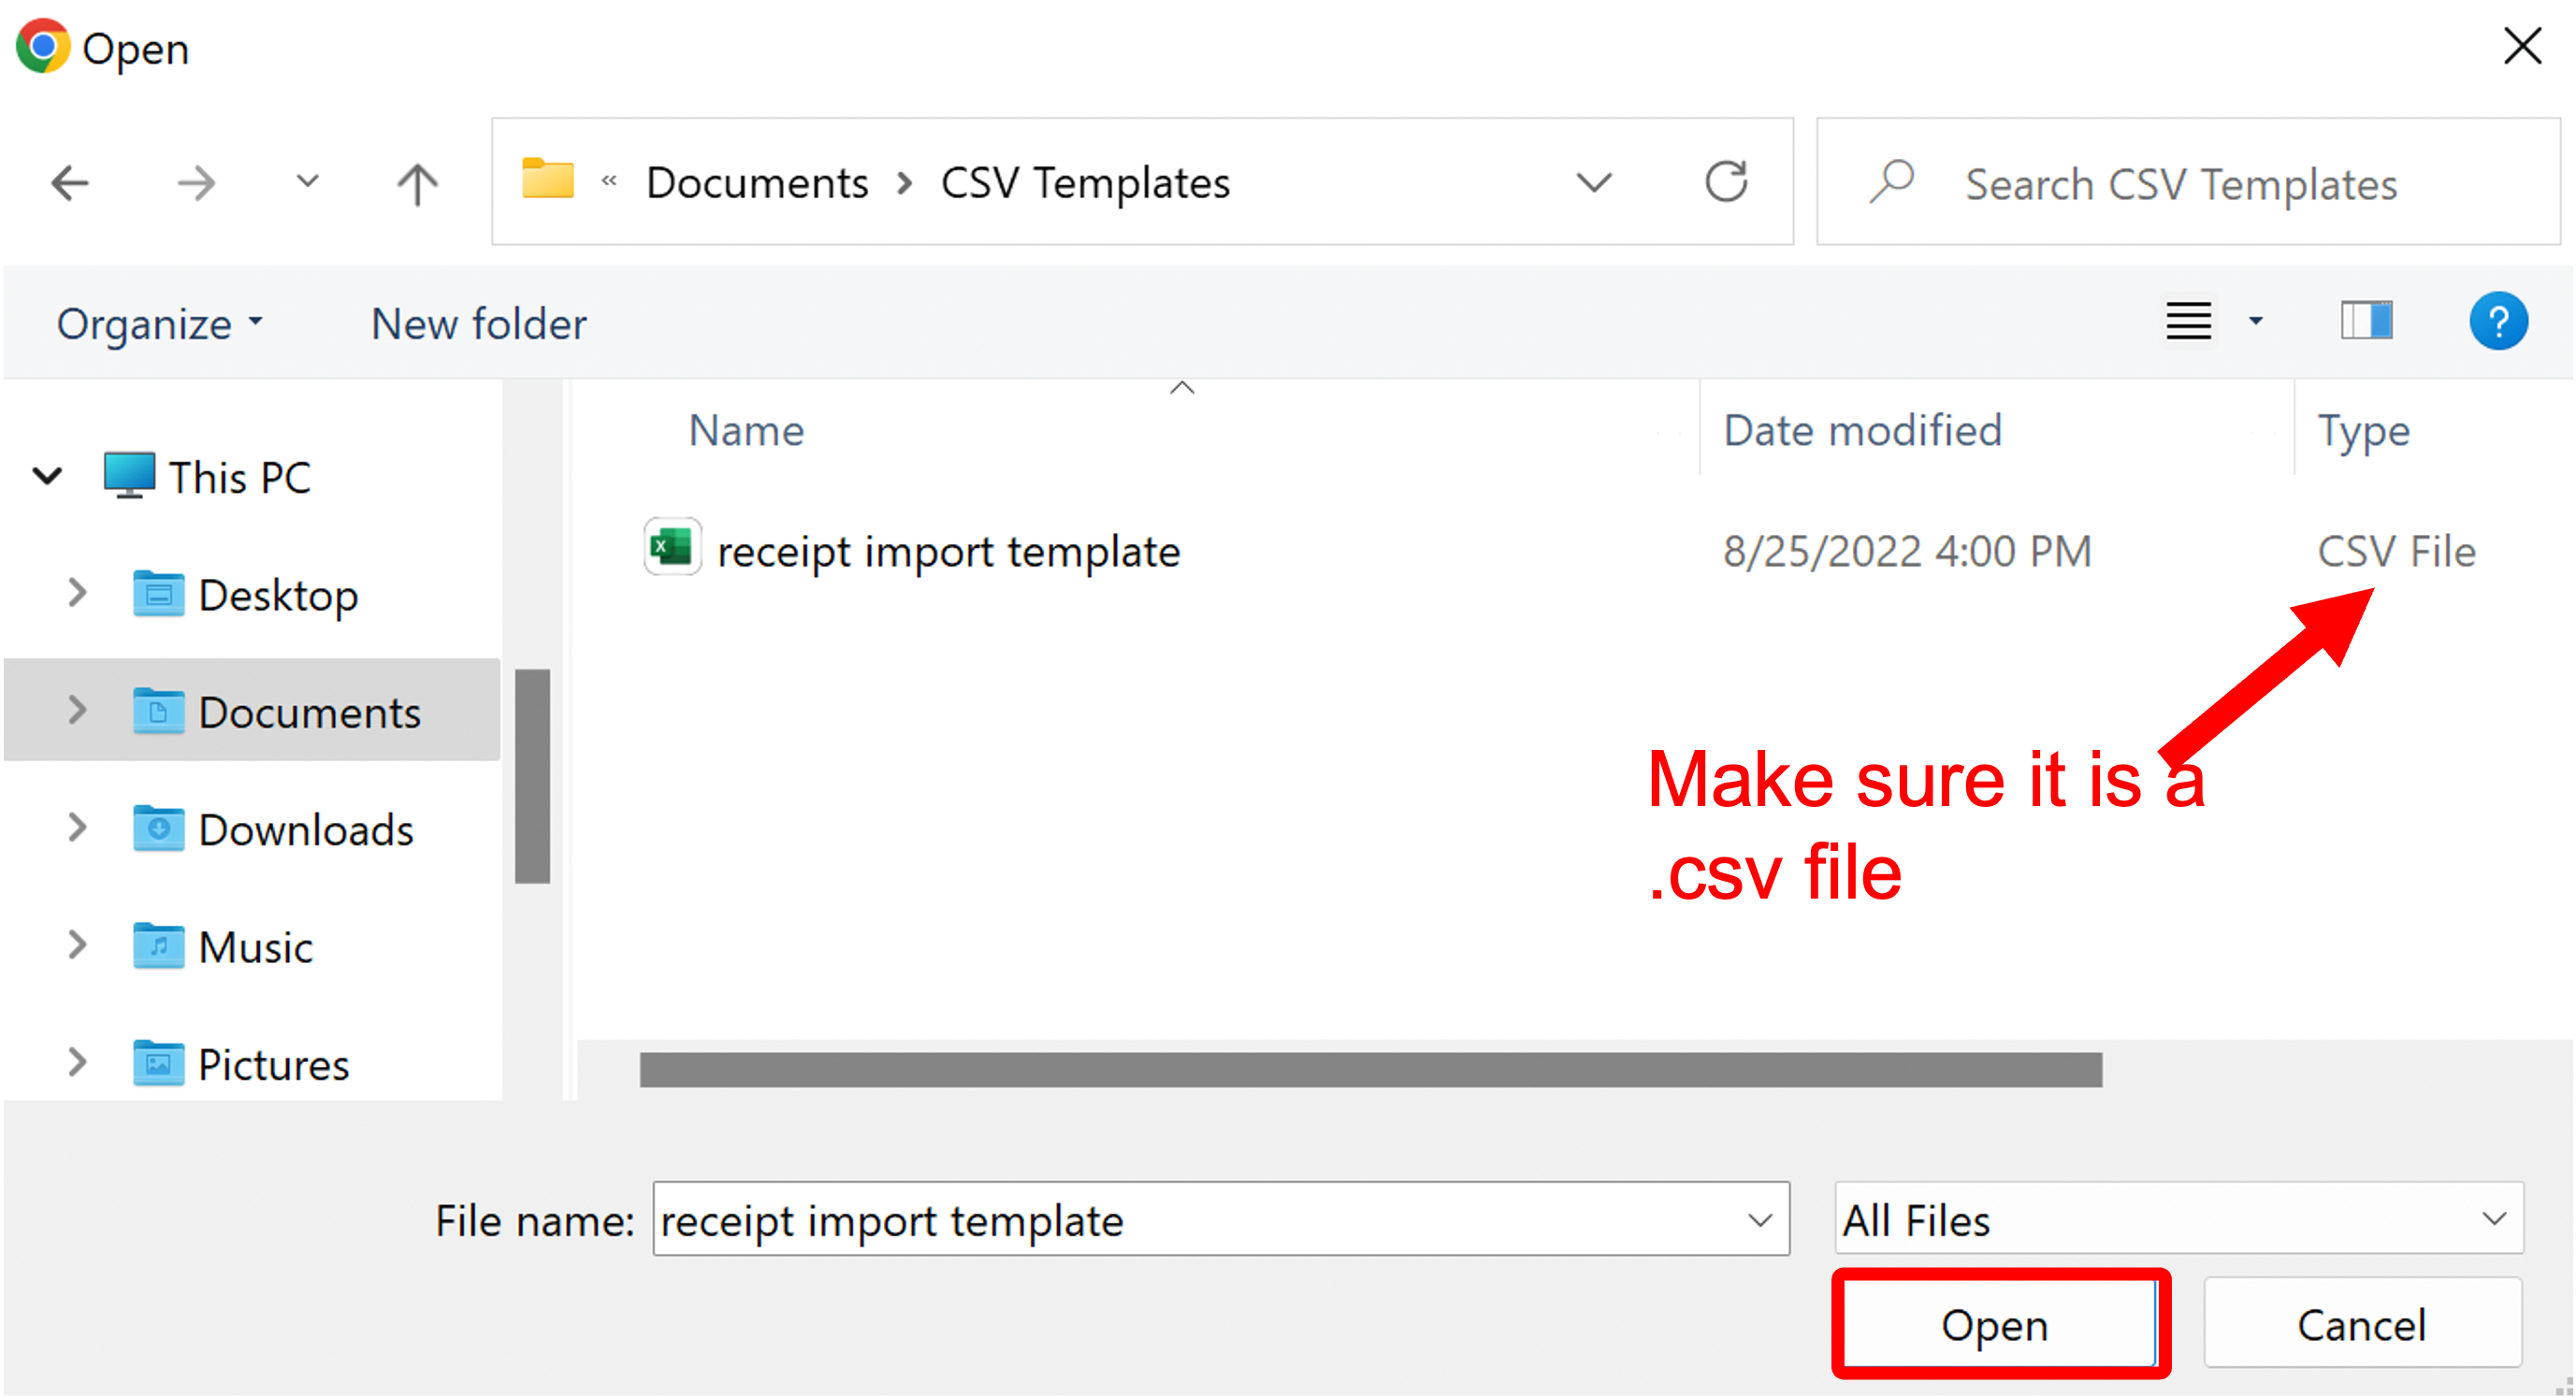
The next step is to click on "Choose File"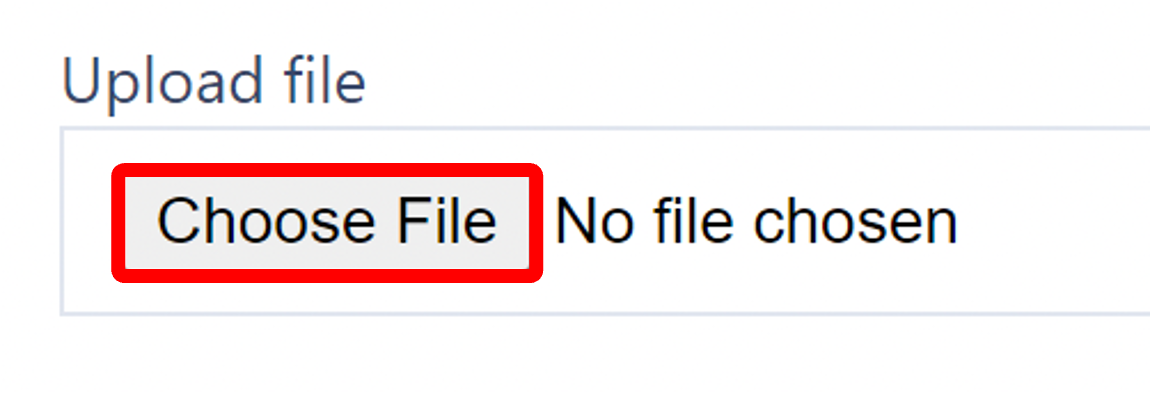
This will now prompt File Explorer or Finder, simply locate your file and click "Open"
Input the Remaining data
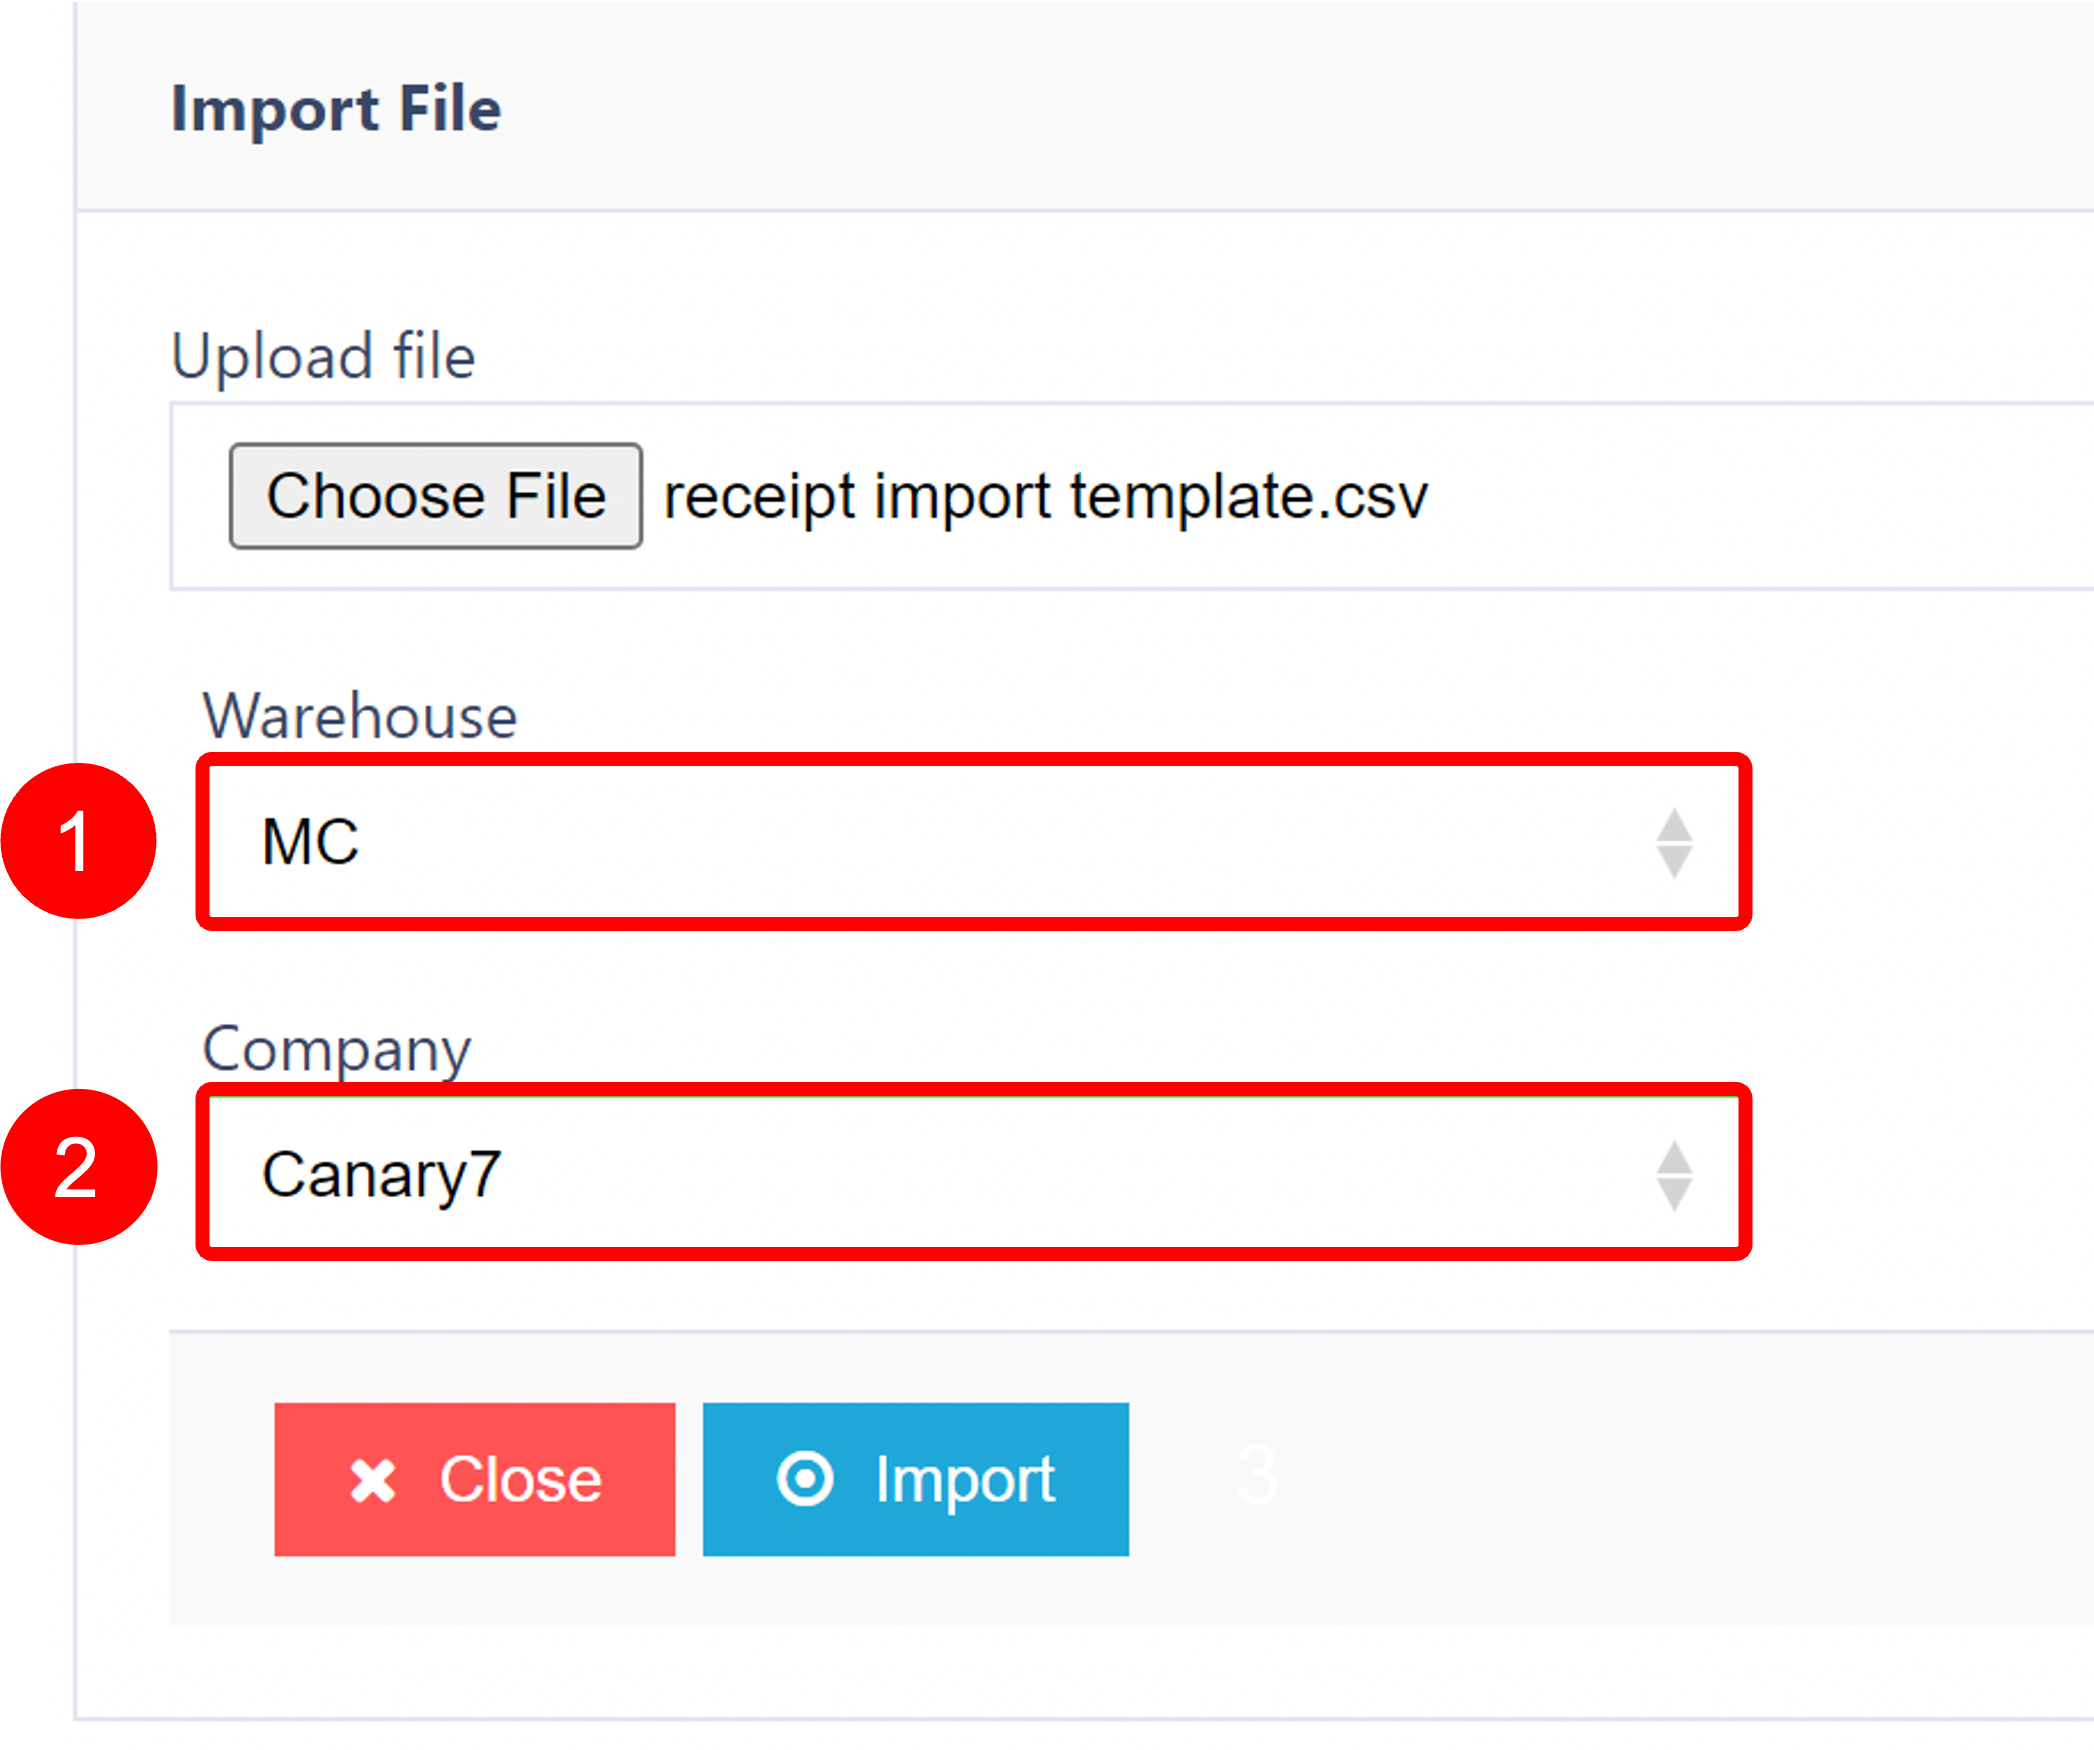
Select the Warehouse
Select the Company
Once satisfied, click on the Submit button to upload your receipts.
Method 2: Adding a Receipt Manually via User Input
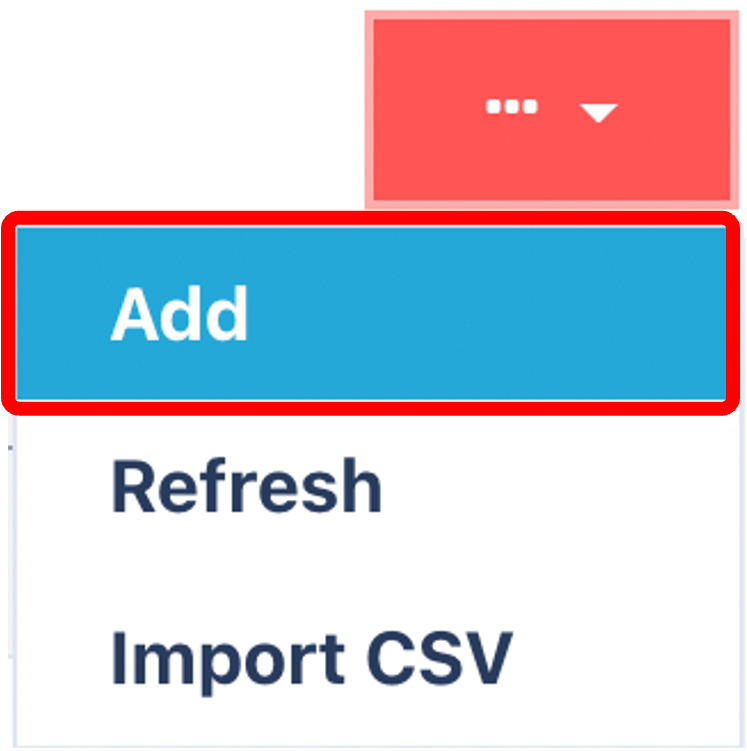
Click on the Red Action Button, this will bring up a drop-down menu, and select "Add"
Input Mandatory Fields
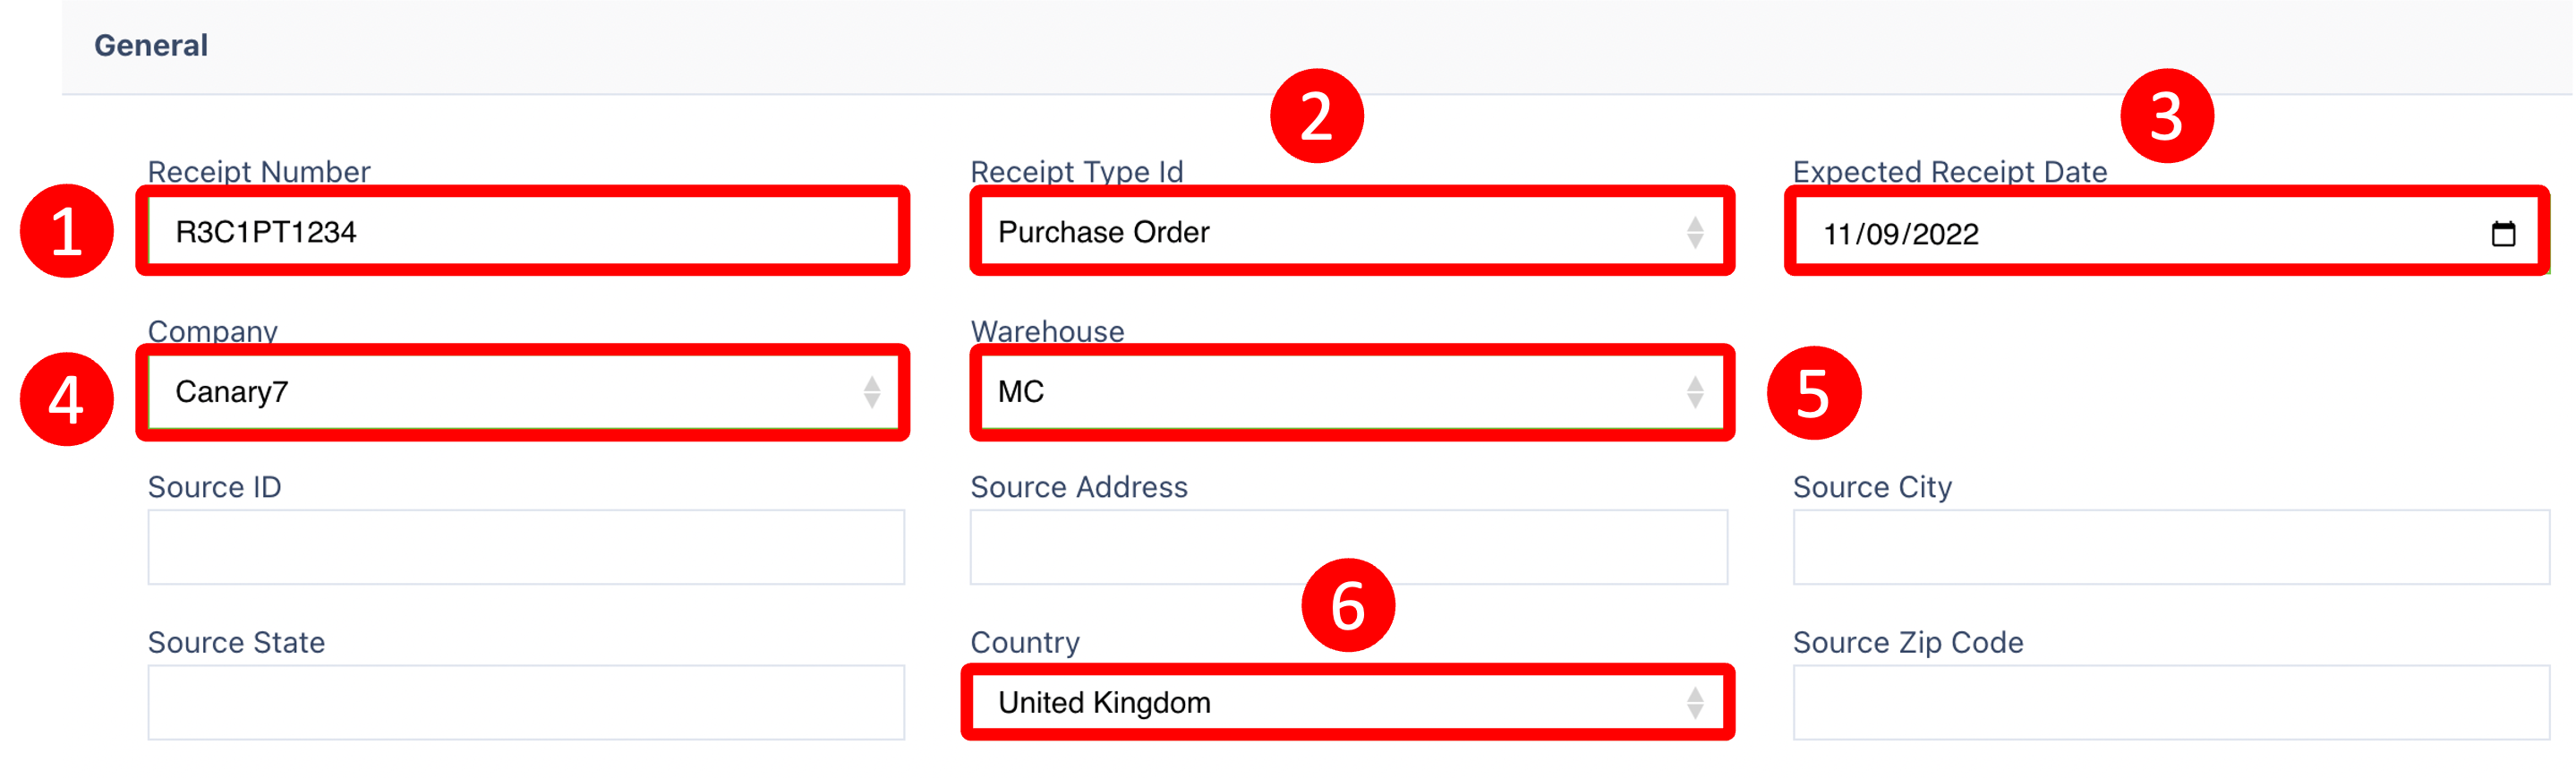
Input the mandatory fields:
Receipt Number
Receipt Type ID
Expected Receipt Date
Company
Warehouse
Country
Once you are satisfied now, click the add items button  to continue.
Adding items to the Receipt
With the receipt now created, it will prompt you to add the item to this receipt within the items tab click on the red action button and select "add".

Input Mandatory Item fields
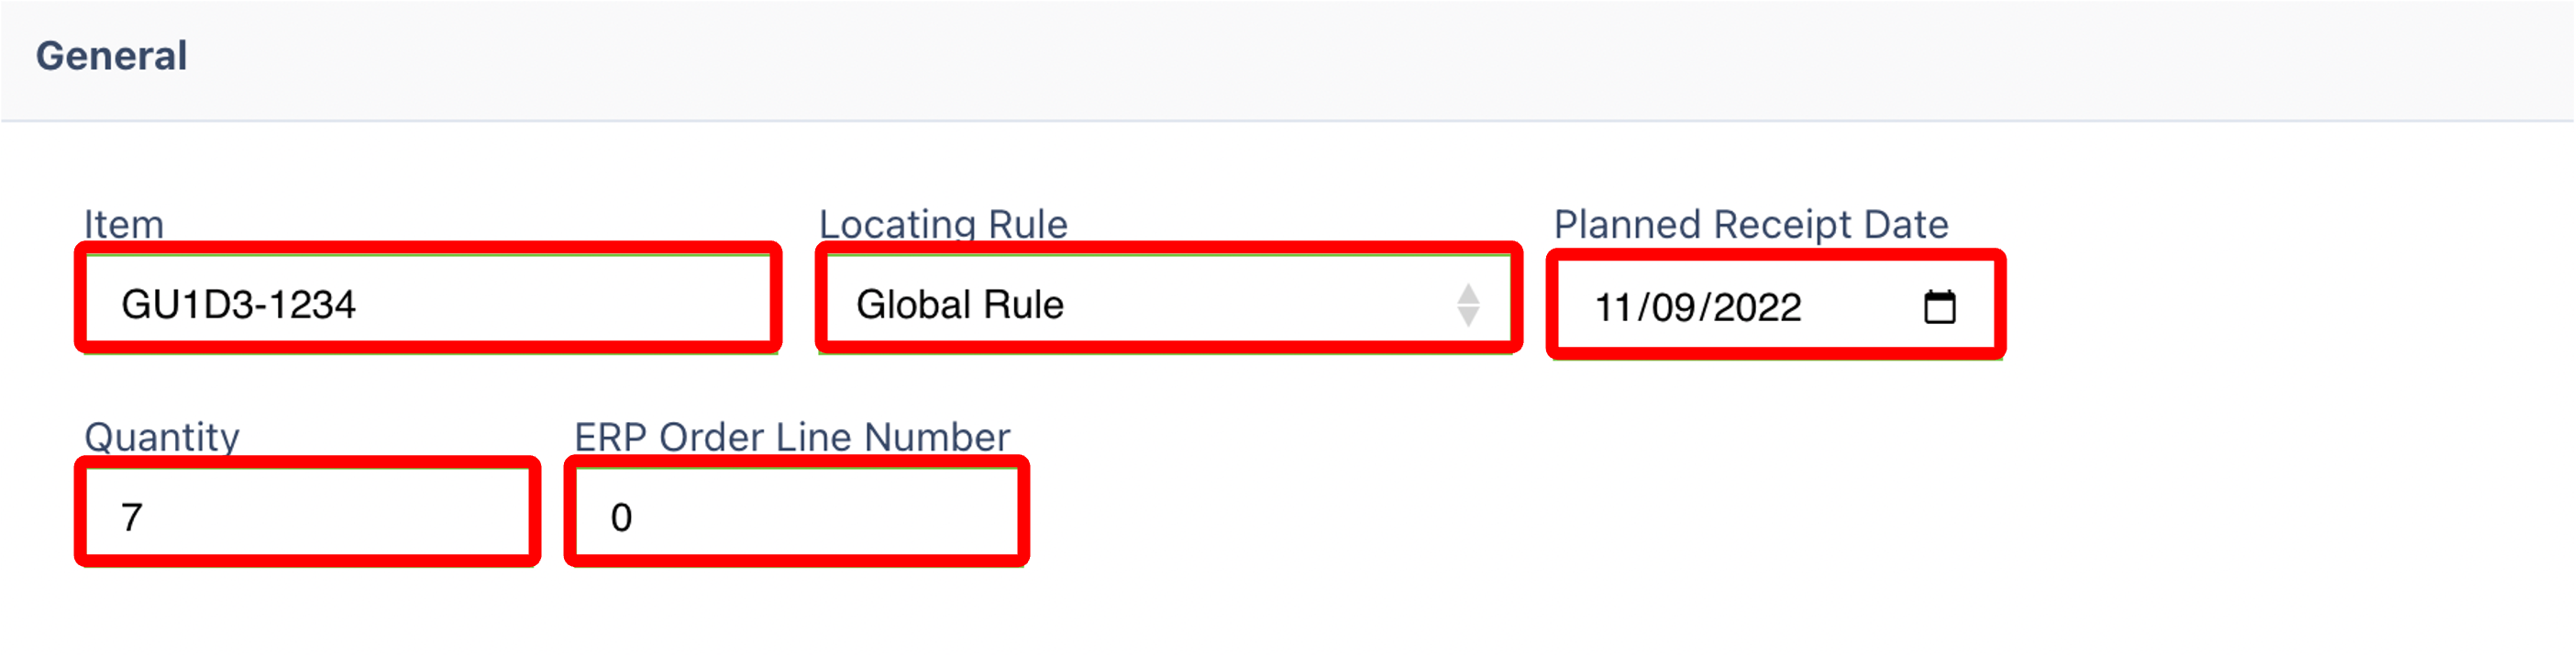
Enter or Select the fields shown, and once satisfied, click the apply button  to attach the item to the receipt.
Your receipt is now completed; all the data you have entered for a receipt can be edited in the future.
Once you have selected and entered the required fields, click on the submit button to add.
Video Tutorial - How to create a Receipt
Was this article helpful?